Once the diff was given a quick clean and a wire brush, it was time to start modifying the casings to better suit my needs. As standard the diff has five mounting points. Four that are hard bolted at the front and one large rubber mount on a wing on the rear cover.
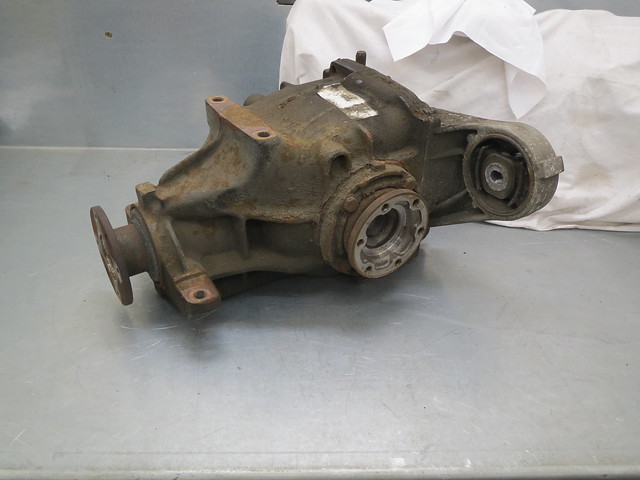

Whilst all five mounts are obviously used in the BMW, the rear wing gets in the way for what I want and I've no where to mount it anyway. So the rear cover was taken off, partly so I could clean the diff out and partly so I could cut the cover down without damaging the diff at all.
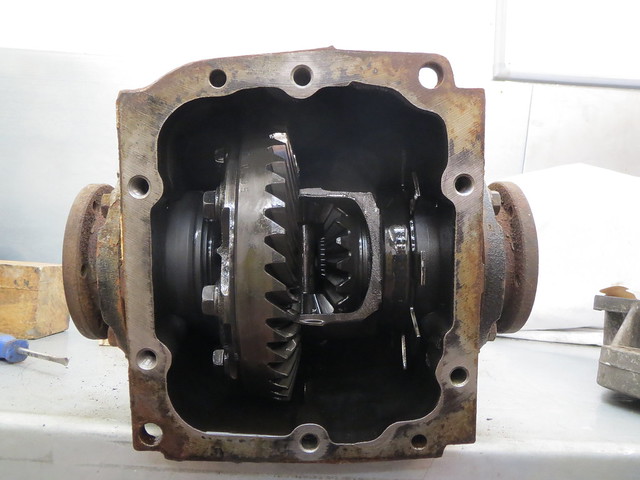
The inside of the diff looks largely as you would expect, but with one minor difference. BMW use the diff to mount the speedo trigger, and as such it has a fan on one side to trigger the sensor. I'm not sure yet if I'll keep this or not, as I may use something on the prop or maybe a front wheel. The diff is easiest as BMW have already done all the R&D for me and the sensor is reliable. The prop gives a better indication of rear wheel speed, as it measures total wheel spin better but will require me to mount a suitable sensor. The front wheels give a better idea of road speed as they don't react to wheel spin, but are easily the hardest to make work.
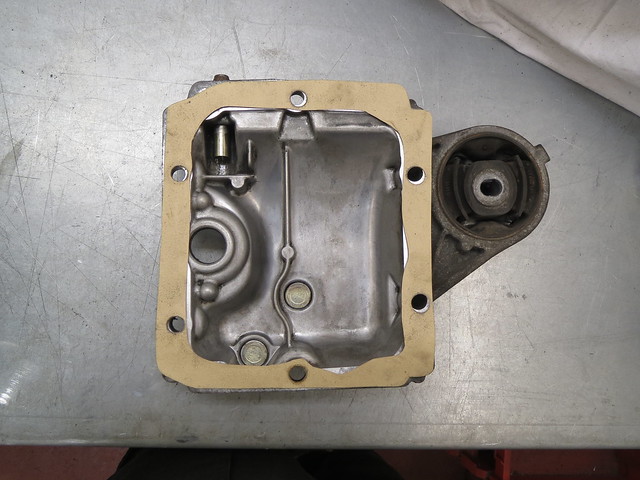
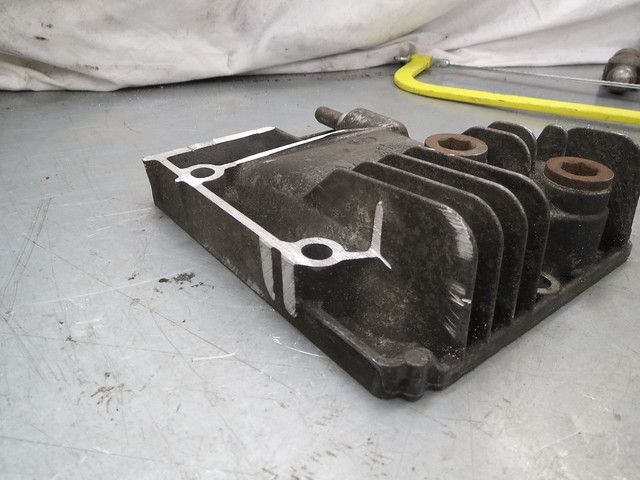
So now to cutting the rear cover down. This was done in a few steps to ensure I didn't over do it or bugger it up! The first step was to clean the cover up and make a new gasket for it and then cut the meat of the wing off.
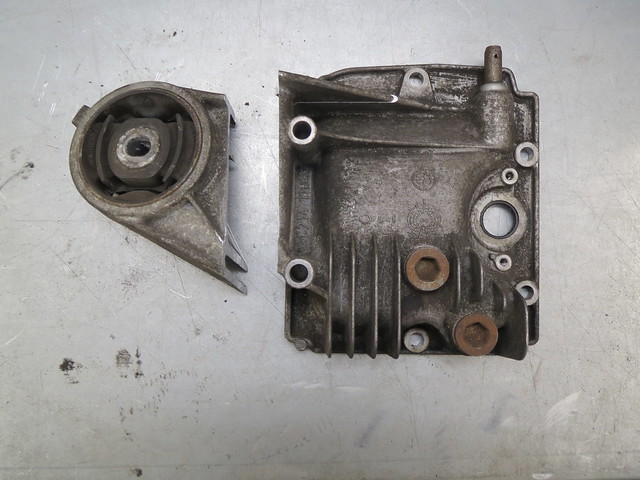
And then the remaining metal was cut down and the two bolt mounts cut back and sanded flat. I did later sand the edge of the cover flat too just to make it more complete.
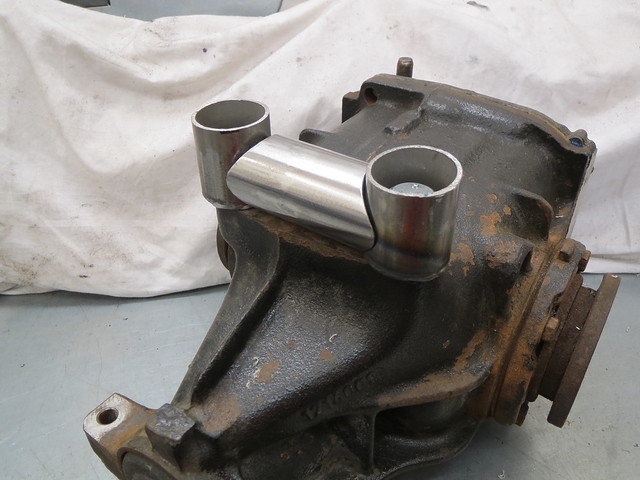
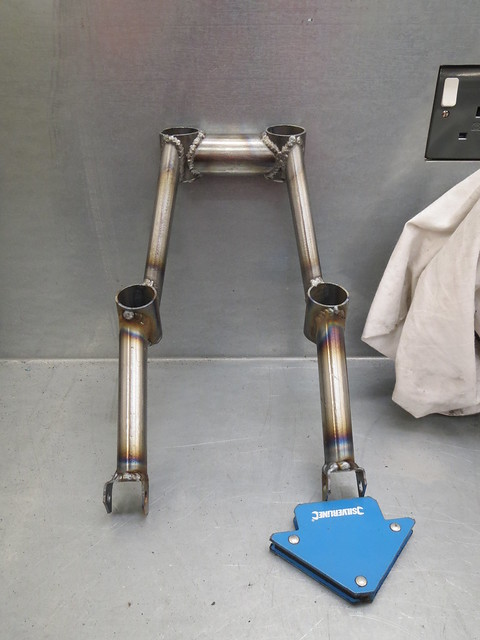
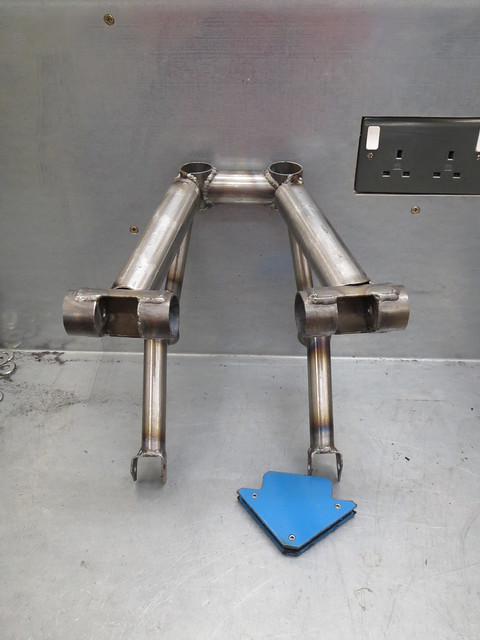
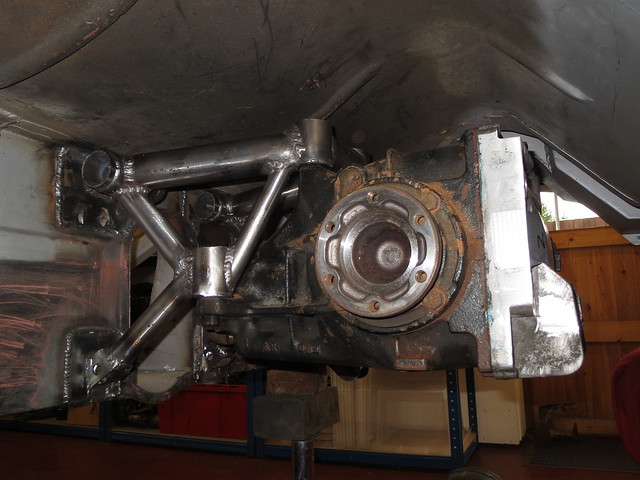
So now the diff was cut back I could get on with the cradle. The first thing to do was to make the diff side of the frame. This would then allow me to accurately measure up for the tubes to the transmission tunnel mounts. This is a story best told in pictures.


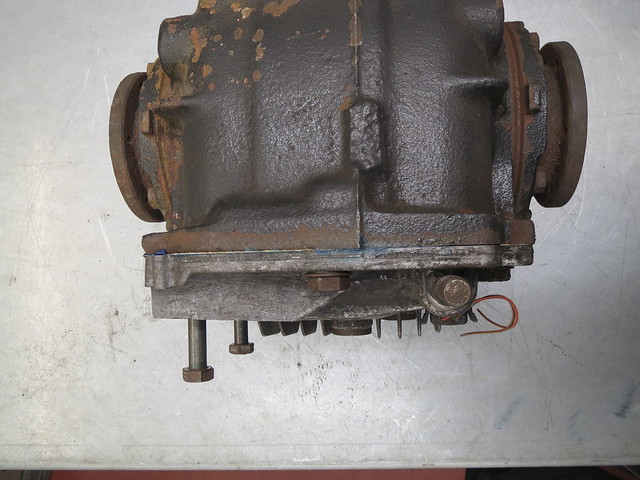
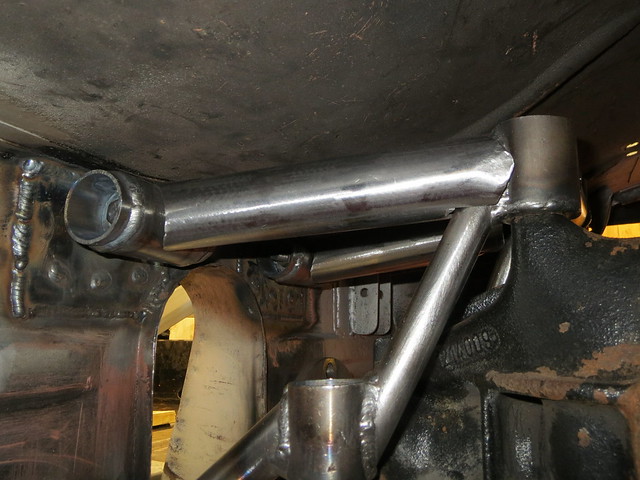
So with the diff side of the cage completed, the diff was positioned against the shell to sort the lower legs.

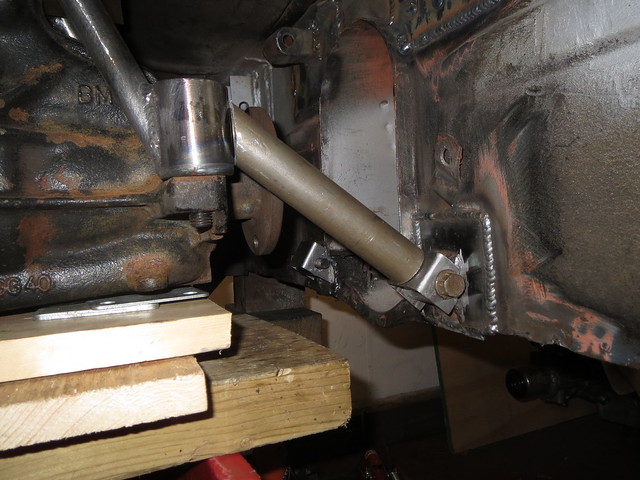
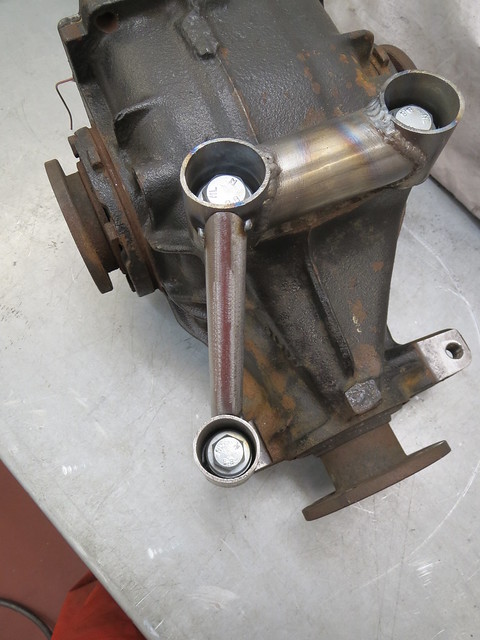
The next problem was how to match a piece of 1.5" tube against a mount that was about 1.5" wide. My solution was to make the mount wider, but in a way that allowed the extra width to not get in the way.
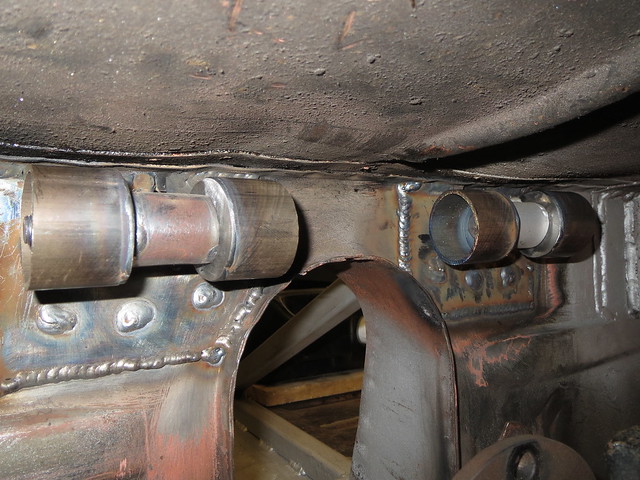
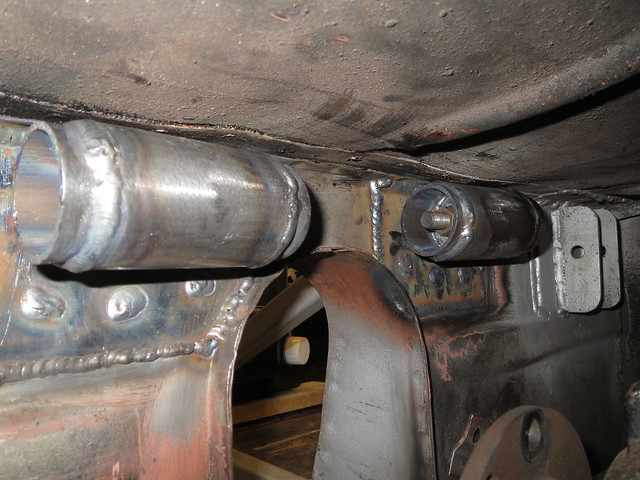
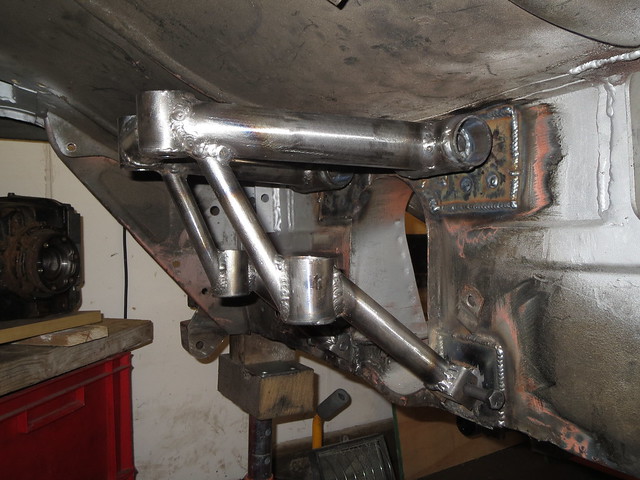
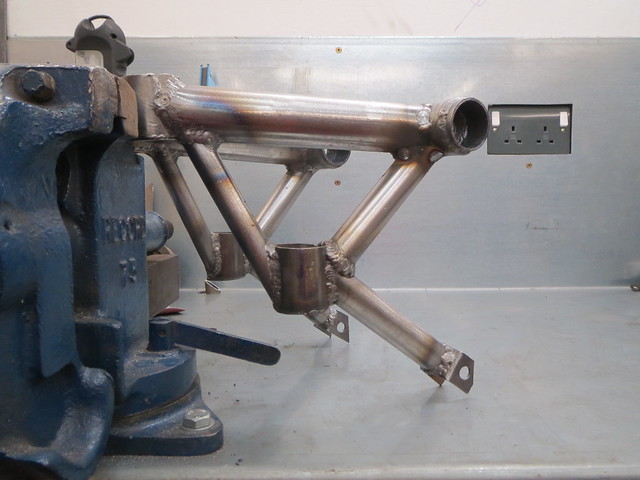
And that is as far as I've got with it. Due to all the heat from welding, the lower leg mounts have skewed upwards by 4-5mm, so I'll need to cut the lower mounts off and re-do them. But that means I can also make them a touch bigger and stronger, so that's no bad thing.
No comments:
Post a Comment