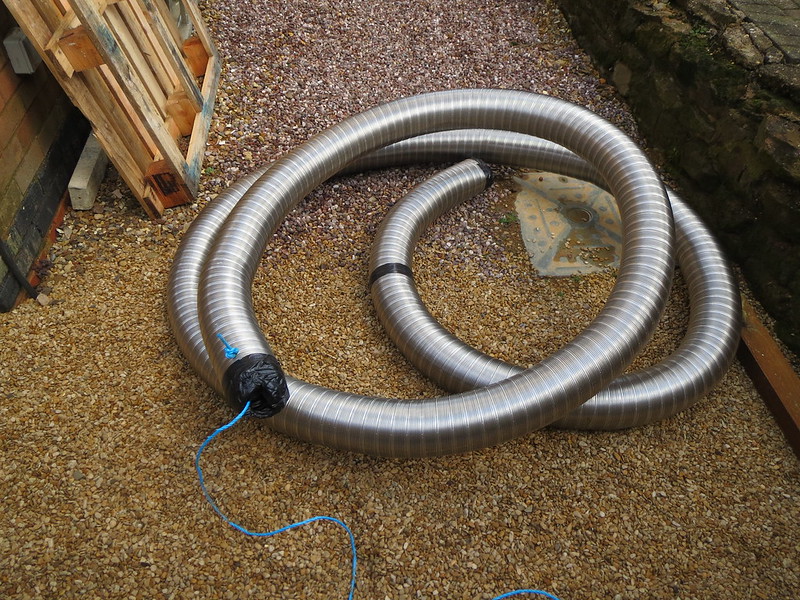
The first thing to do was unwrap the flue and have a look at it. It's a 316 grade 5" DURE-FLUE liner as I don't intend burning much, if any, coal. Given that I forgot the nosecone, one end was slotted and taped up to form something resembling a cone and a hole drilled in the liner for some of BT's finest draw rope. 9M of liner doesn't look like much when sat on the driveway.
So with the liner ready, tools in hand and the ladders set up, I was off up to the ridge line and chimney pot. There was a bird guard fitted recently by the local stove shop, so I knew the pot would be good for the all-in-one cowl I had. This is the view from up on the roof before I started work.
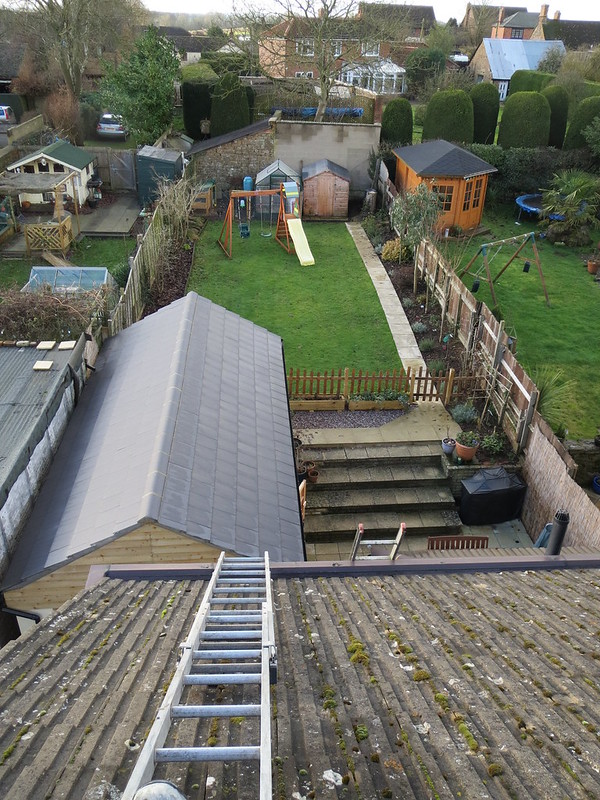
So once I had stopped nosing into the neighbours garden's and otherwise admiring the view, it was time to start feeding the liner down the chimney. We'd uncoiled it on the ground, and I had then dragged it up by the draw rope. Thankfully I'm not fussed by heights so thought nothing much of standing on the ridge, holding the stack with one hand and playing about with the liner with the free hand. I suspect Mr HSE would have had a fit, but never mind!
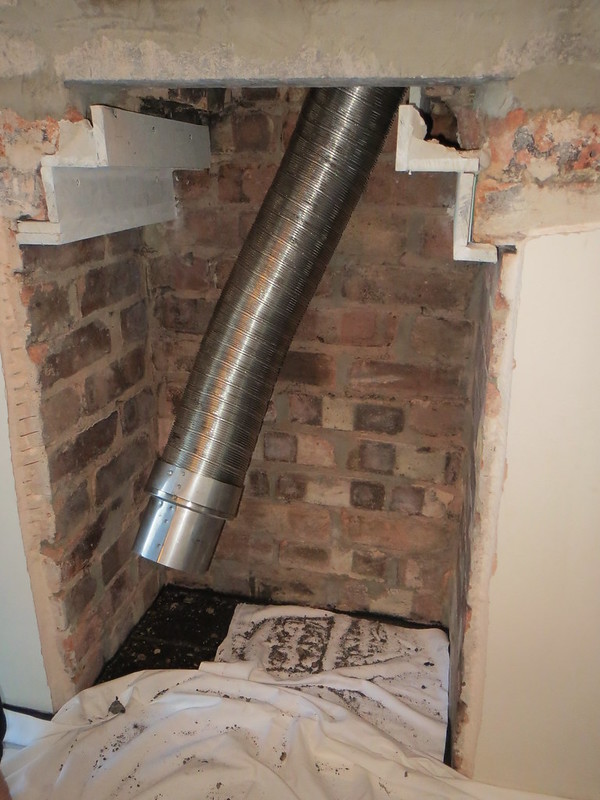
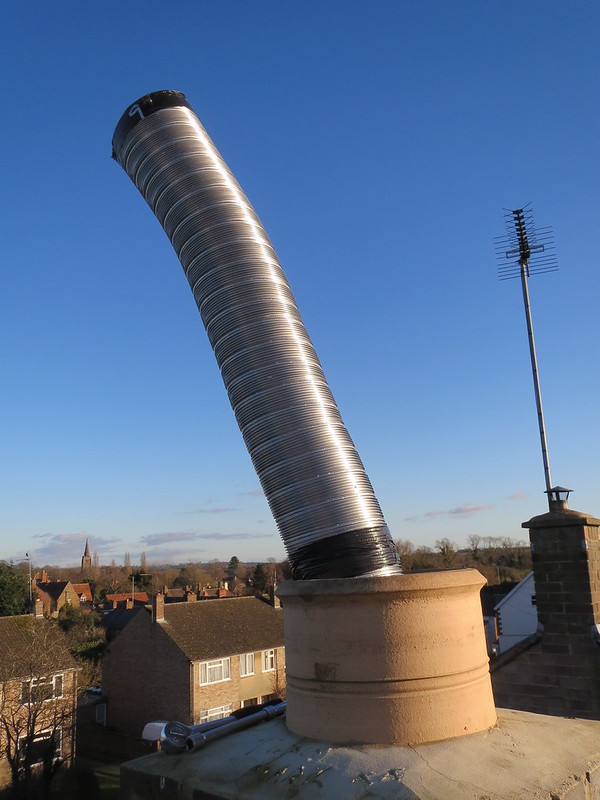
I had feared that the liner wouldn't go down, would jam, tear or any number of things would go wrong. Turns out to have been quite the opposite. Feeding the liner down took all of 5 minutes and it only got caught for a few moments about a metre and a half in. Otherwise it almost feel in under it's own weight! This is what I was left with at the chimney end, and also the reason I ordered 9m when I think 8 would've done.
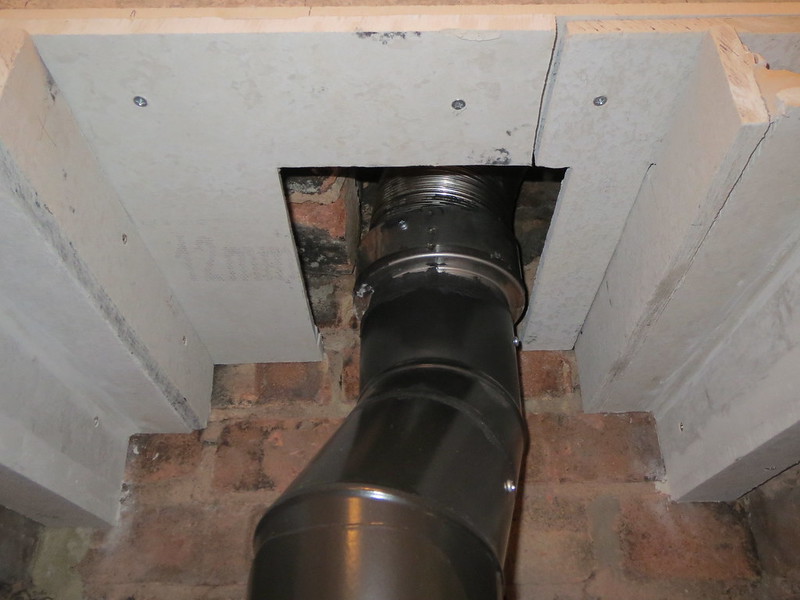
This was the fireplace end once we'd attached the adaptor. Plenty of liner left over, as there's nothing worse than ordering what you think it enough, only to find it 6" short. Also note that the liner will clear a lot of bits out of the chimney when you feed it down. The liner is ridged and much stiffer than a sweeps' brush so may knock mortar snots off too.
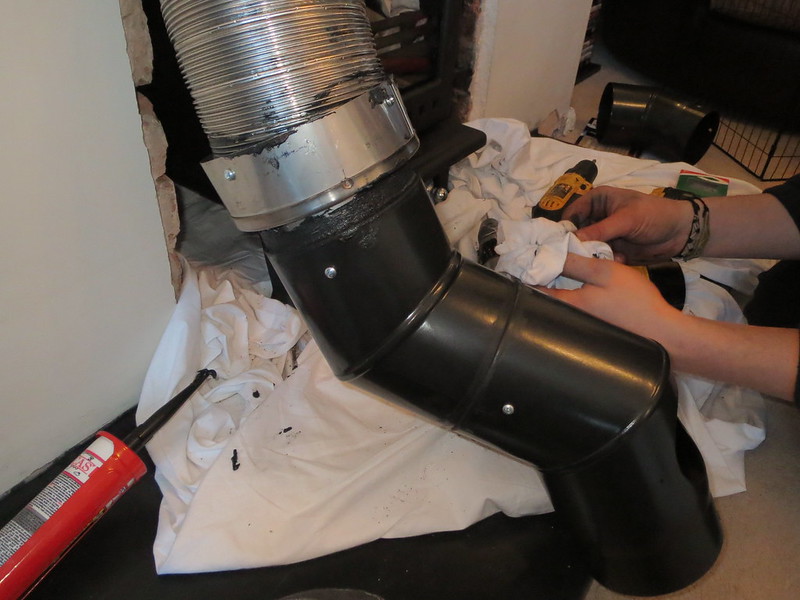
So from there we set to with getting the vitreous pipes sorted out too. Whilst the BCO wants to inspect the flue, I was told I could fit the other pipes too so long as the inspector can get at all the joints. This is why I had to alter the closure plate, but more of that in a bit.
Given that there will always be some wiggling about and altering of the joints as you go, the vitreous pipes were screwed together and the adaptor fitted and fire cemented too. It doesn't go off for hours so you have time to fit the flue into position without cracking any joints.
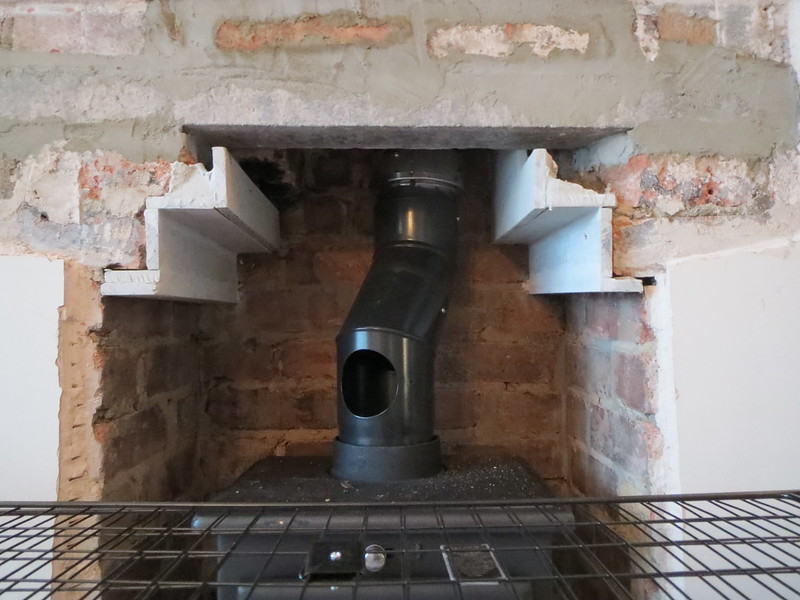
And then the only way of knowing if you've got it right is to fit the stove into place. It's not fitted to the pipes or sealed as yet, but without it you can't gauge the height or final position of the pipework within the chimney so I don't see how it can be done any other way. Especially given that my chimney tracks to the right, so it turned out I had to twist the pipework that way too. Well, it was that or try to knock four more bricks out of the stack without making a mess of things again. The photo was taken later on, when I had the fire guard back in place. I would've preferred it to be straight up, but I don't mind it being twisted to one side either.
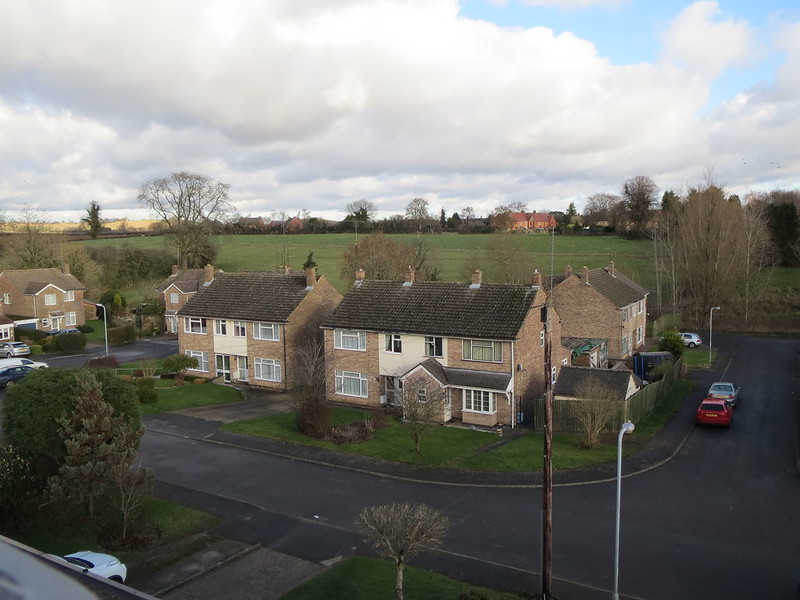
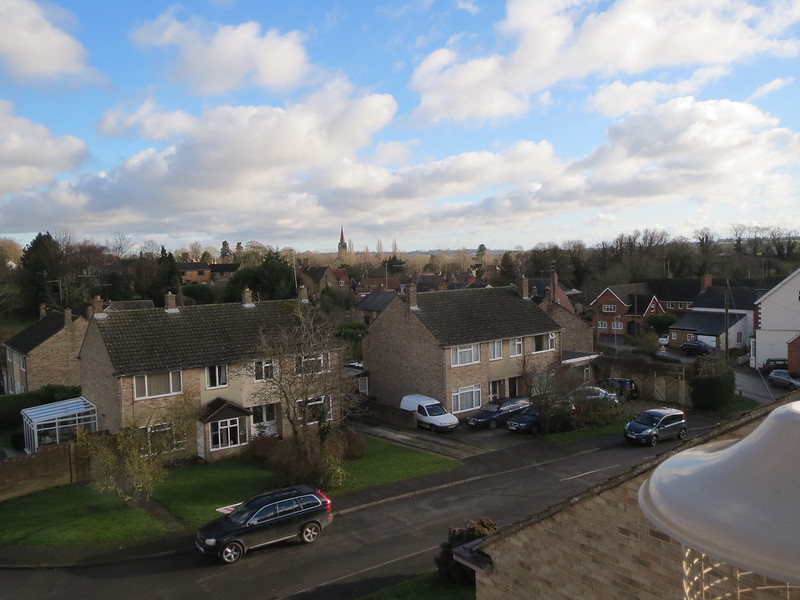
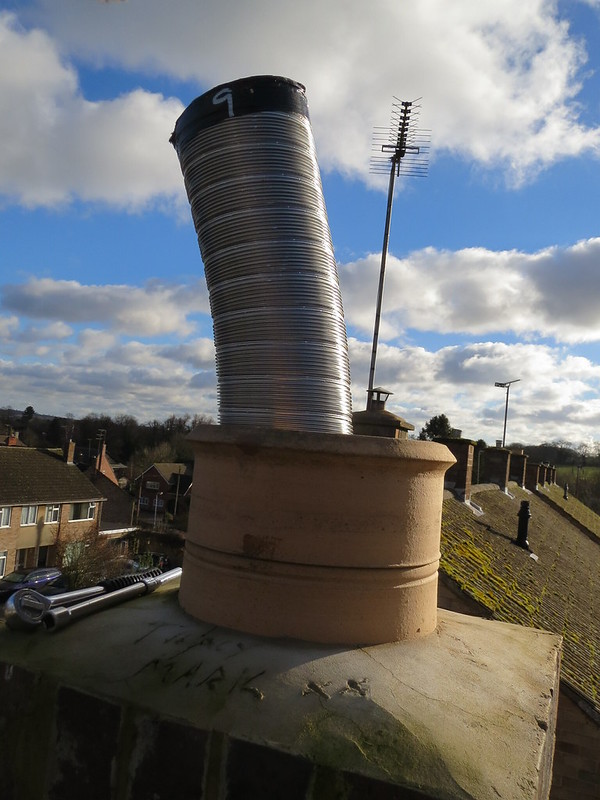
Now the bottom end was sat right, I could get back to the roof to trim the liner and fit the cowl. Once up there, I was faced with this much spare liner, some lovely sunshine and blue skies:
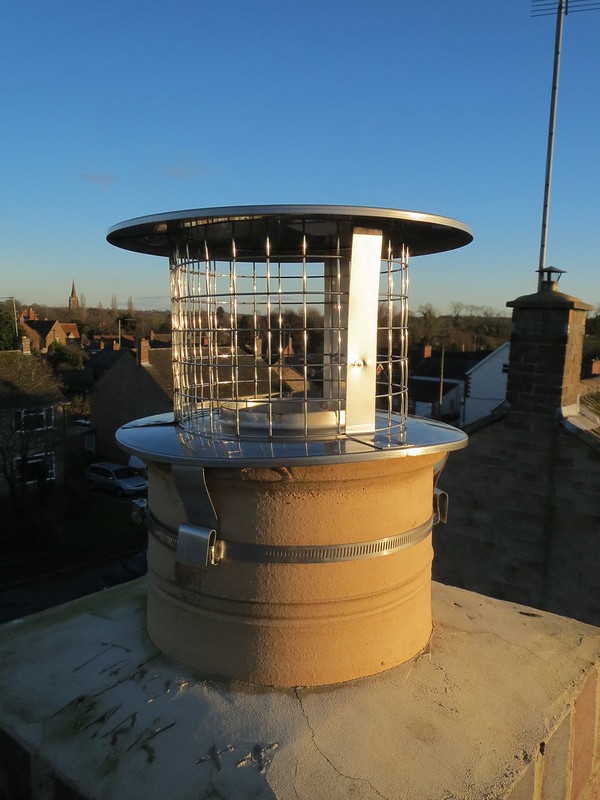
I had a few choices of how to trim the liner: angle grinder with a 1mm cutting disc, a hacksaw or tin snips of one form or another. I ended up using a hacksaw as the grinder is massive overkill for something so thin (as well as a bit dodgy on a ridge, even for me) and the tin snips can be awkward to use when you can't get all the way round what you're cutting. Cutting it with the saw took maybe 30 seconds, so don't worry about time when it comes to this stage! The cowl is then a bit of a PITA to fit as you cut the liner to the top of the pot. But you need it sticking out to get the securing band done up. So I ended up stood on the ridge trying to pull a few inches of the liner up to get access. Eventually, I got it done but not with out scratching the back of both hands to bits on the sharp liner, the pot and cowl edges. There's no need to do the fancy folding with the securing straps, but I feel it looks more professional than just leaving them hanging. In an effort to prevent draughts, I have also sealed the cowl to the chimney pot.
Another thing to note at this point is how slippery the liner can be. It's already acting as a flue and channelling warm, damp air from the house. And by the time that air gets to the top, it has cooled and the water condensed on the liner.
As far as the liner goes, that's it fitted and all done. Well, I think so and I hope the BCO will agree on Tuesday too! The only other thing to do was the closure plate. I should really have fitted this at an earlier stage before arguing the liner and vitreous pipes into place, but I forgot in all the excitement of fitting the liner. So a slight change was made to it so I could fit it round the pipework. The hole has also been enlarged to act as an inspection hatch and will be covered over with a pair of thin metal plates. One will sit each side of the pipe so they can be easily removed in the future. I'll make these one I know the BCO is happy with this.
So that's it for now. The next update depends upon what the BCO thinks and what advice he has for me. Hopefully, it'll be good news!