Search This Blog

Tuesday 15 April 2014

Quick check over? Not likely......

So with the floor finished, I thought I'd better just cast my eye over the car before I capped the cross member and rolled it the right way up.

Turns out it was just as well I checked the front end, as I hadn't spotted how bad a splash panel and the wishbone mounts are.


I knew the rear mount was bashed about, as I'd done that getting the old wishbone out. But I hadn't realised that the front mount was about to part company with the chassis rail. The splash panel is nothing to worry about, as it doesn't do much. So I cut the folded over bit off, and hammered the rest flat. I'll tidy the edge up a bit more another day.


Since the front mount is so bad, I've started to cut the entire thing off outboard of the chassis rail. The inboard bit will stay and form the basis of a new mount. Both mounts were always destined to be cut about, but I hadn't intended doing anything more than making room for the new mounts. Whilst this is more work, it's probably going to give me stronger mounts at the end of it all.

Sunday 13 April 2014

Floor finished


 For making the patch, I did my usual trick of using a cereal box to make a template, before transferring the shape to steel sheet. This is the result:


 Once the primer's dry, it gets tacked in place, ready for any final shaping and then welding:


Then I set to with the welder and got it all stuck in. However, I got a bit carried away and forgot to take any photos of the front of the welding, so this one of the back is all I have. This shows what the back looks like when you manage to burn a hole or two in the steel and have to go back later on. That's why some bits look cleaner than others, and why there's bits of wire hanging off it. The black soot is where the car sets on fire.


So once I'd cleaned the underside up with a grinder, it looked rather good considering it's been over 2 years since I picked a welder up!


And once painted in more than a coat of primer, you'll not know it's there at all:


The plan now is to check the rest of the bottom of the car over for anything else I may have missed, then cap the exposed cross member that I can to get to before rolling the car back the right way up. Once that's done, I think I'll get on with fitting the engine and making the new transmission tunnel.

Tuesday 8 April 2014

Wooo, working on the car at last!!

It's been a while since I've had anything worth updating, but I am now in a position to start working on the Sprite again.

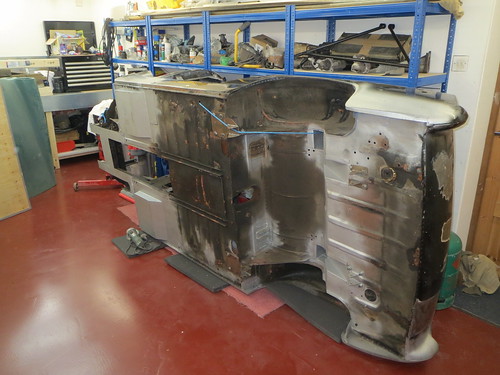
Now that my son has a new summer house to play in, and I've done all the other things The Boss expects doing at a moments notice, I've been able to tidy the garage up a bit and get the Sprite on it's side ready to finish off some welding.


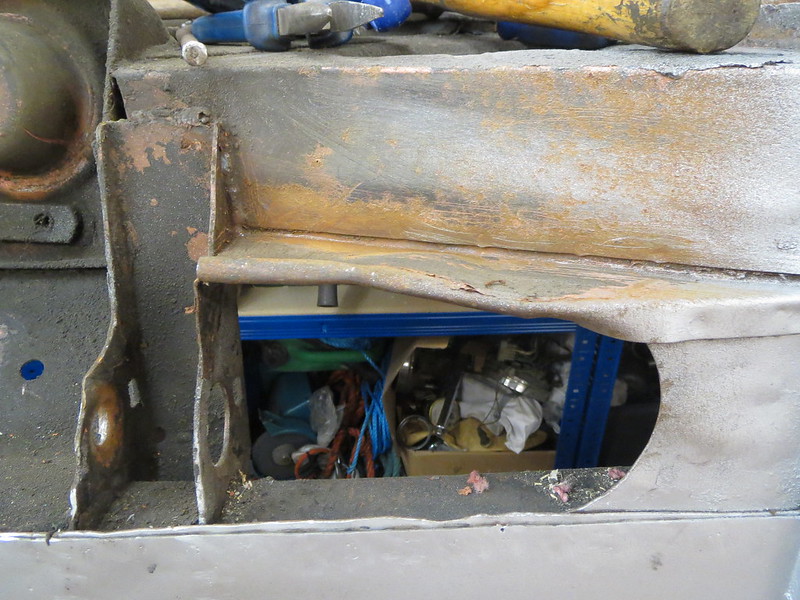
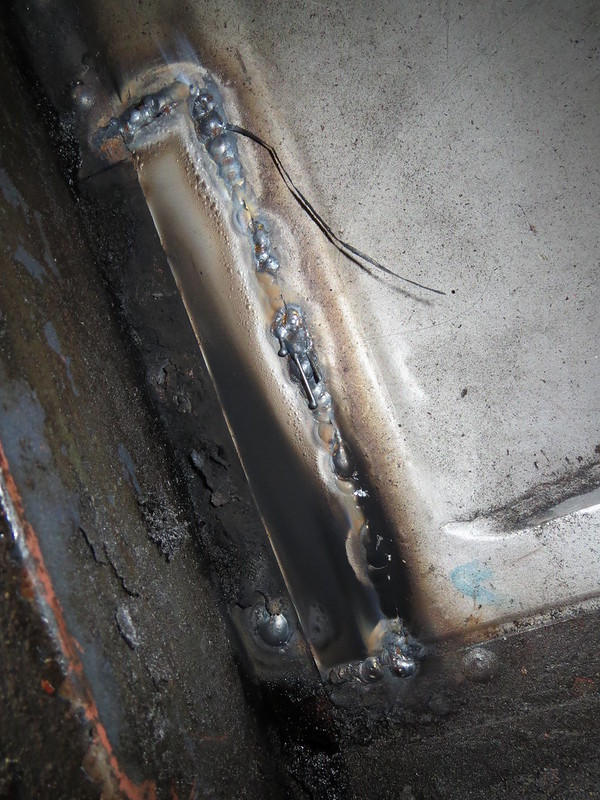
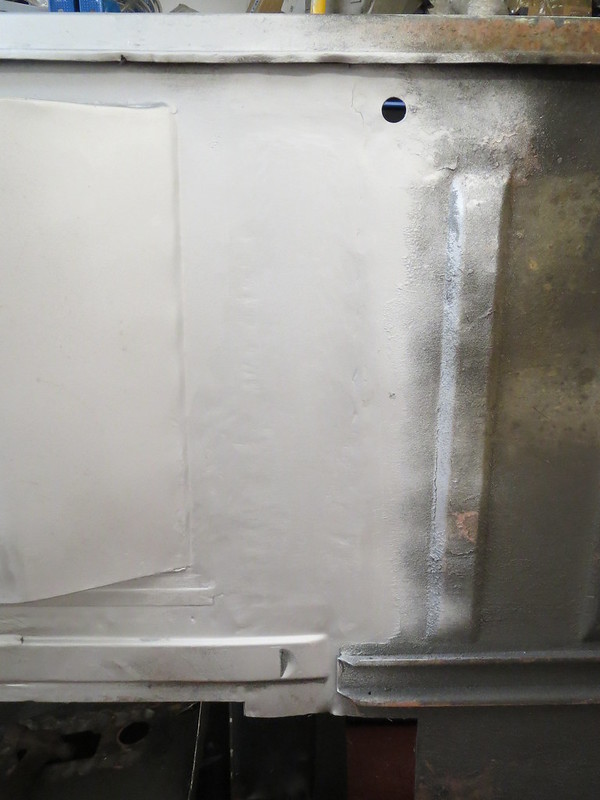
I thought I'd finished under the car and was going to get on with fitting the engine, but it turns out that I'd forgotten about finishing off the passenger's side footwell. I'd not done the welding under the cross member, and I where I had plug welded one edge of it in, I now know this will need seam welding. MOT rules mean that any patches that were not originally plug welded must be seam welded. And since the patch stops 2" short of the original plug welds, I have to seam weld it instead. If I'd known this at the time, I'd have just made the footwell a touch bigger and saved myself a fair bit of effort. But it's too late for that now!!


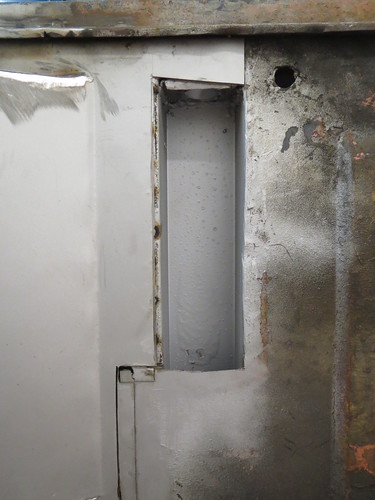
As you can see, there's a large section that's not welded in yet. Rather than try filling the gaps up, this bit was cut out to see what I had under there with the plan of putting a new patch in.


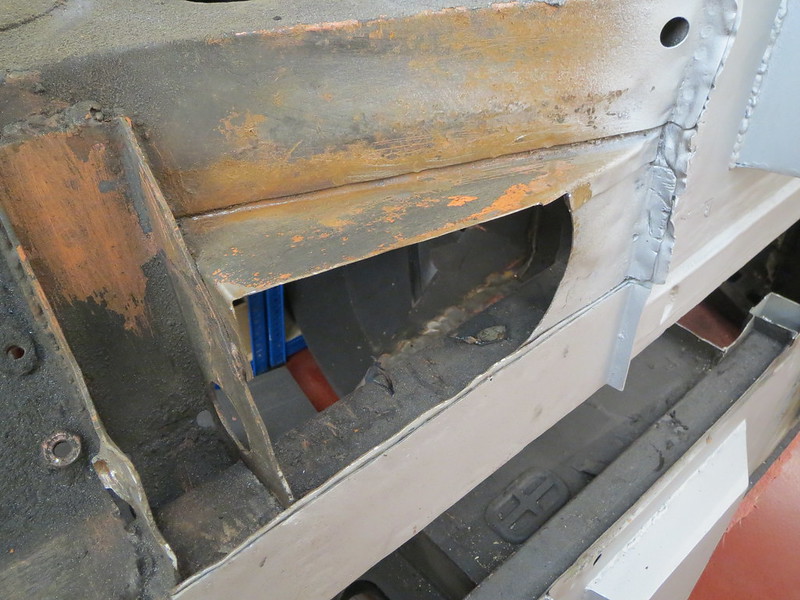
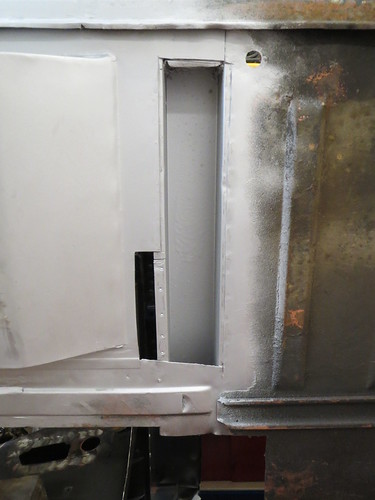
The plan was to cut back to the existing flanges on the cross member so that I can seam weld the patch in easily. This makes the welding much quicker, and will help make the cross member stronger too. Since I've had to cut the central section of it out, this can only be a good thing.

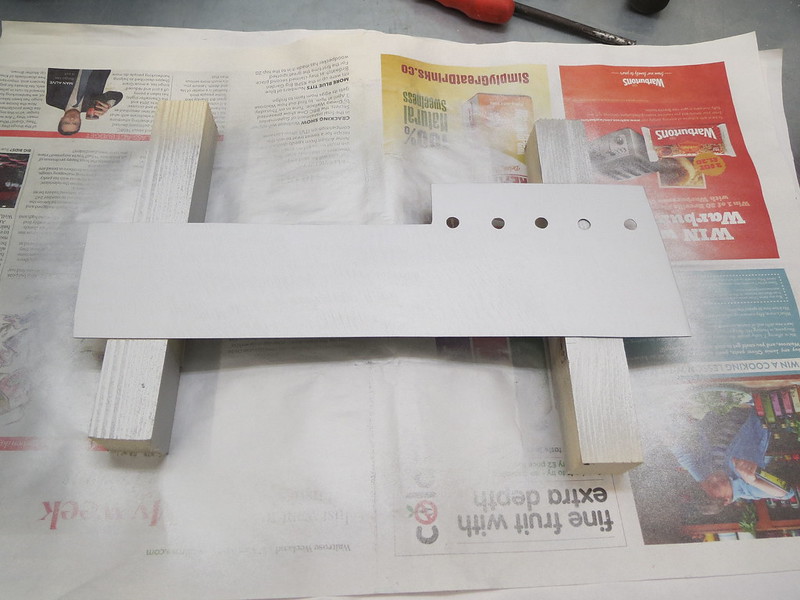
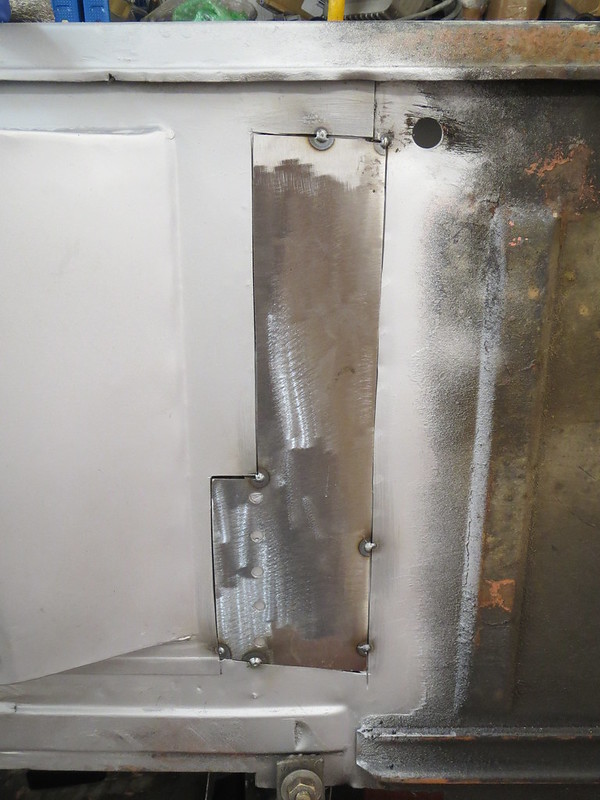
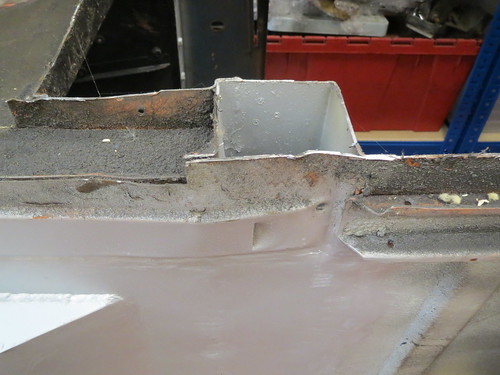
Once I'd had a closer look and a think about it, I ended up with a bigger hole to save having odd bits of welding and different bits of steel for the cross member. This is the hole in the usual zinc primer and ready for it's patch.


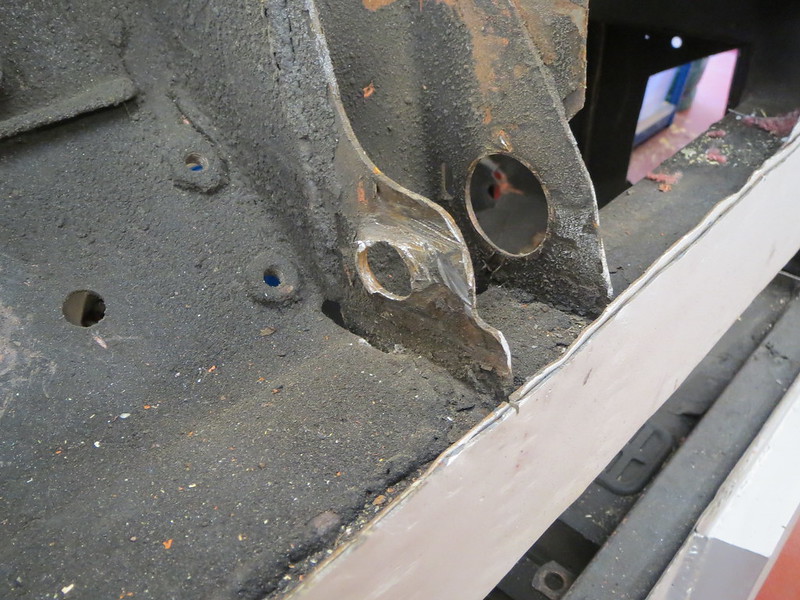
Another thing I've spotted is that I must've put the car down on a stand wrong at some point, as the open ends of both cross members are bent in! Whilst not the end of the world, it's something else to straighten before I can cap them off.


I'm hoping to be able to get the patch cut and at least tacked in this evening, so more to follow soon!