Caring on where I left off, the cross brace had to be finished before I could do anything else. So that meant finishing the left hand chassis mount and then linking it to the main cross tube once the tube was squared up against the shell.
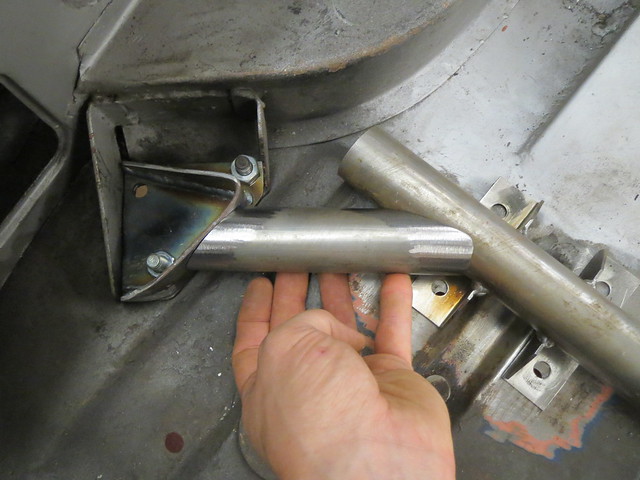
I decided to weld the smaller tube to the cross brace first in at effort to prevent any twist from lifting the chassis mount. But it was soon fully welded and bolted back into place once I had checked it for square against the axle hump.

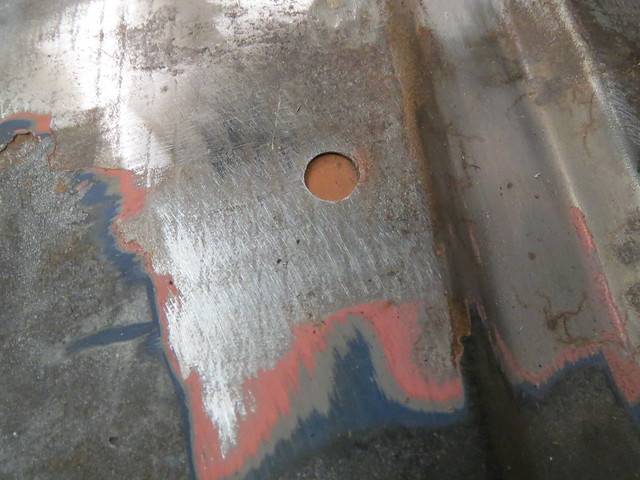
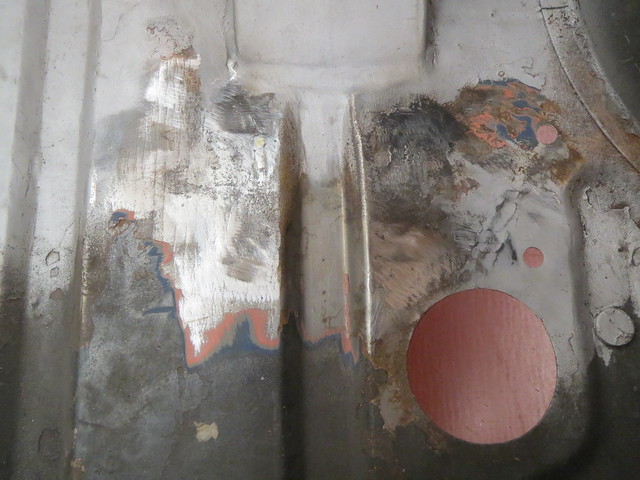
Now the brace was sat in place, I could see which, if any of the existing holes could be used. Unfortunately, only one lined up and even that wasn't 100%. So I decided to weld the holes up and drill new ones. There's a tip I was told once to help weld up small holes in thin sheet. It involves using something I know as a welder's spoon. It's basically a good sized chunk of copper that is used to back the hole to stop the weld dropping away from the panel. It means you can use a lower setting and help avoid distortion in the panel. Copper is used as molten steel, ie the weld itself, won't stick to it. Once welded the panels are ground flat to hide the fact that there was ever a hole there.

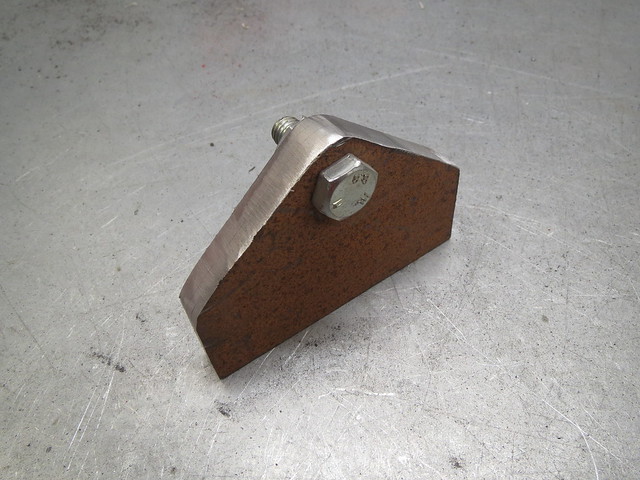
With the boot floor sorted out, I decided to make the Watt's linkage brackets that would hang under the boot before drilling the holes in case I cocked something up with the measurements. These were cut from 3mm sheet and folded, rather than weld two bits together. I based the template for them on the one for the cross brace feet to help keep the shapes even:

That shape was then transferred to the steel and the pivot holes drilled before bolting all four together so I could finish them all to the same shape. They were all then bent to suit.

With the brackets ready, the cross brace was used a drilling guide so I could save time farting about. The hole spacings were then transferred to the Watt's brackets for drilling so they could be bolted into place.
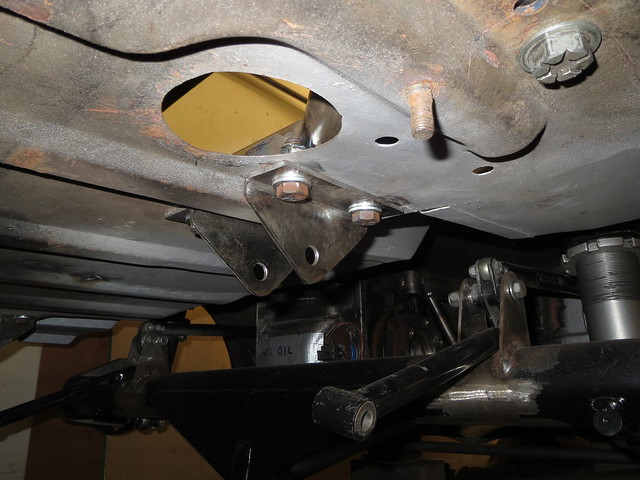
It soon became obvious that the existing way round that the Watt's linkages had been fitted didn't line up right so I had to take both linkages out and turn the pivots round as they are fitted with an offset. With them offset the other way, all was well and the links lined up centrally within their brackets, just as I had hoped and planned.
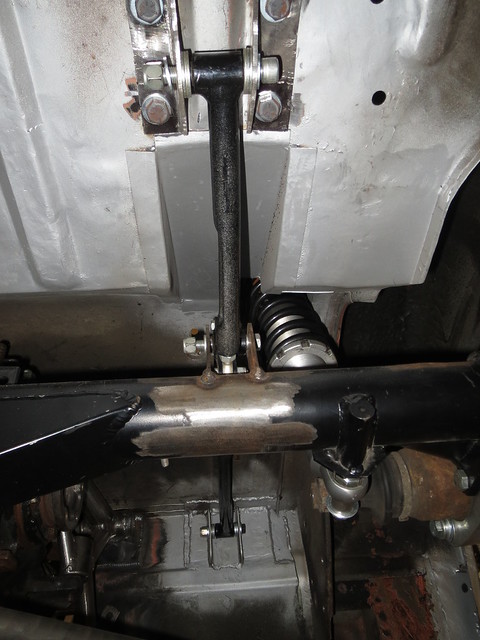
So this was the point I'd been hoping for for some time. The rear suspension is now complete! And whilst the brakes still need sorting at some point, they can wait for now. Since it is now sorted, I could bolt the rear wheels on and lower the car to the floor. And it does now feel like a car, not just a shell or chassis. Although it did take me ages to gradually lower it down as I hadn't realised that the centre of balance is now just about level with the rear bulkhead. So trying to lift the car up to remove the stands just made it pivot the wrong way, which was a little risky when working on my own late of an evening. Finally it was down and roughly levelled, although I will need to do it again as I need the wheels to start the front suspension.

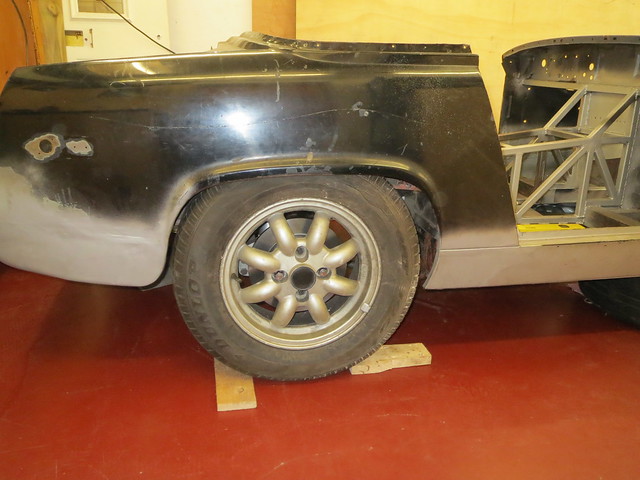
The car now feels a lot smaller, as it's no longer sat so far off the floor. It's good, but also a little odd still, seeing it with wheels. I'm just glad the ride height looks about right and when bouncing it up and down there's no creaks or groans and the springs even feel about right. But I suspect that will change once it's at kerb weight and being hustled down a back road. I also seem to have a reasonable amount of wheel clearance, but I need someone to bounce the car whilst I lie under it to check that more thoroughly.
So finally, it's now a wheelbarrow!!