Search This Blog

Monday 13 October 2014

Today's progress

Since I'm dying of manflu, or possibly something even more deadly, I was only out in the garage this afternoon. But I did manage to make some progress beyond tidying up.

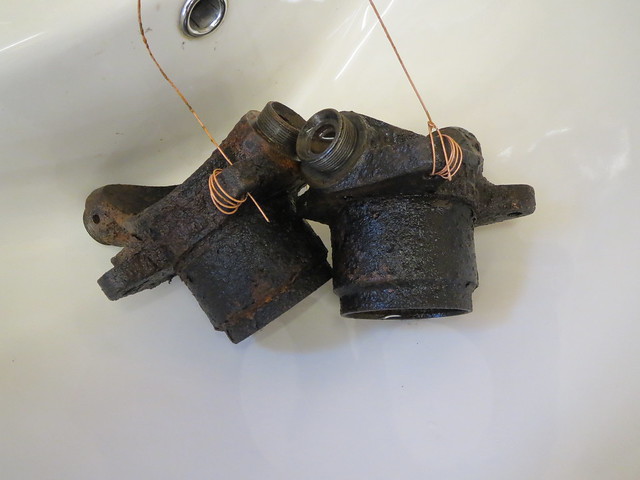
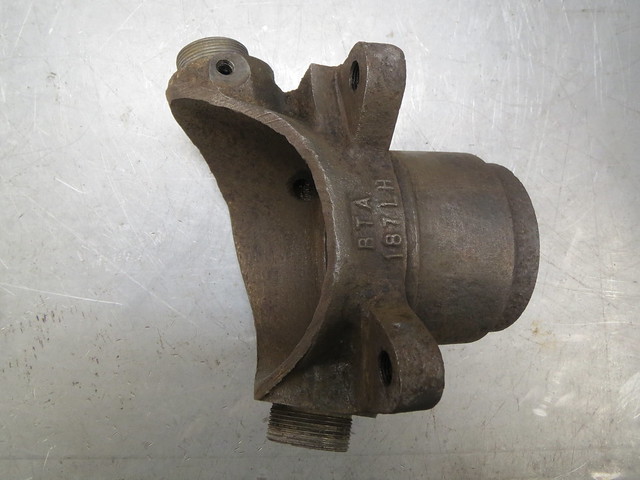
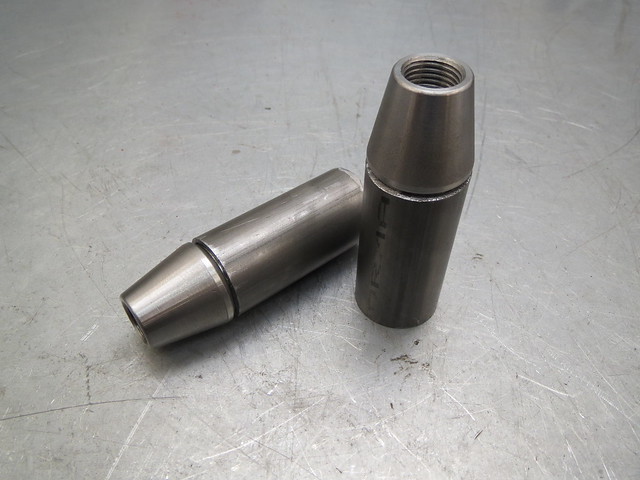
And that progress is on the new A frame for the rear suspension. As I'm changing the front mounts to be a much stiffer and more secure mount, I need to make a new longer A frame to match. The new mounts are based on the existing mounts, but cut down. The idea is to move the mounting brackets so they are in the middle of the bolts, rather than hanging off the shell on the bracket. These are the existing mounts:


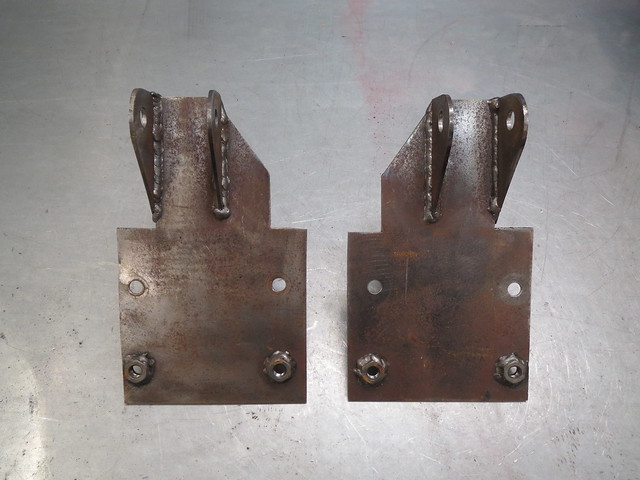
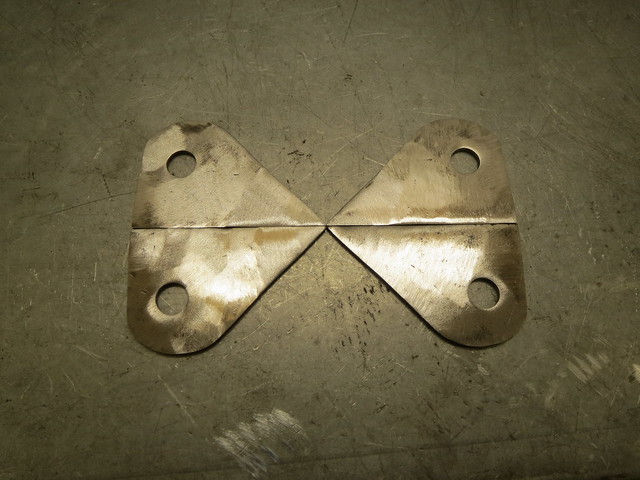
And this is what they look like when cut down to the size I want:


The new brackets are based on a template taken from the existing mounts. All four were roughly cut but accurately drilled before being bolted together for shaping. This ensures all four are the same shape and have the mounting hole in the same place.


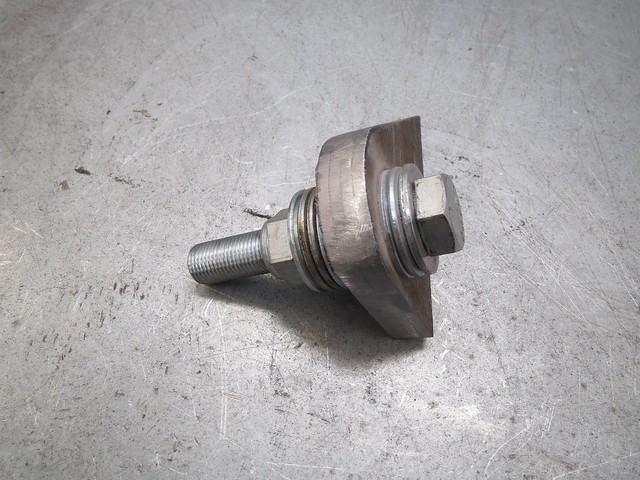
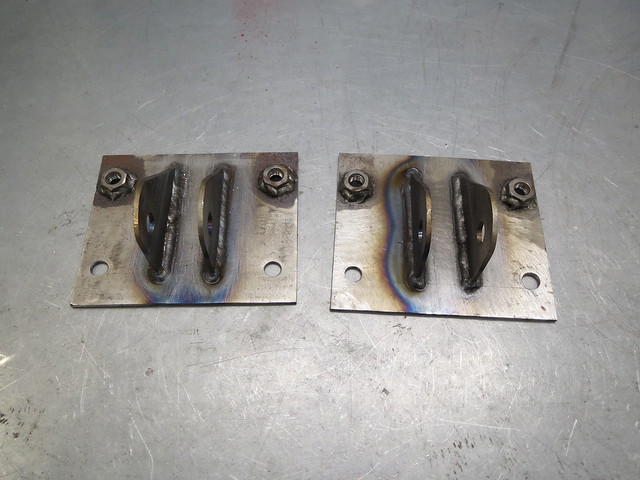
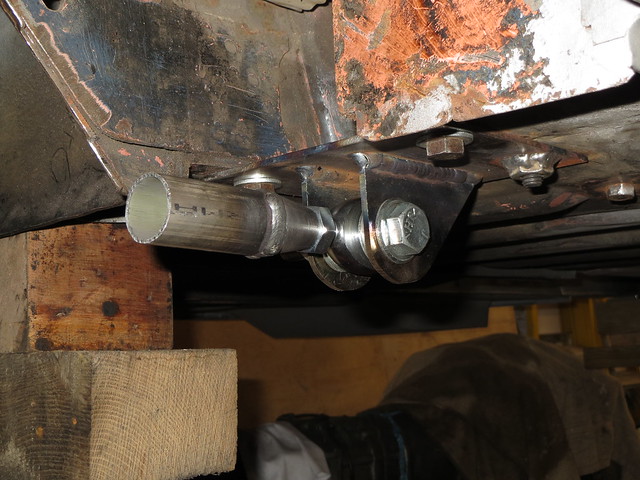
The brackets were then roughly assembled with the rod ends, threaded inserts and spacing washers, to allow a little extra adjustment should it be needed, before being tacked into place:


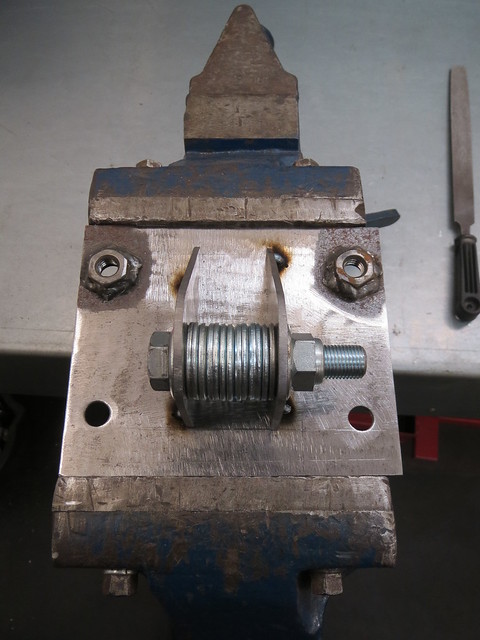
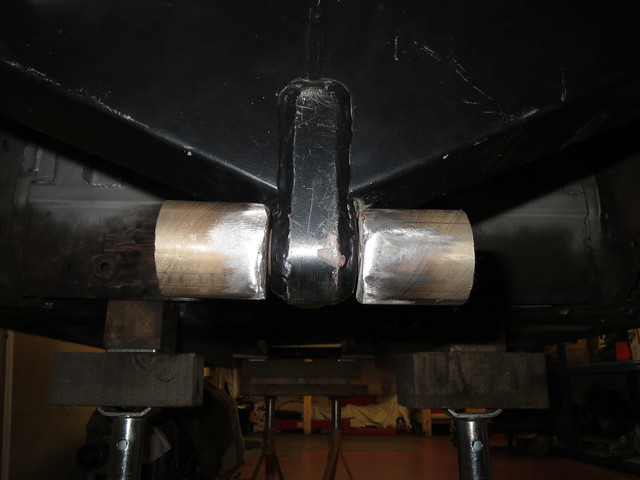
So with the brackets done for now, the threaded inserts needed welding into short sections of CDS. I decided to use these rather than rubber bushings as they're easier to make for a DIYer. Bushings require accurately sized tubing and are often press fit, and I don't have a press. And rod ends also allow a degree of adjustment that bushings just don't have. Plus, they're shiny.


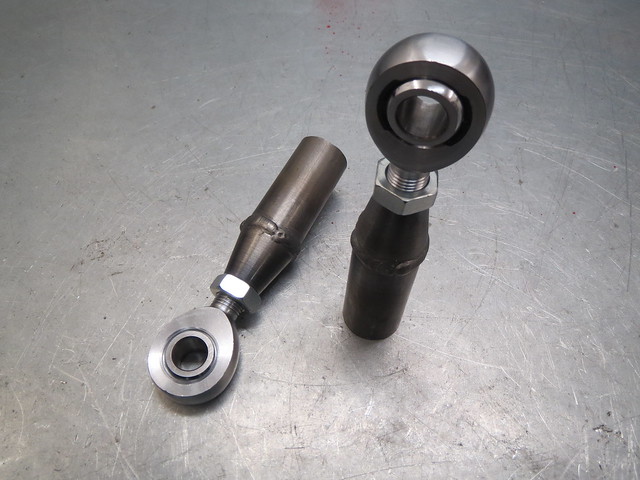
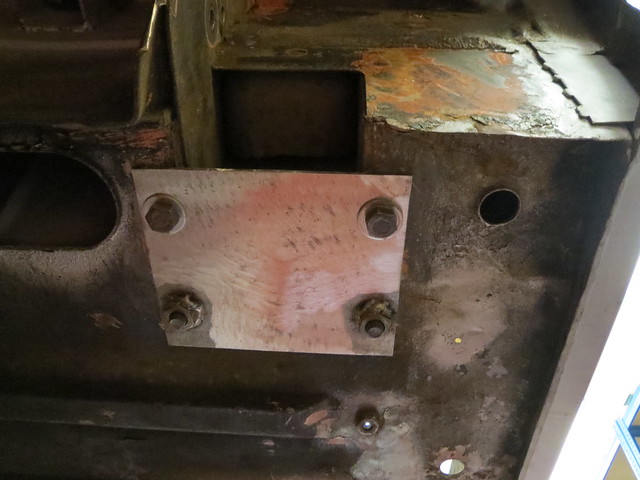
These were then bolted back into the brackets and the whole lot put back on the shell.


With those done for now, the De-Dion tube mount needed remaking too. The Caterham A frame uses 1 1/4" tubing, but I didn't have any so mine are 1 1/2" instead. The only difference this made was that they needed a slight angle filing on one edge to clear the welds on the main tube.

Building up to another week off

Since I have some holiday stored up, I'm taking this week off work to make more progress on the Sprite.

In preparation of having the time off, I wanted to get the Mini uprights cleaned up and in primer. I need to get the outer suspension components together so that I can set the wheels correctly in relation to the shell before moving onto making a trial set of wishbones. The easiest way I know of cleaning up old rusty parts is using the power of science.

Since they were free, they used to look a little worse for wear, like this:


But if you put them in a bucket of water mixed with soda crystals and add a battery charger you can use the electricity to reduce the rust on the surface back to iron. This process takes about half a day for each part in my little plastic tub, but that's about all. It's cheap, a piece of piss to do and makes very little mess. It also leaves any machined surfaces perfectly intact and can remove a fair bit of grease too. This was my initial set up, and they were left in overnight:


Once taken out, they look better. Not great, but better. Ideally, you should surround each part with anodes (the scrap bits of steel), but I only had two usable bits to hand.


Since they weren't great, I decided to put them back in individually to get them looking better. Once they're given a quick wire brushing to remove any flakes of rust/iron, they look like this:


Not bad for 10-15 minutes work. OK, a blast cleaner would probably do just as well, if not better, but I don't have one of those where as I do have a battery charger and a bucket. This process can be applied to any iron/steel item and the only real limit is the size of the tub and the charger.


IMPORTANT 'Ealth and Safety bit: should you fancy having a go at home, please do. But DO NOT use stainless for the anodes. It makes a rather nasty chemical in the water called [url=http://en.wikipedia.org/wiki/Hexavalent_chromium]hexavalent chromium[/url]. It's mildly carcinogenic and can cause contact dermatitis. Make sure you put the negative wire on the thing to be de-rusted, as getting it wrong makes the part more rusty! Where possible ensure it's done in a ventilated space as the process gives off hydrogen gas in small volumes.


Once they were both clean and dried off, a few coats of engine primer were applied. I'm using that over other stuff as it's supposed to resist temps up to 500F, which should be way above what the uprights see. At some point I'll probably paint them black but they'll only get knocked in the next few weeks, so I don't see the point yet.