Much has happened in the past month, and I'm please with the progress.
The gearbox mount was completed, but found to have a bit too much vertical deflection in the flat plate across the gearbox. So a simple fix was to replace it with a shaped piece instead.
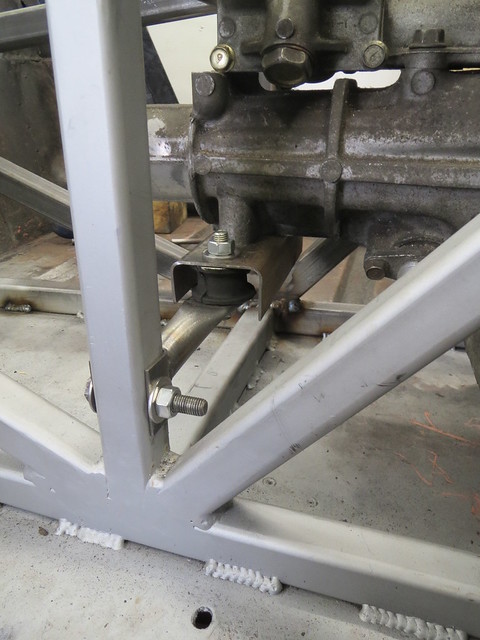
There is now less than 2mm vertical movement with my 100Kgs stood on the tail of the box!
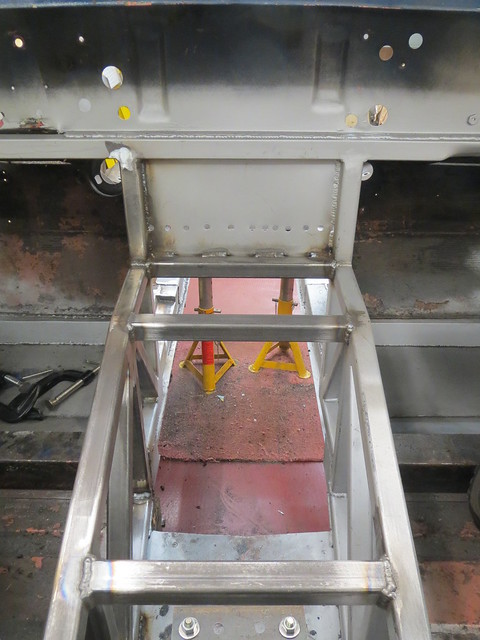
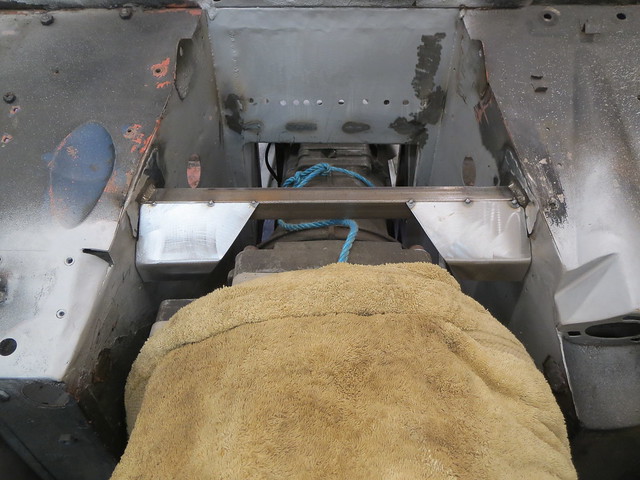
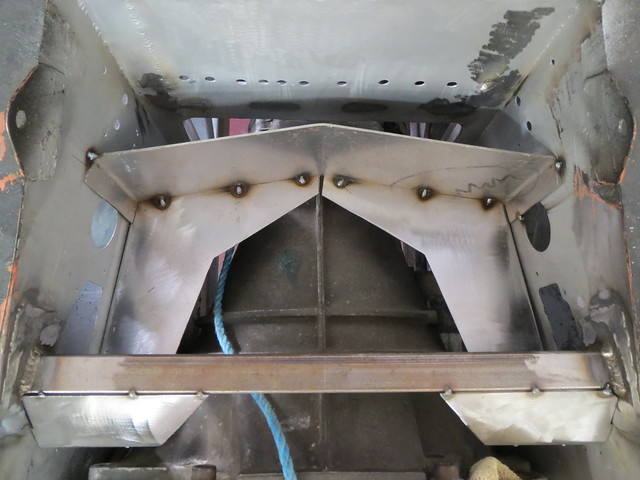
With the engine and box now fully mounted, more work on the tunnel was done.
First the cross tubes were fitted:
And then diagonals from the frame up to the dash tube:
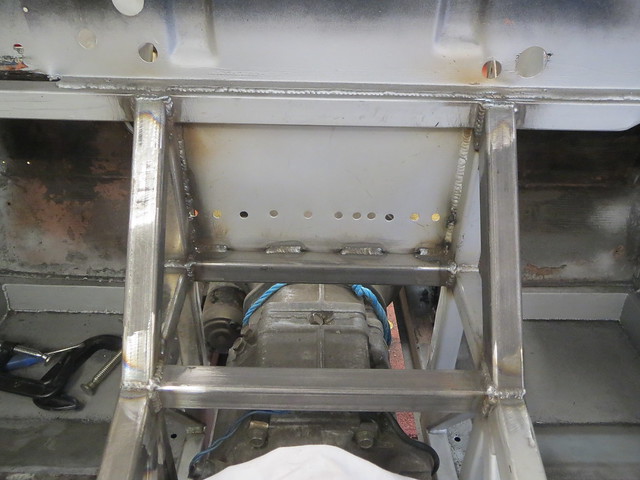
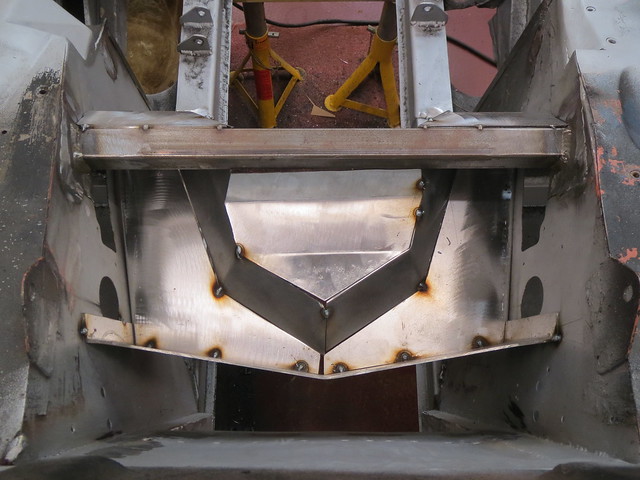
For now, that's the tunnel completed! I still want to add diagonals that go from the front bulkhead up to the dash tube, but I need to have the dash and steering column fully mounted before I go ahead and do those in case of clashes.
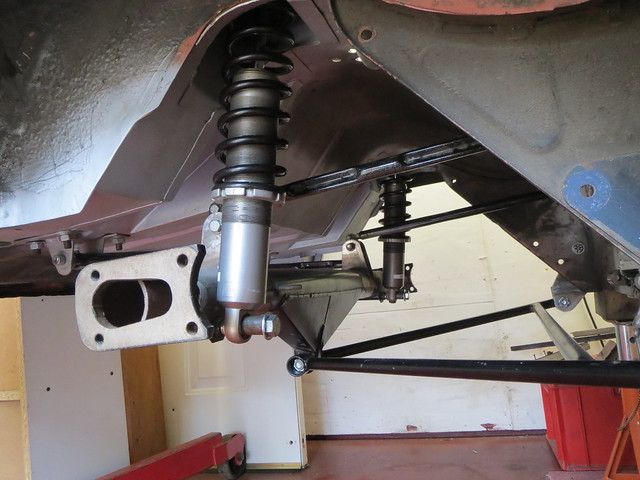
The next thing on my list was to do some more work on the rear suspension, specifically mounting the coil overs at last. The first step was to make the top mounts. This are just simple pieces of 3mm angle, with a section of M10 threaded bar welded into place. One side is longer than the other to aid with locating, as the coil over needs sliding up into the tower from below with one hand, whilst trying to get a nut on with the other hand inside the car. With one peg longer, they can be located one at a time. As clearance is tight, I also need some shorter bolts.
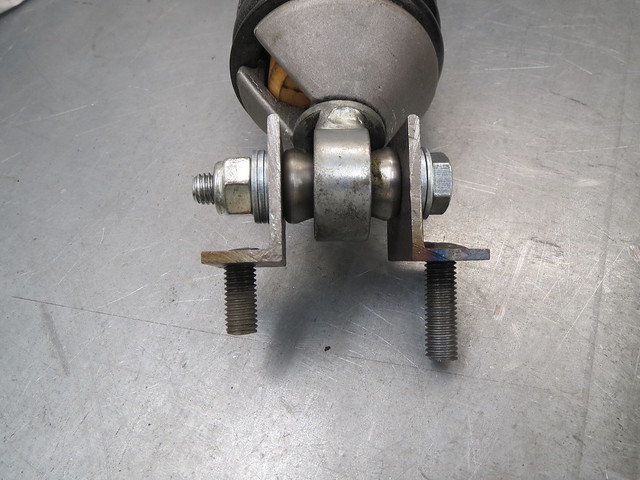
One problem with the coil overs I have is that they have cone shaped washers, with a 10mm hole as that's what Caterham use on the CSR. However, the De-Dion tube is designed to take a 1/2" bolt, so the washers have to come out, but that leaves a 15mm hole! I'll need to sort something out for this later on, but for now I've just made up a spacer using a 1/2" nut so I can check everything fits.

With both sides done, the rear linkages are all now hanging under their own weight for the first time! Once I get hold of a set of the end brackets or ears, I can make a start on hanging the hubs and so on before getting the diff spider made and fitted.
Since I was feeling all good and optimistic, I decided it was a good time to tackle the heater tray. The original was cut out ages back to allow the engine and box to fit. And now they're mounted I can make a replacement for it. It was also a chance to create a little extra rigidity in the foot wells.
The first thing to do was to fit a length of 1" box between the footwell panels. It had 16 SWG plates added to each end to spread the load.

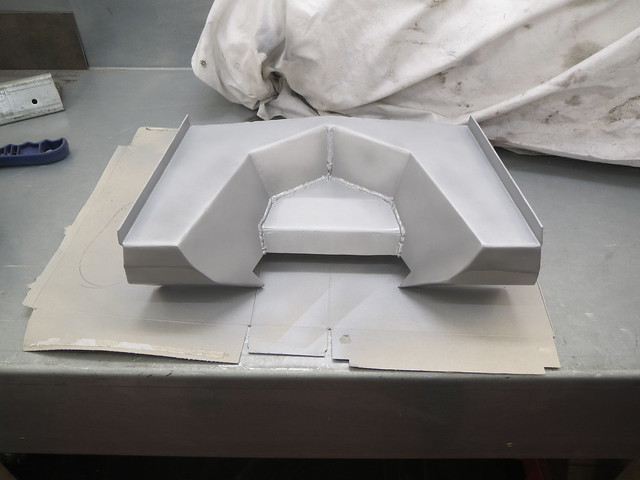
This then gave a fixed point to work off for the leading edge of the tray. The plan was to make each section as a card template, before reversing that template for the other side, like this:

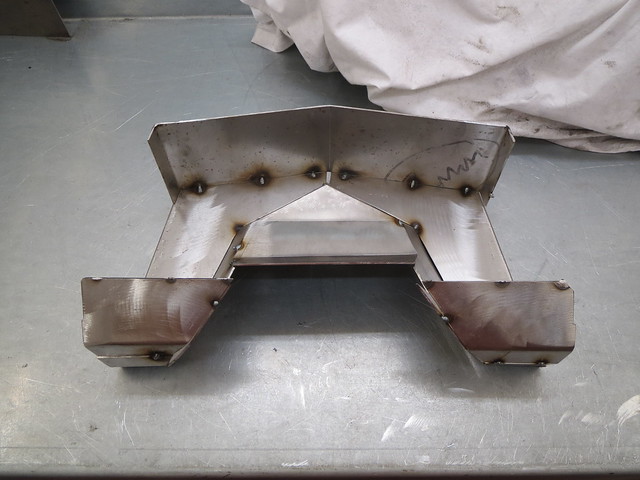
With the whole thing tacked together, it could then be removed from the shell as one piece and welded up on the bench:
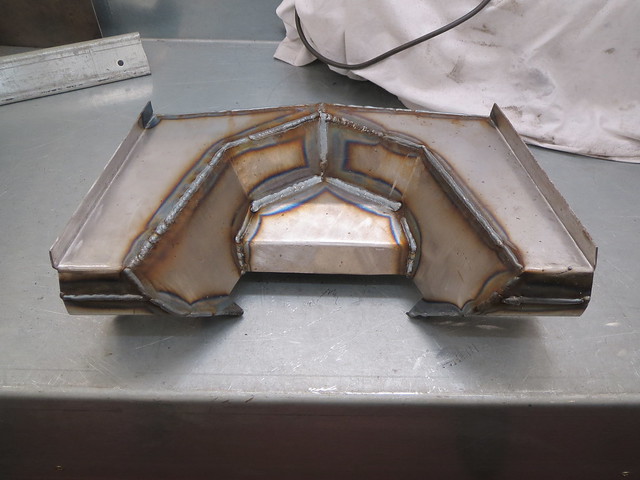
Once cleaned up, the whole thing was given a coat of primer and left to dry.
And that's pretty much where I am now. The tray is about to go back into the shell, but I've got the spot weld holes to drill first.
On another note, I'm still trying to find a set of seats that will sensibly fit into the space I have for them. For a seat roughly 600mm long, the front can only be 460mm wide. This is smaller than the vast majority of seats so finding something second hand may be hard work. I might even have to resort to buying something new!! Or just use GRP shells for now as I imagine I'll only be carry adults whilst I get the car reliable. I'm not sure which will work out better in the long run. Not that there's any rush to decide, mind you!