For making the patch, I did my usual trick of using a cereal box to make a template, before transferring the shape to steel sheet. This is the result:
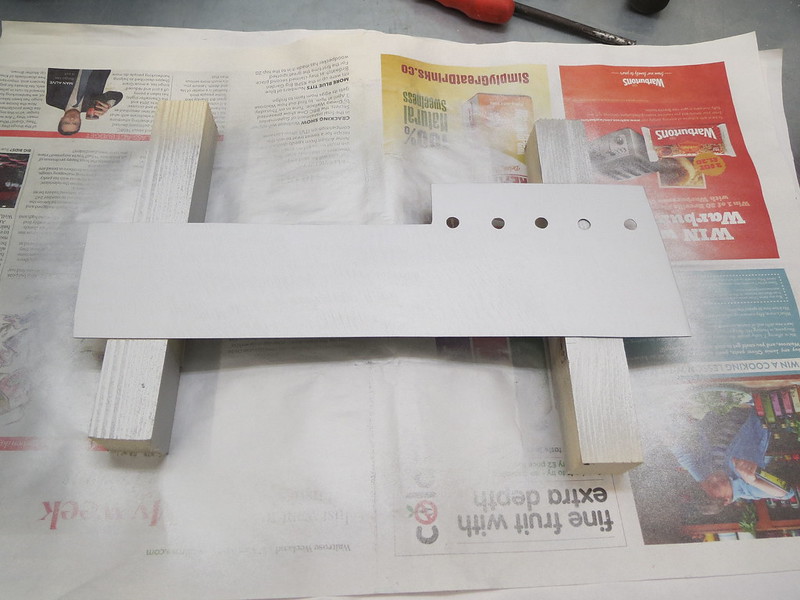
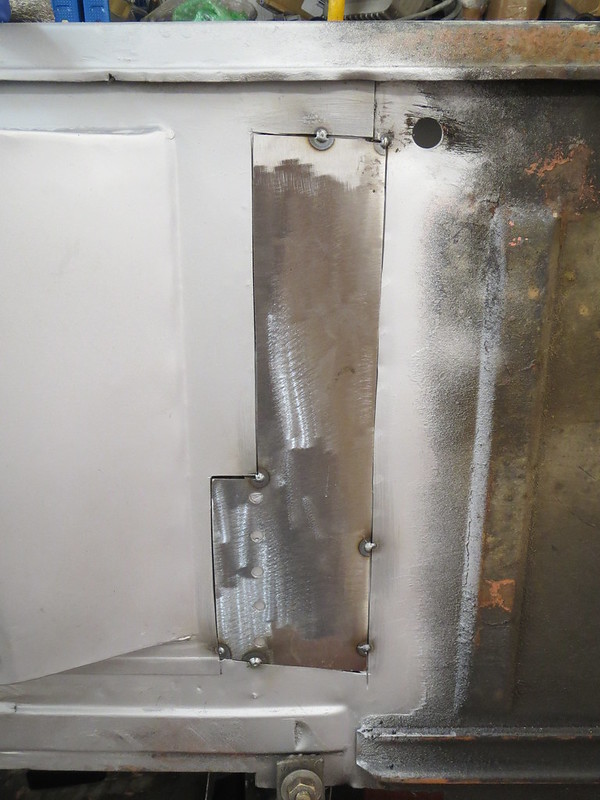
Once the primer's dry, it gets tacked in place, ready for any final shaping and then welding:
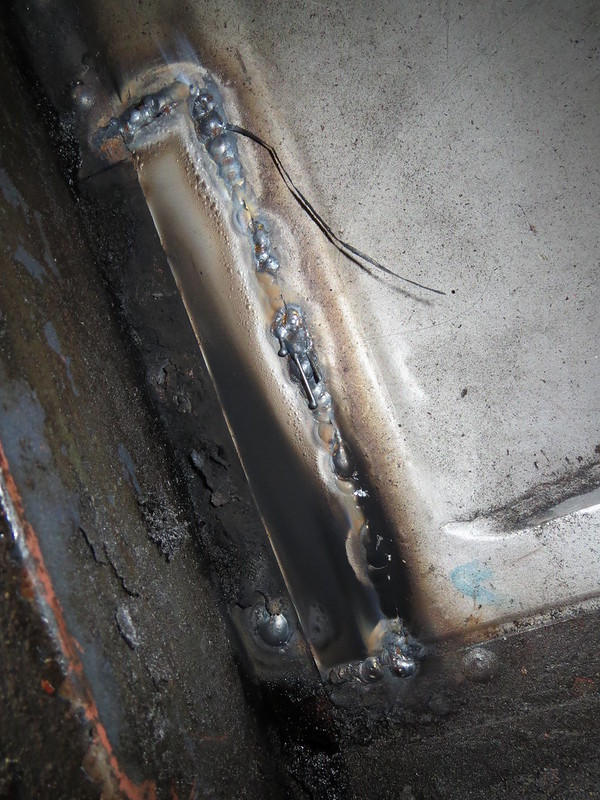
Then I set to with the welder and got it all stuck in. However, I got a bit carried away and forgot to take any photos of the front of the welding, so this one of the back is all I have. This shows what the back looks like when you manage to burn a hole or two in the steel and have to go back later on. That's why some bits look cleaner than others, and why there's bits of wire hanging off it. The black soot is where the car sets on fire.
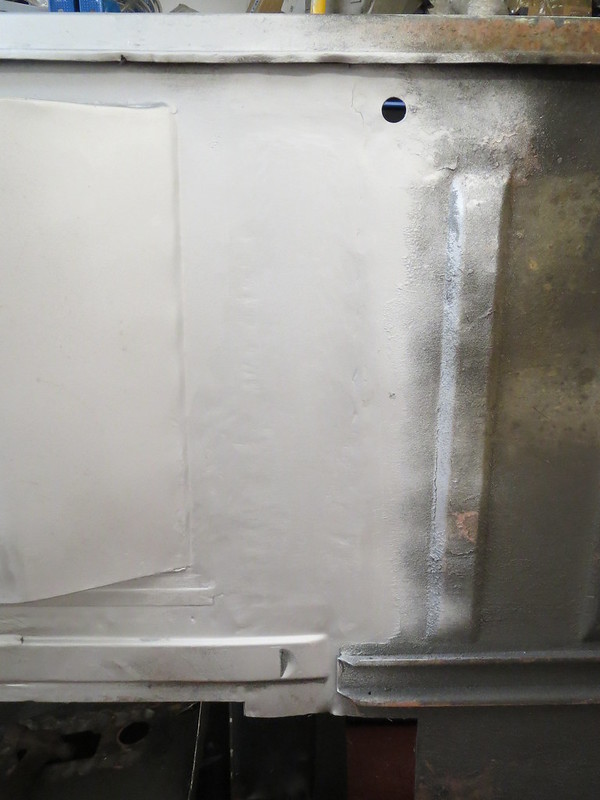
So once I'd cleaned the underside up with a grinder, it looked rather good considering it's been over 2 years since I picked a welder up!

And once painted in more than a coat of primer, you'll not know it's there at all:
The plan now is to check the rest of the bottom of the car over for anything else I may have missed, then cap the exposed cross member that I can to get to before rolling the car back the right way up. Once that's done, I think I'll get on with fitting the engine and making the new transmission tunnel.