Search This Blog

Sunday 29 June 2014

Yay, engine and box back in at last!

So a few more weeks have gone past, my best mate is now married to his beautiful bride and I can get back to work on the Sprite!

From where I left off with the frame, I got the second side cut and tacked into place. I then decided to cut the entire side out and weld it on the bench. This means I can do all the welding the right way up, but it does mean a bigger hole in the bulkhead so I can fit the diff mount end of the frame in.


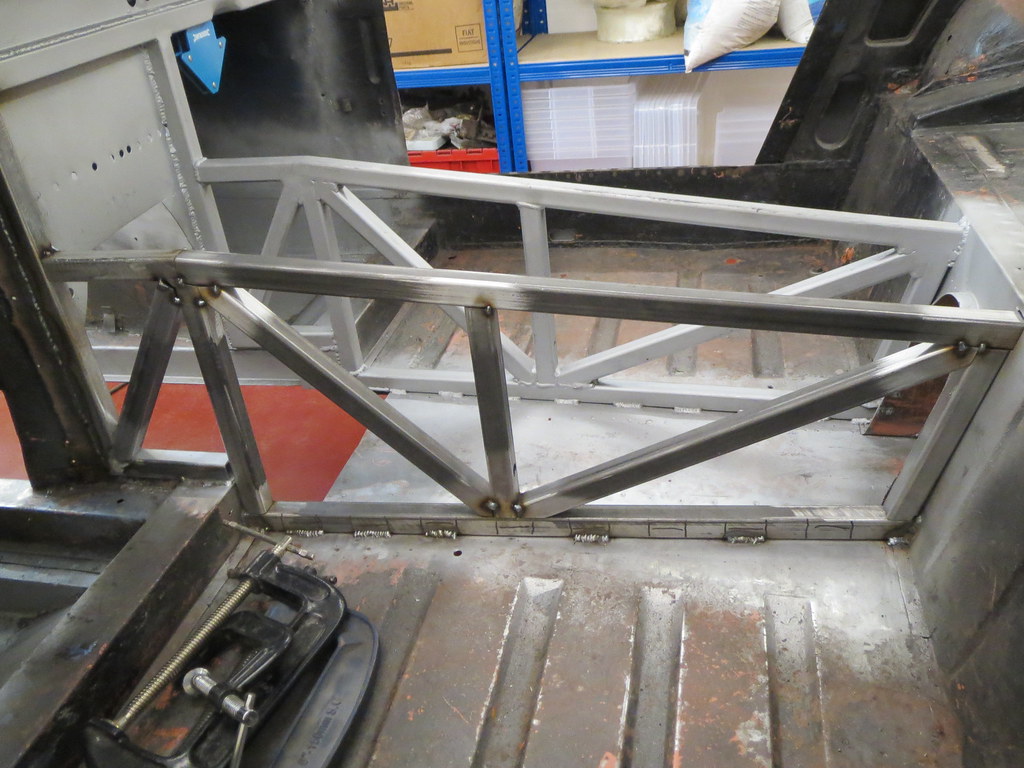
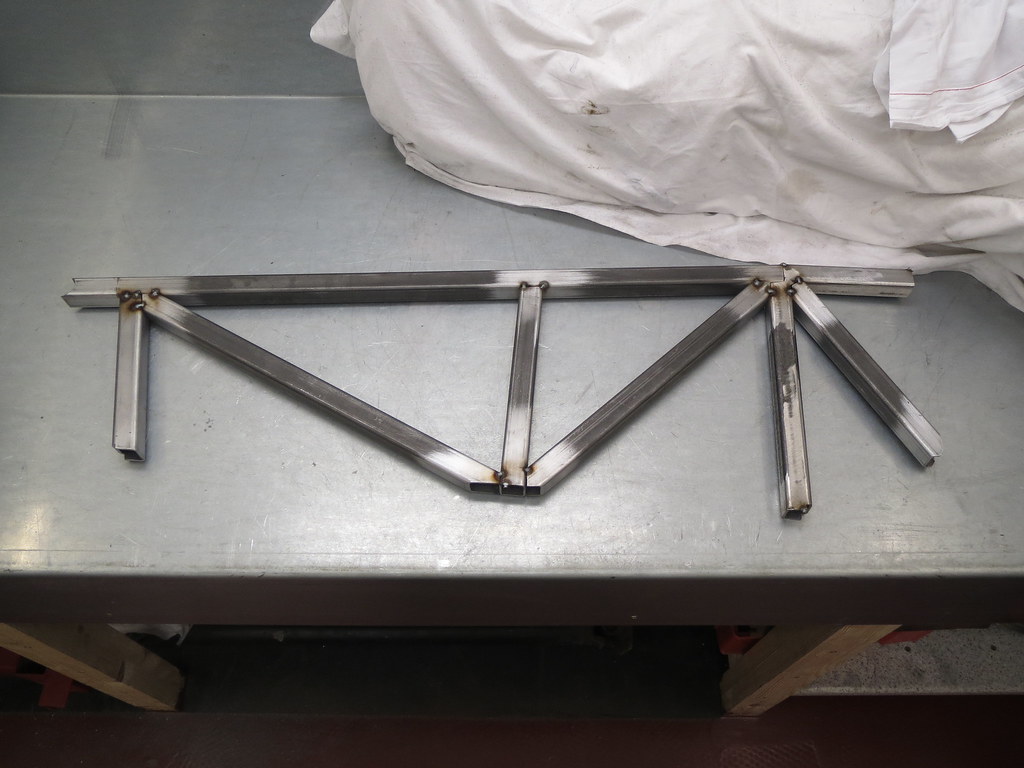
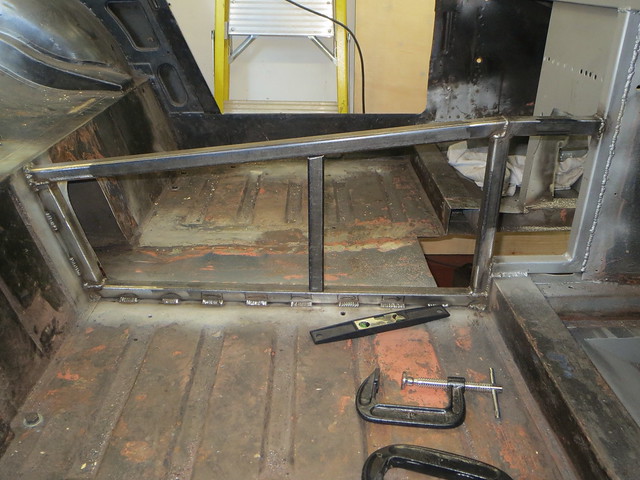
Before it was welded in, I fitted two of the lower frame tubes before access became awkward round the frame. The rear most tube should be hard up against the bulkhead, but I decided that the work needed to do this wasn't worth the effort. So the tube sits roughly 1" forward of where it should be.


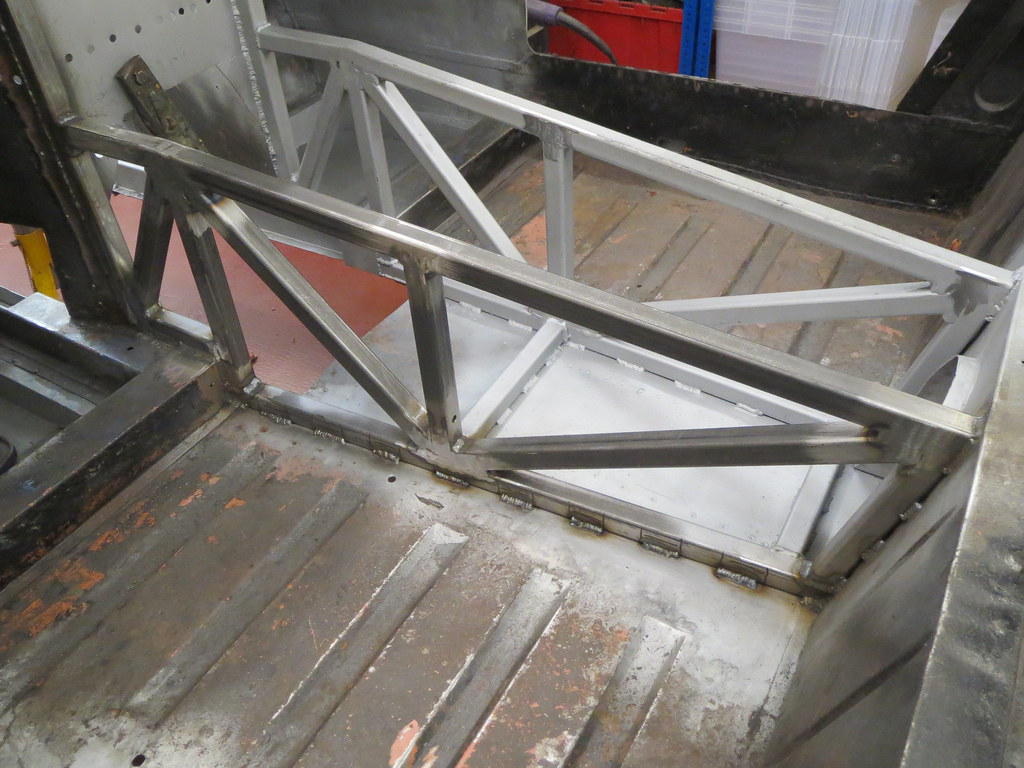
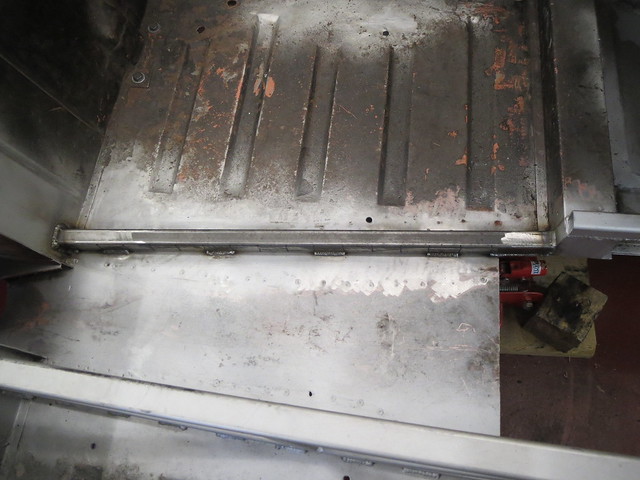
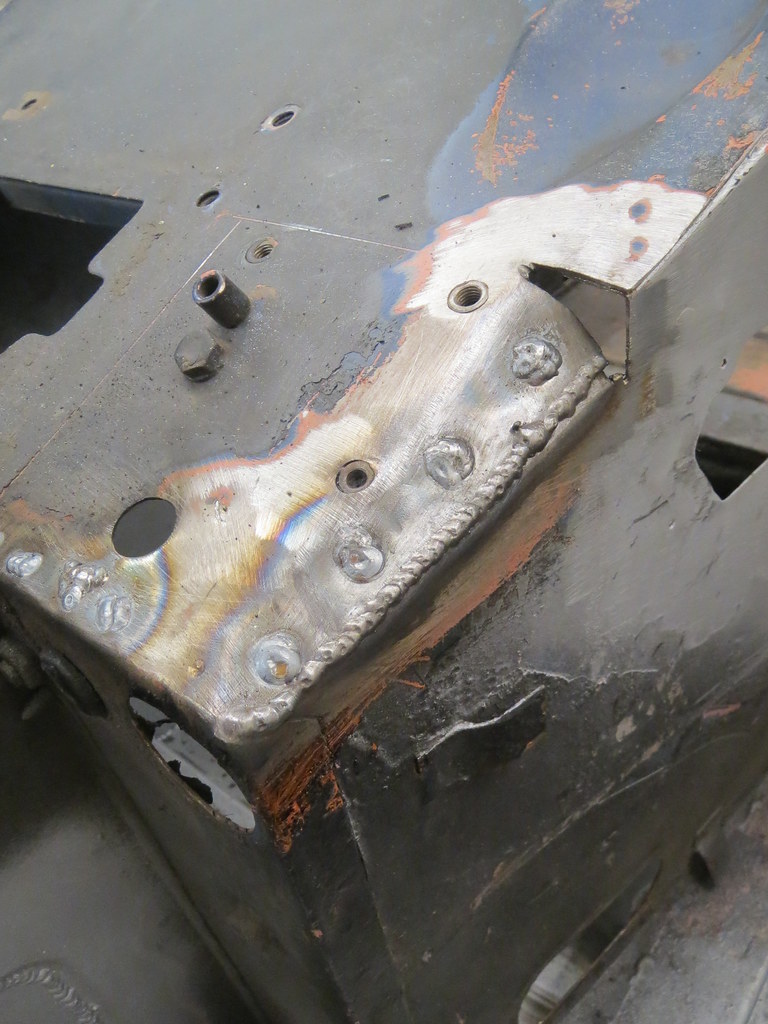
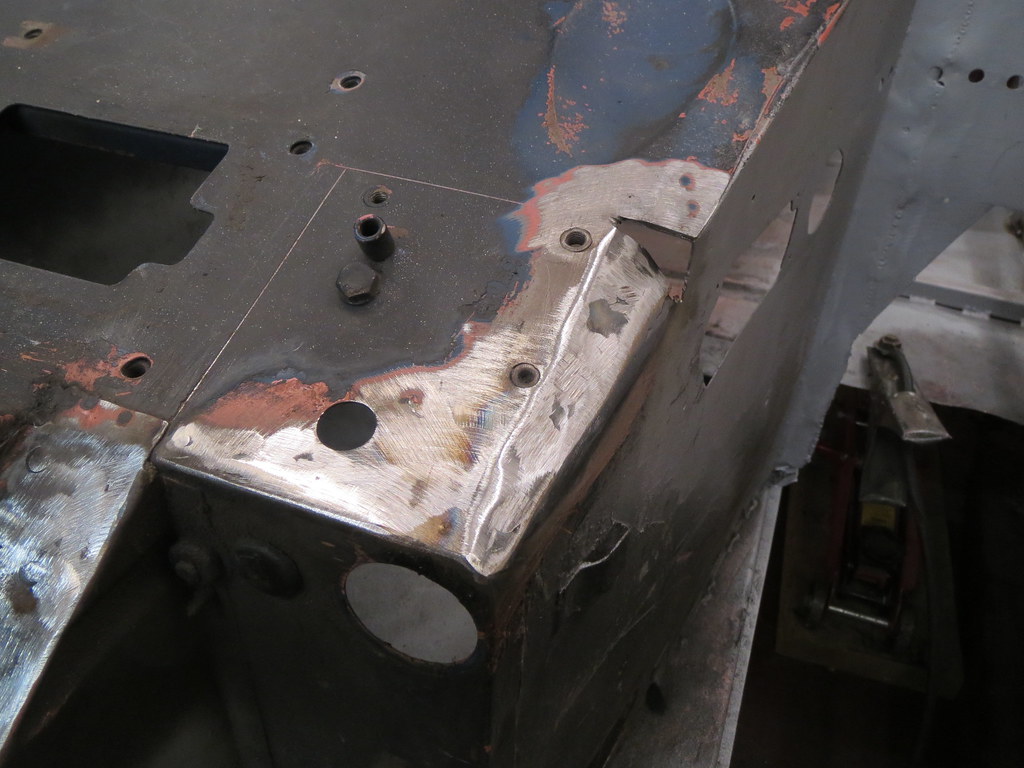
The only bit of the frame I could safely fit for now was the rear top tube, against the bulkhead. The welding needs tidying up as yet, as I had the bulkhead hole to fill in slightly.


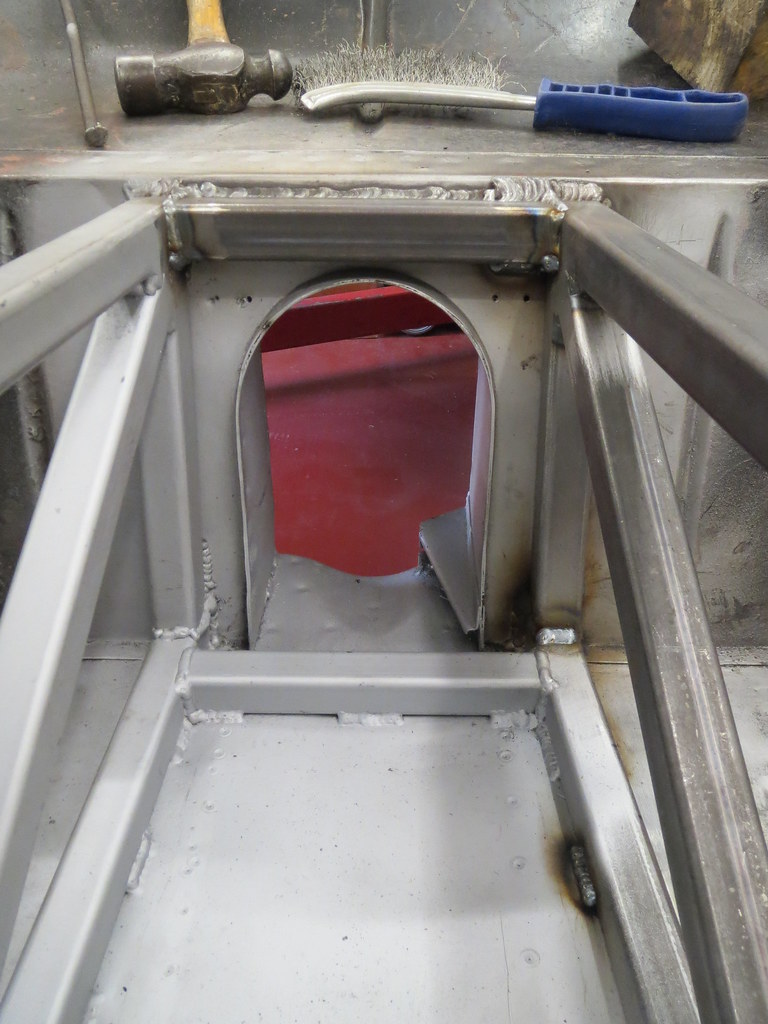
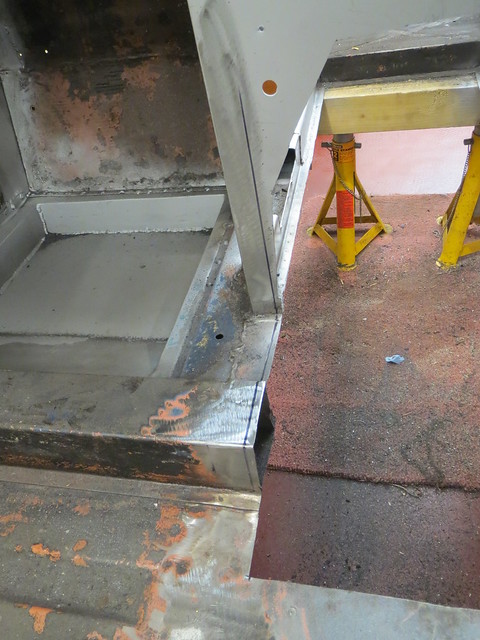
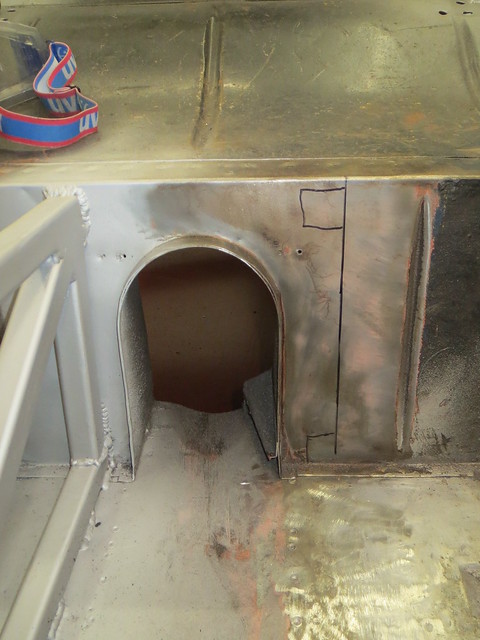
The rest of the frame tubes had to wait until the engine and box went in, as I knew some may sit in the same place as the box. However, before I could fit the engine and box, I needed to close off the footwell tops and the chassis rail notch.


I've left the small infill piece out of the RHS footwell for now as it might come in handy for running cables for the ECU, since it's so close to the engine.

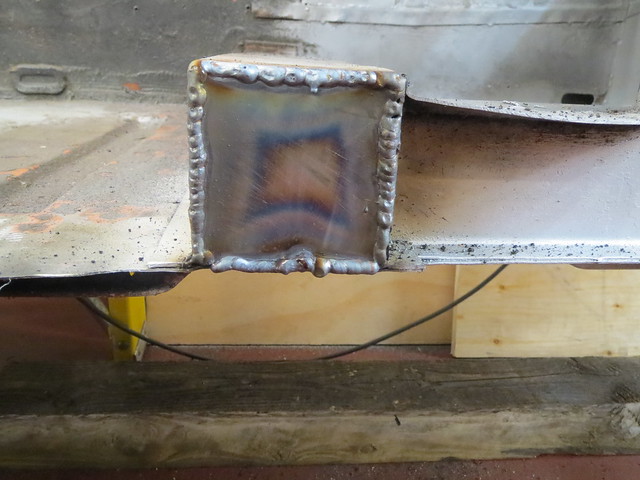
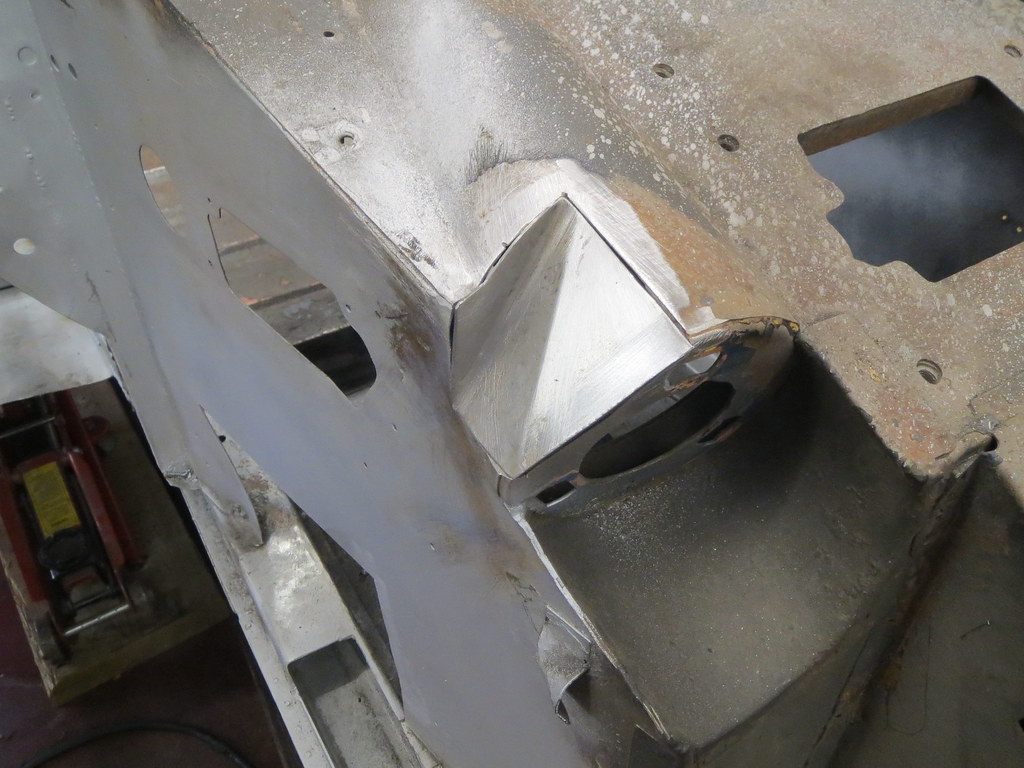
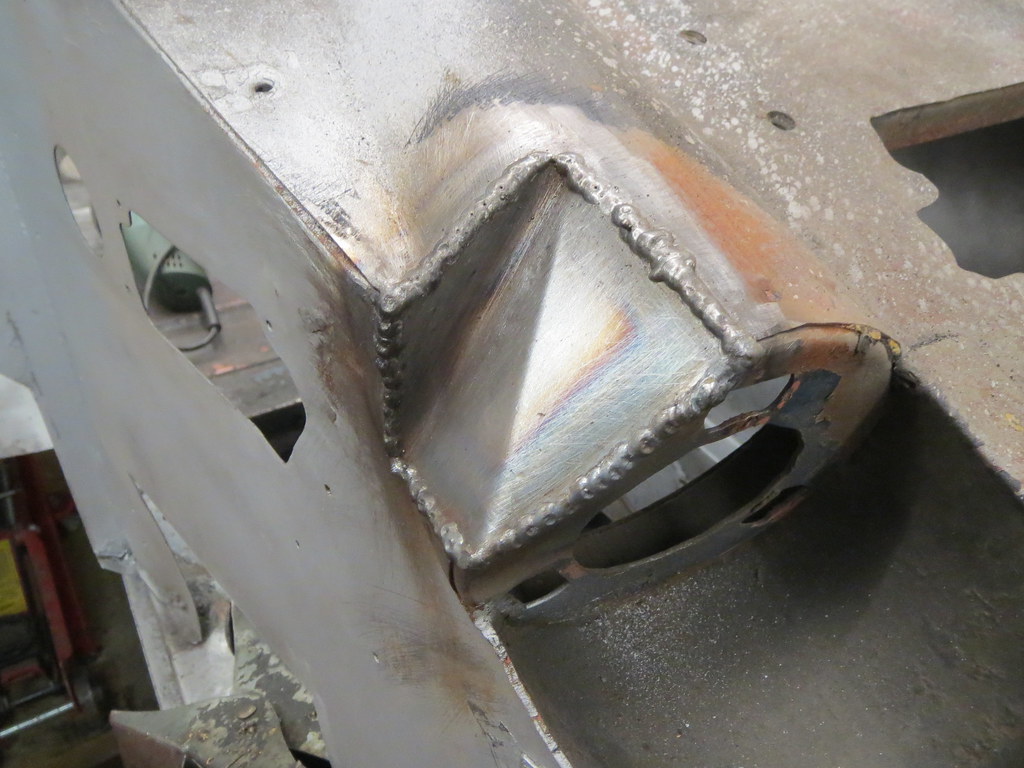
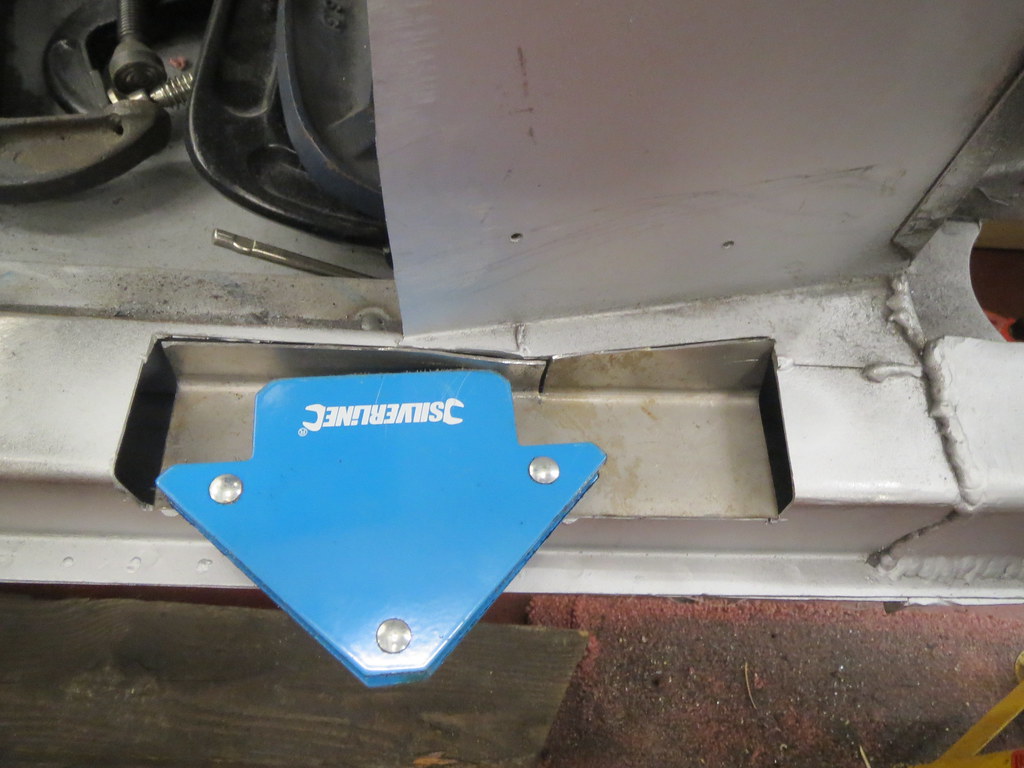
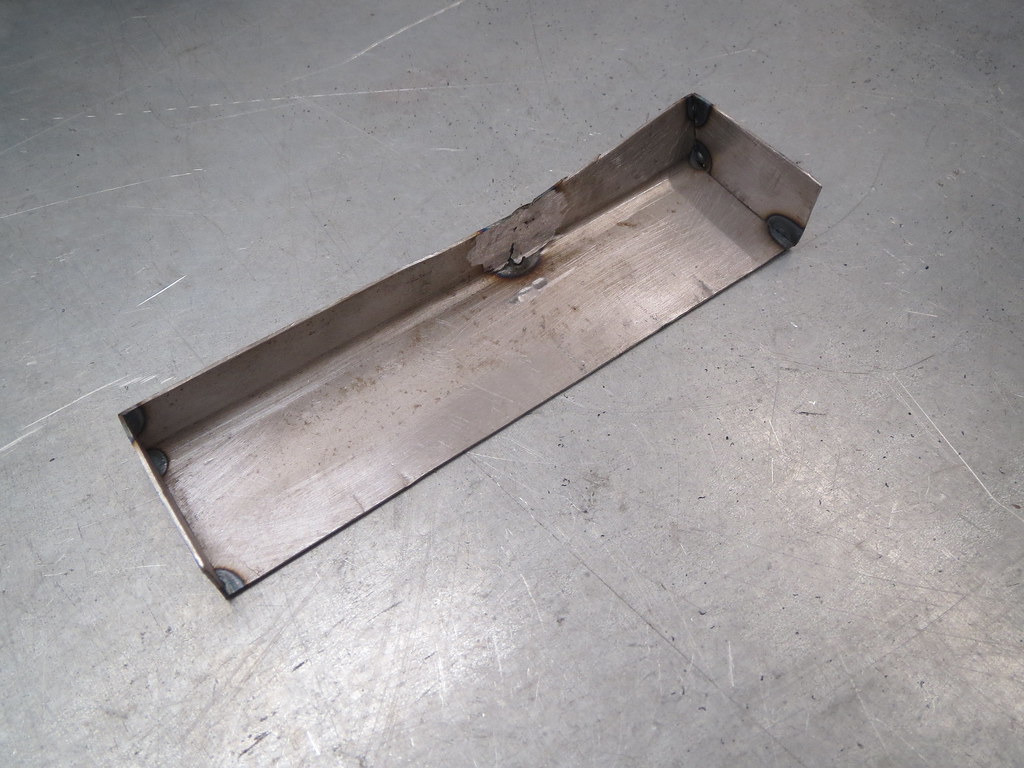
The chassis notch took a bit more time to do, as I had to form an odd shaped box:


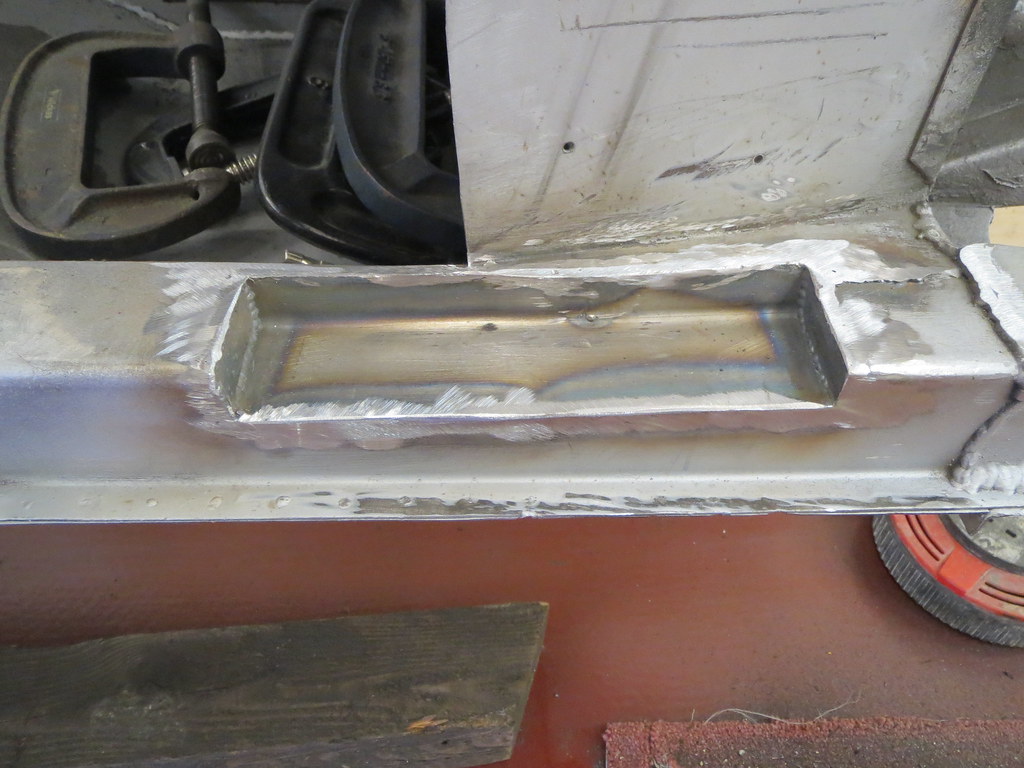
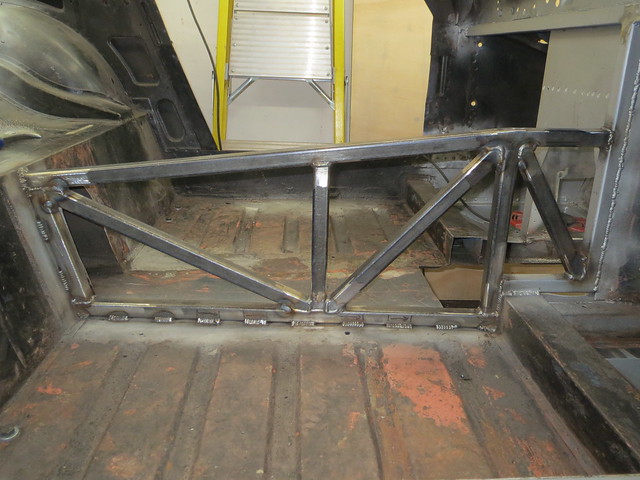
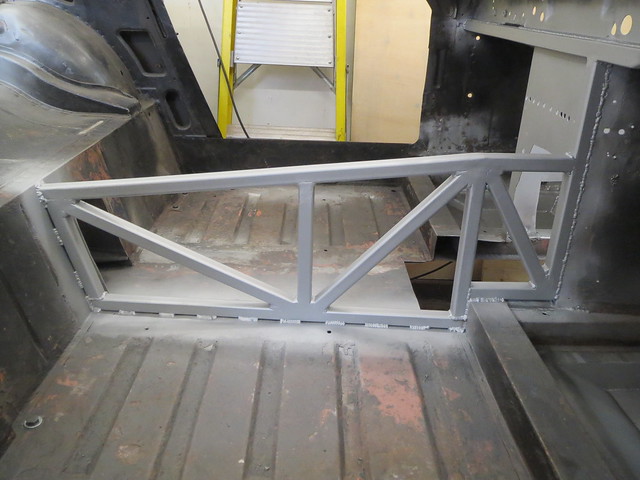
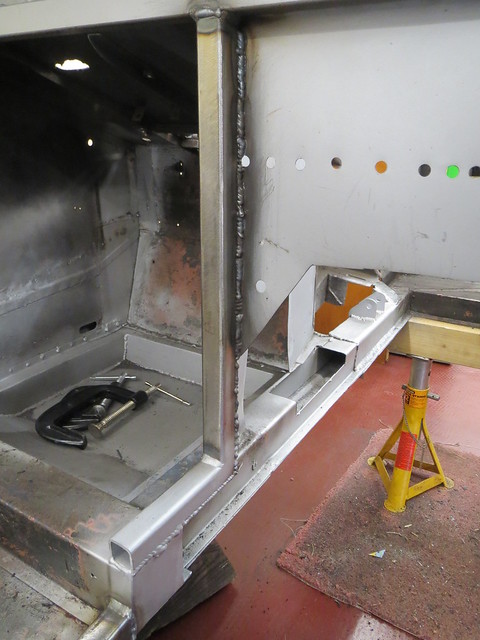
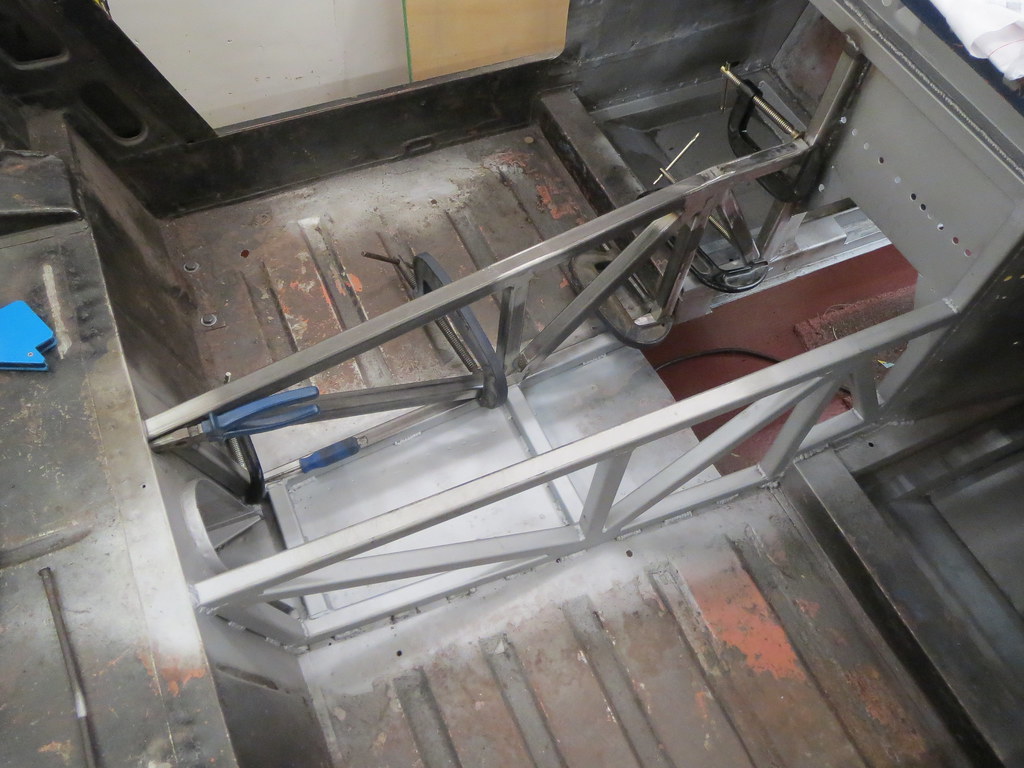
And so I could get the engine and box back out from under my bench and into the shell. Thankfully, there's loads of room round the gearbox. I haven't checked the heads yet, as that can wait for a quiet evening to do.


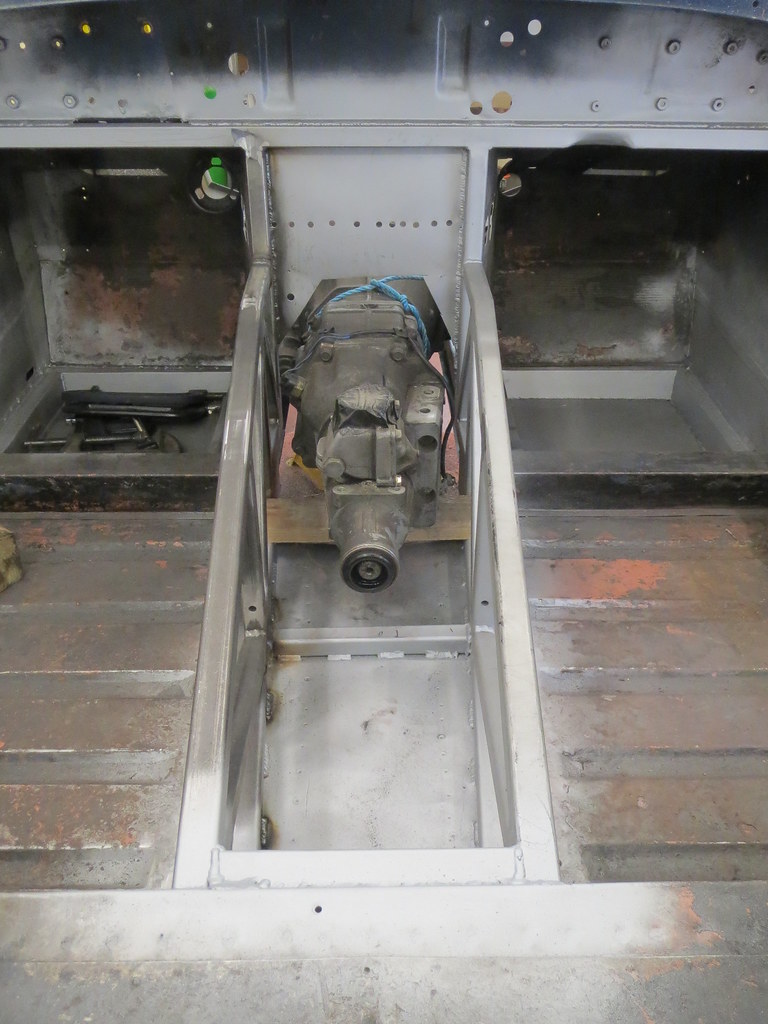
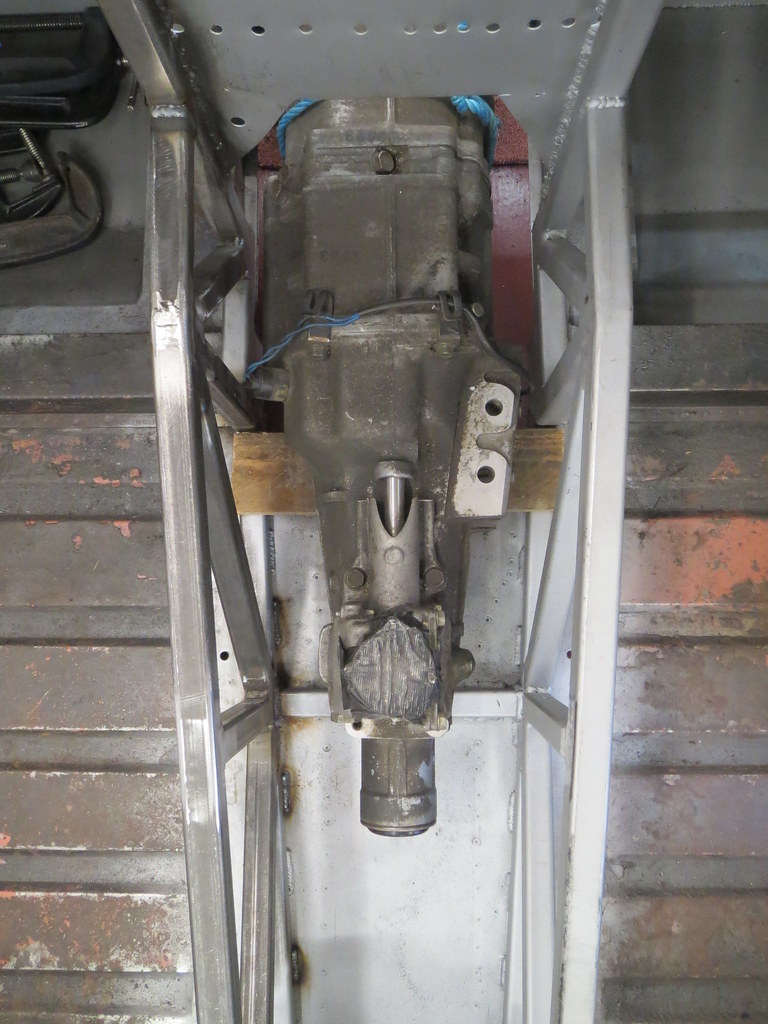
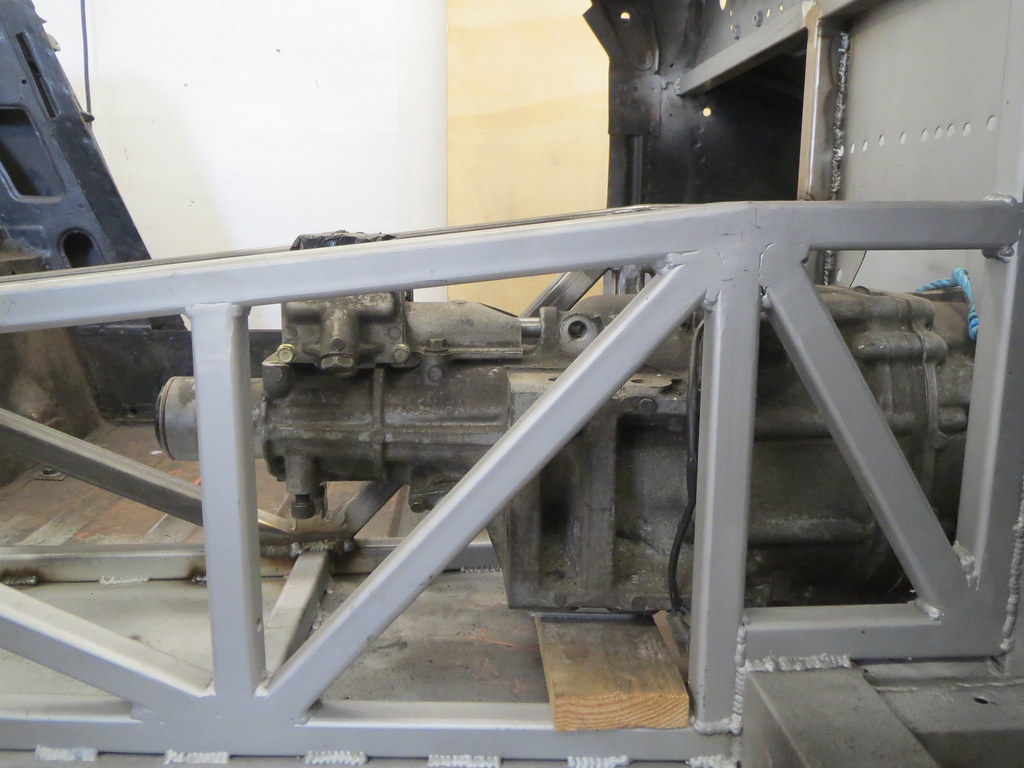
It's just as well that I decided not to fit the other cross tubes, as the next one forward would only just miss the gear turret. The other would fit above the box though. I also have space to partly replace the chassis cross member with a lower version, which is good news.

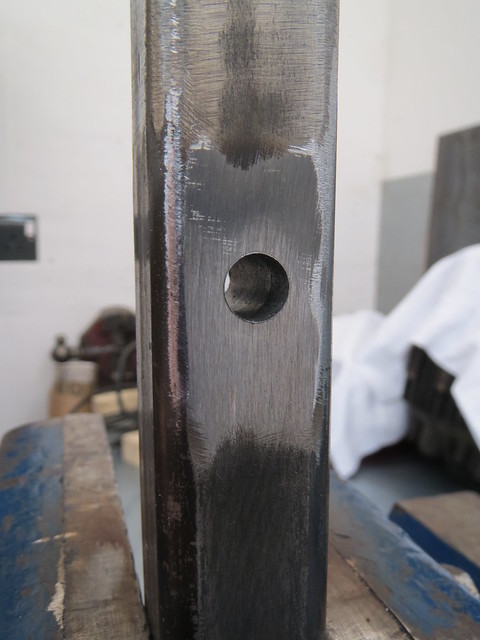
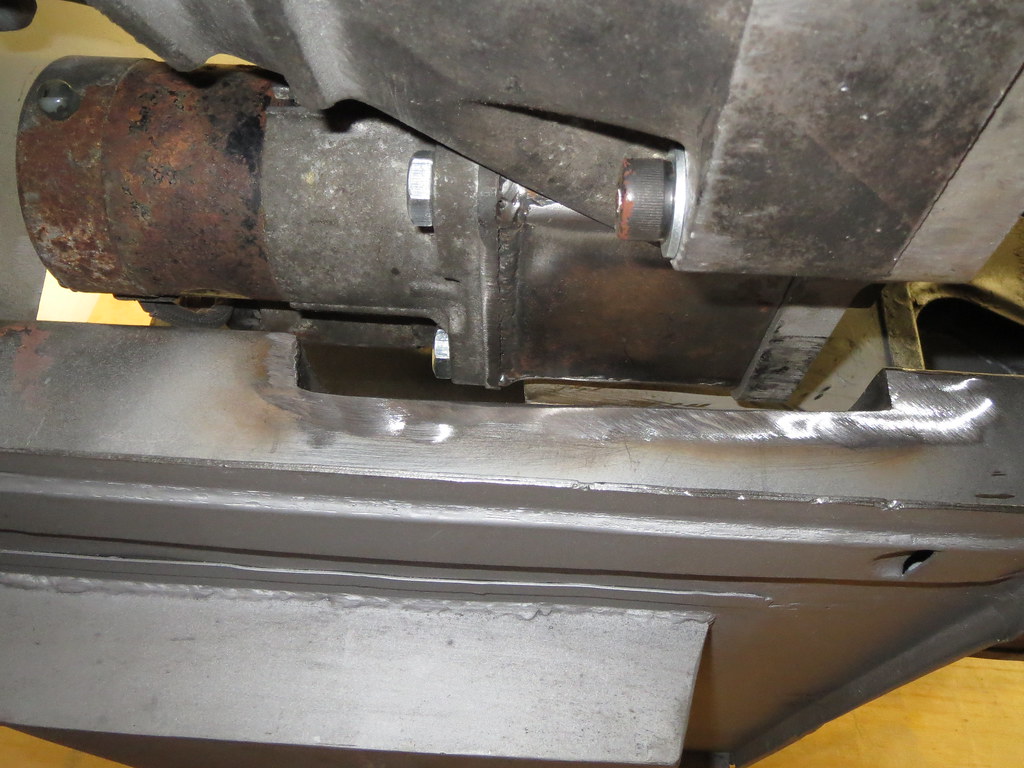
The next thing to do was the gearbox mount. This is a Mk1 go at it, as I'm not sure if this is the best way or not yet. I'd like to be able to screw the bobbins straight to the box, but I can't find any with an M10 x 1.0mm thread.


The frame bracket is formed from a strip of 2mm sheet bent round an off cut to give a good fit. I ran out of time to start cutting the tube back to suit, so that's the next thing to do before making a matching version for the other side. I may link the two halves together yet to make it stiffer, but I'm not sure. I'll wait until both sides are done and then see if I can move the box about at all.

Wednesday 4 June 2014

One side down, and work started on the second

With the top rail in place, the two vertical(ish) tubes were cut and fitted. The rear tube was straight forward to do as it just sits against the bulkhead face. The central tube is harder, as it will hold the gearbox mount.

Firstly the tube was fitted to the rest of the frame.


The tube was then drilled to accept a short bit of 12mm bar that would form the crush tube. Once this was welded in, an 8mm hole was drilled through it. The completed tube was then welded into the frame.


So now the main frame was complete, it was on with the diagonal brace bars. These are simple enough to do once the frame is solid, as you can just hold the new tube against the frame and mark off where the cuts need to be. The frame has three diagonals in it.


Fitting these proved to be harder than I had thought, as getting good access to some of the welds was difficult. There was one or two where I could only just see what I was doing. Because of this, I will try to make the other side of the frame off the car so I can turn it round and see what I'm up to next time. But once I'd ground the facing welds flat, that was this side of the frame done! I'm really pleased with how it looks, and I at some point I will need to decide which seats I'll be fitting. Not that I have much choice, as the space is now even more limited than usual!


The other side was the next step, and lots of measuring was needed first. Since I had cut the cross member and floor to be roughly right, I needed to cut it back to be exactly right so it didn't underhang the frame. Thankfully, I was only 5mm out with my original cuts. The rear bulkhead was also marked out.


Once cut back and cleaned up, I could then cap the cross member before making a start on the frame. Once the welds were cleaned back, I had to re-do a tiny bit as I'd missed the edge of the panel slightly.


As with the first side, I started with the front section of the frame to give me something square to go from. I also hammered the floor section under the rail closed and welded that up whilst I was there.


The next tube was the lower rail, but it seems I had twisted the floor slightly when welding the first side of the frame in. I know it wasn't flat to start with, but I think I've made it worse. So I had to stand on the tube when putting the first welds in to keep it square. Since I've been thinking about fitting a floor under the engine bay, I may cut the centre of the floor out yet and replace it with ally sheet.


The only other thing to report is that I am now minus my favourite kneeling pad. It turns out that I really should have looked under the car before responding to my neighbour's call over the fence, as I had managed to set the pad, and then a bit of carpet on fire!


The best bit is that it wasn't even me that spotted it, but my 21 month old son Noah who was busy pointing and shouting at me! If he hadn't seen it, I'm not sure what would have happened. So a lesson learnt there!!