What I have managed to do in the mean time though has been worth the effort. After much waiting and having to do other things, I've managed to get the last coat of self-levelling compound down!
This wouldn't have been necessary if the concrete slab had been flat and smooth in the first place. But it was no where near. That's the problem with using a friend of a friend set up. If things don't go to plan, you're a bit stumped for any come back. Next time, if/when there's a next time, I'll be getting it done properly by someone else. It'll be much quicker and probably cheaper too. Either way, the slab was wonky and needed levelling. Most of this has been done, but a final coat is required. To do this, the floor must be clear. And that means moving the shell. But it's November and the weather's rubbish. And as much as just putting on the drive is the easy option, it also leaves it exposed, which is something I really want to avoid if at all possible.
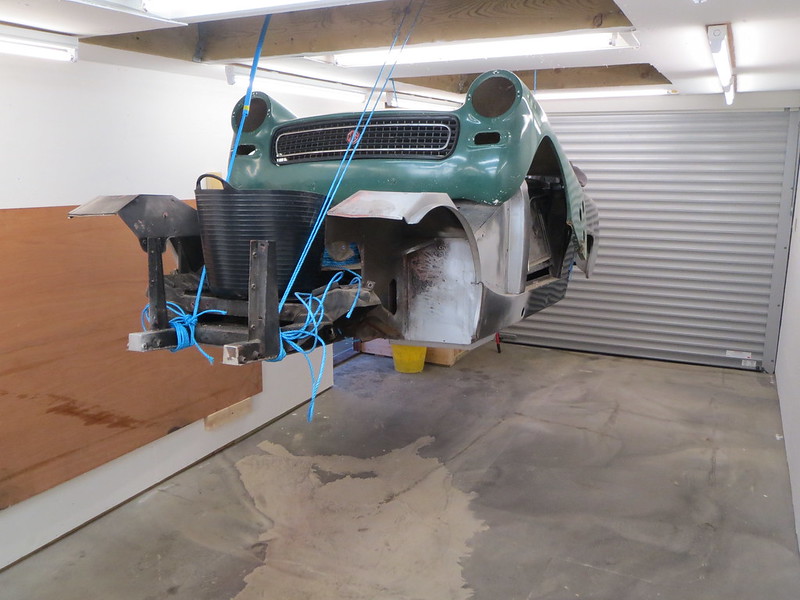
And thankfully, it is possible to avoid:
Now, I'm not 100% sure what Mr HSE would have to say about this set up, but I can imagine it's full of expletives! But since I'm happy with it, and it's my private garage, I don't much care what Mr HSE would say.
So with the shell in the air, my work bench sheeted up on the drive and some other bits in The Boss's shed, I could make a start. I'm using Instarmac's product HD Top for the floor for no reason other than their technical and sales team, Lisa in particular, have been amazing to deal with, despite me being a private customer and not the large companies they usually deal with. The other reason is I know all the stuff is designed to work together so it shouldn't go wrong. Well, as long as you don't over water the stuff and then have it go soft as well as uneven on the floor. But we'll chalk that up to experience and not do it again!
The first thing to do is to prime the floor. This bit's easy as the smallest tub of acrylic gunk is good for at least 133 square metres of floor and I've only got 21. You just mix it as instructed, bung it on the floor and push it about with a brush and a roller. Wait for it to dry and go clear and then repeat. Simples.
The hard bit, especially when working on your own as it turns out, is the levelling compound. The bit that's hard is mixing it quickly enough to get a bucket of it poured and trowelled before the previous stuff is starting to go hard. Because it has a short pot life you need to keep a wet flowing edge to the stuff so the buckets can mix on the floor as you go. But once each bucket is poured you need to go over it with a spiked roller to pull all the air bubbles out before you can mix the next batch. All of which takes precious time. Overall, I'm quite pleased with how the stuff went down but there are one or two spots which could've been better as I can be a bit of a perfectionist at times.
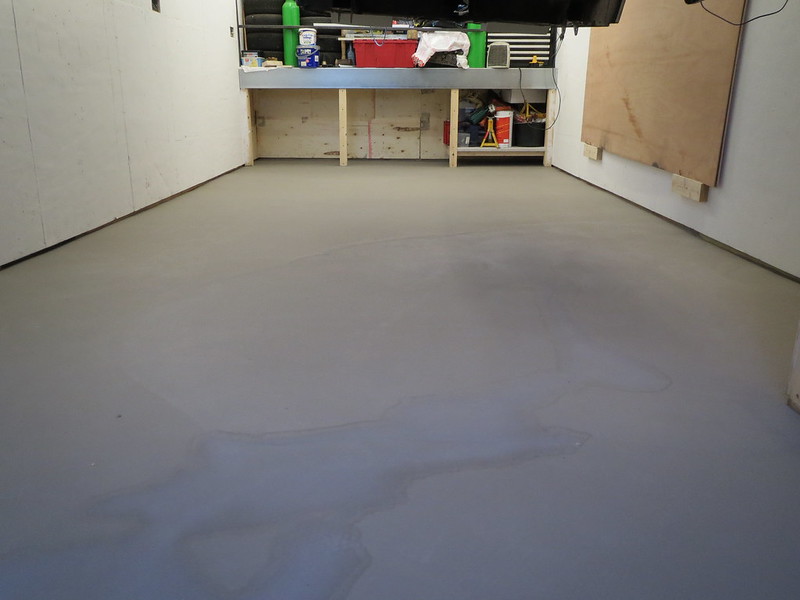
So this is what it looks like now that I've rubbed the high spots off. It's nice and smooth and ready for painting which I hope to do later today.
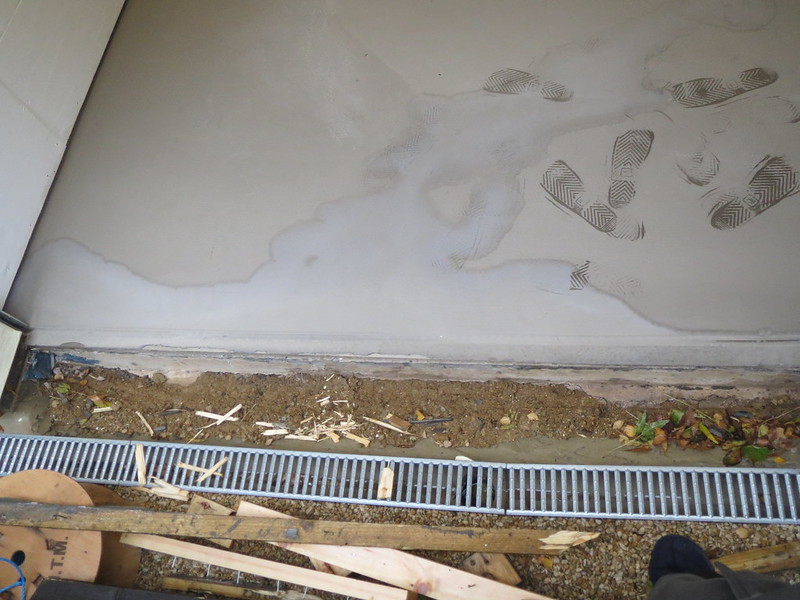
The staining in the bottom of the photo was from the rain we had overnight. The dam keeping the compound in also kept the rain in. But the only effect it has is to discolour the surface. And since it's being painted tile red, it won't matter.
The only other thing I've done is to remove the boarding from across the front edge now it's all dry. I had hoped it wouldn't crack the leading edge, but it has a little. To cover this, I'm going to go with a suggestion from The Boss, which is to put a stainless steel angle piece across the leading edge once it's been painted. I'm going to cut the floor back to allow me to fit the angle flush to floor so I can still sweep the floor easily.


No comments:
Post a Comment