Search This Blog

Monday, 19 May 2014

More tunnel work

I'm not doing a brilliant job of keeping this blog up to date, but I am making progress.

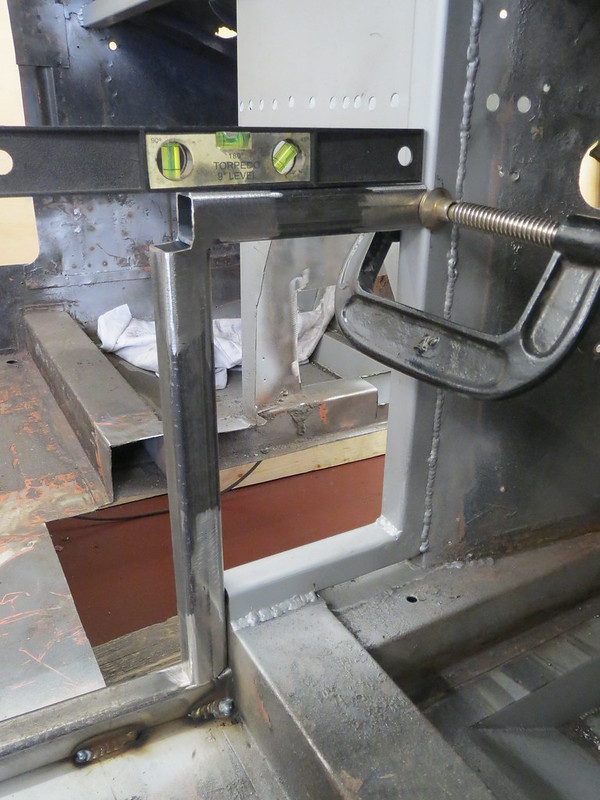
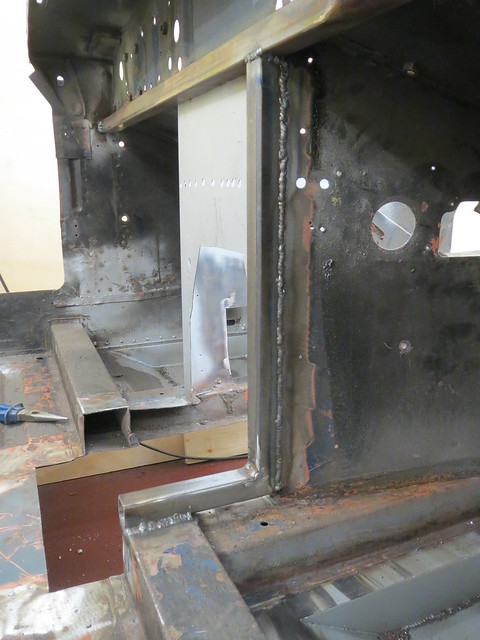
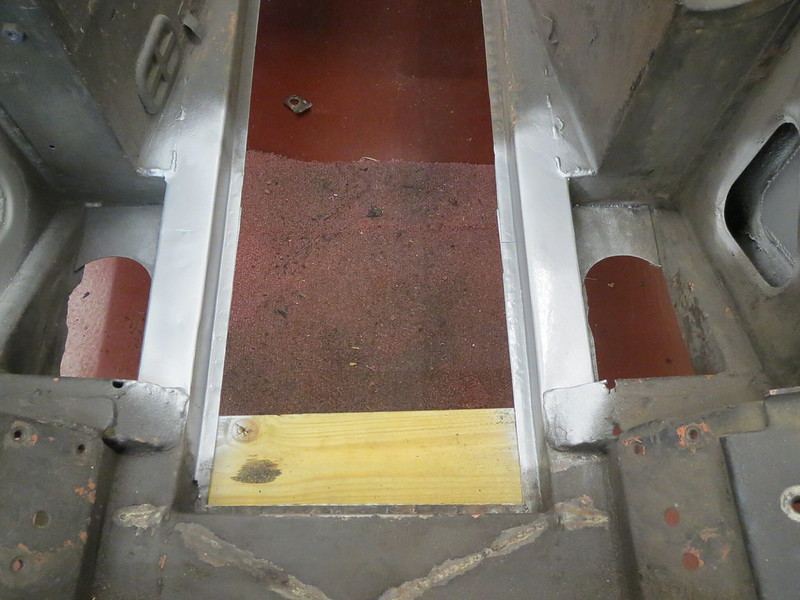
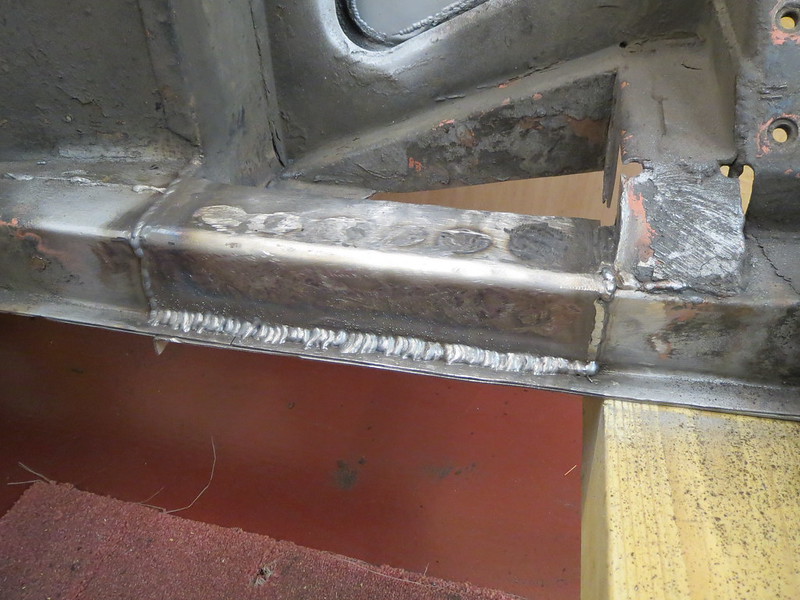
Now I had a base for the tunnel frame, I could make a start on the rest of the rails for this side. The bottom rail was trial fitted before having it's closing piece fitted to the rear end. This will close the tube off and also give any diff cradle something to bolt to.


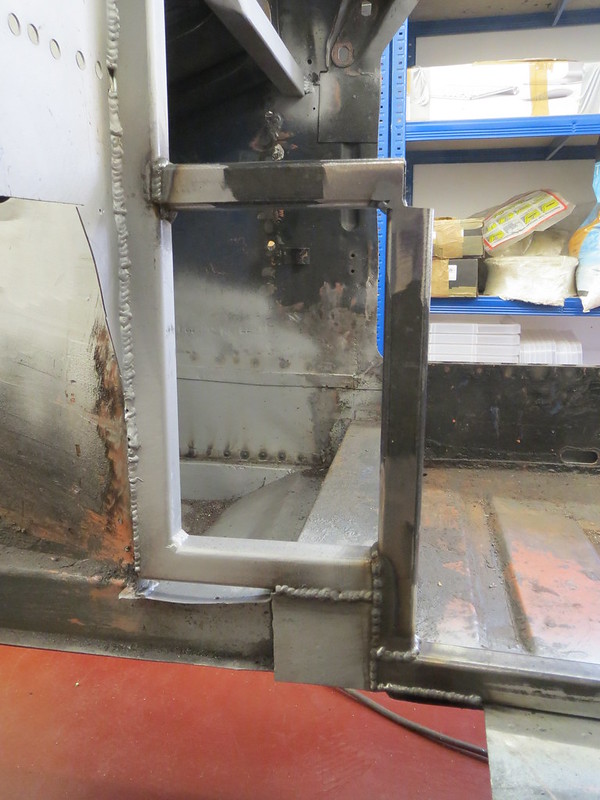
With that in place, the next section along could be made up and welded in place.


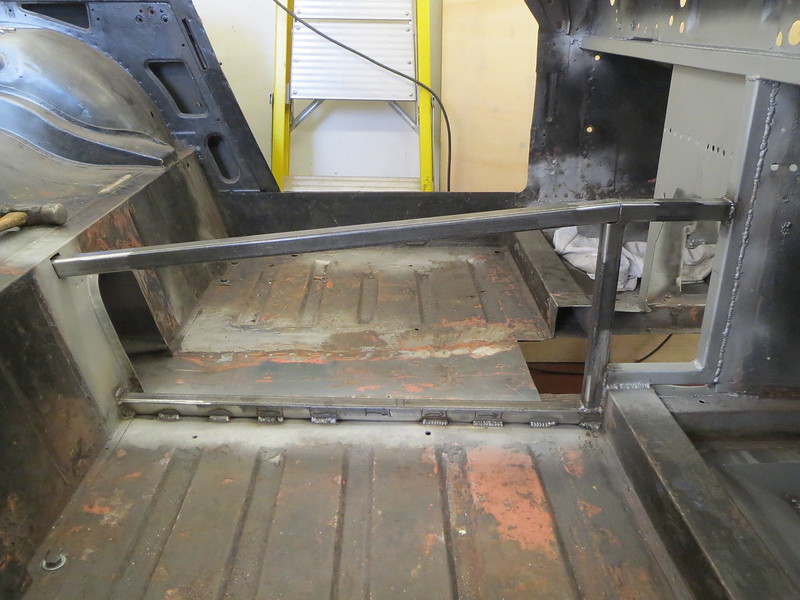
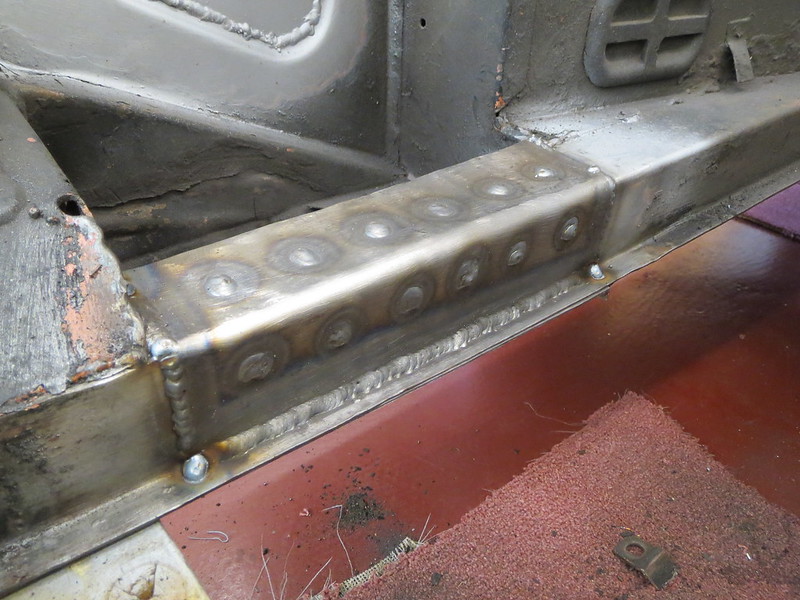
The top rail was next. I was in two minds over if I should make this rail from round or square tube. Round would give a nicer edge/curve to the top panel, but square is easier. I also have square tube, and the only round I have is expensive CDS, which I will be using for the wishbones. So square won out in the end.


That's it for now, as that took a while to get right although the top rail is fully welded in the cabin. I can't rush this bit, as once the rails are in, cutting them out will be quite a task. The next steps are the two remaining vertical tubes, and then the cross braces.

Saturday, 10 May 2014

Busy, busy, busy.

I've been rather busy over the past three days!

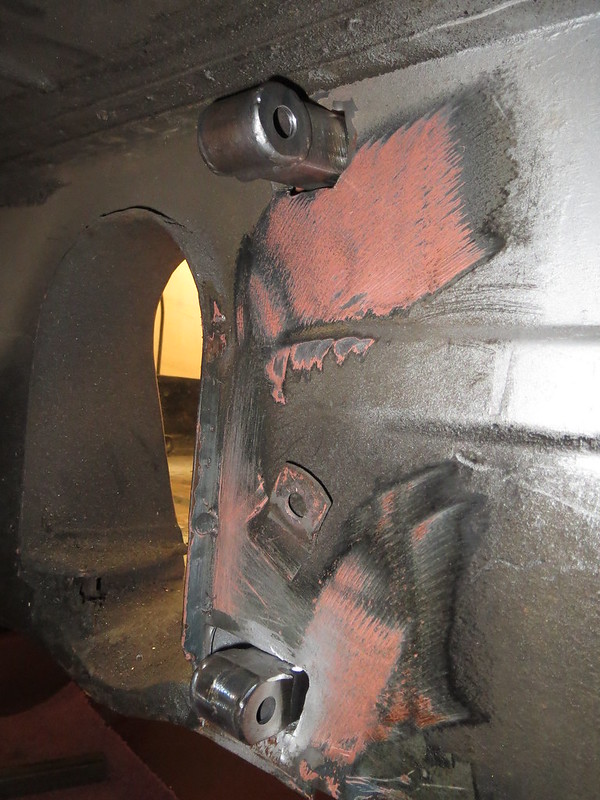
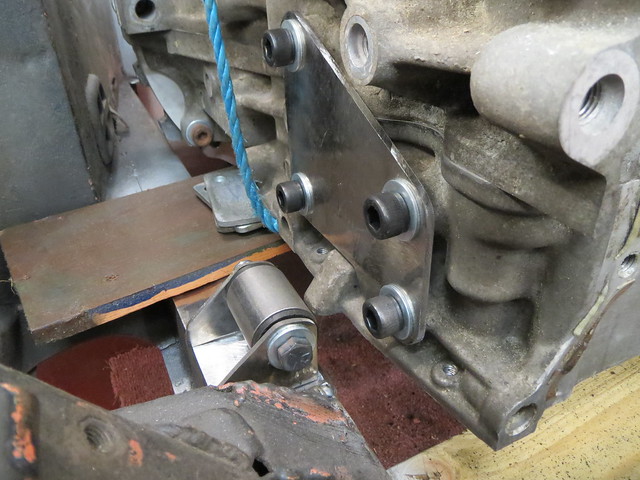
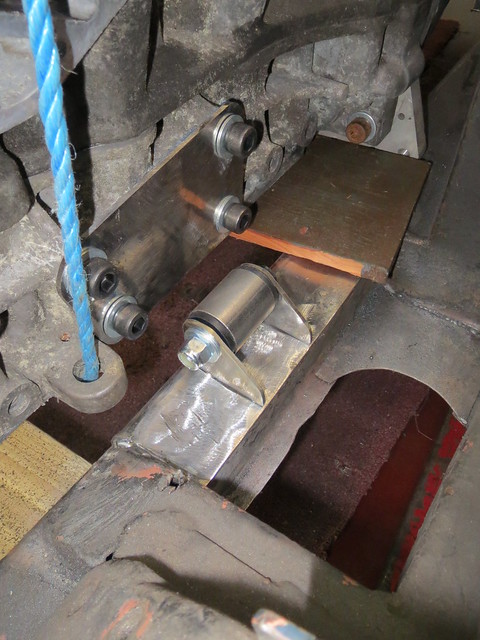
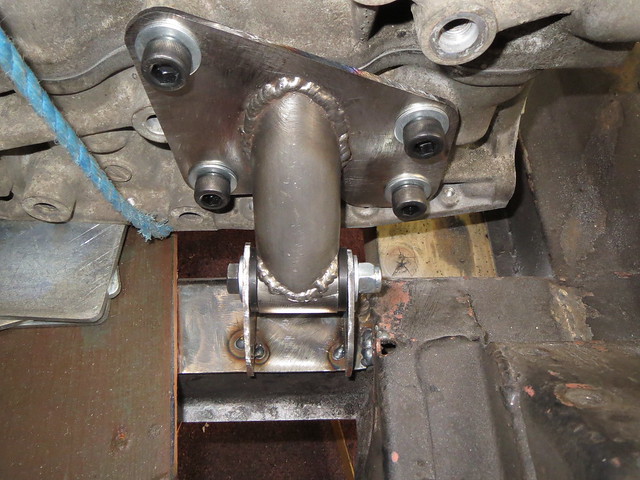
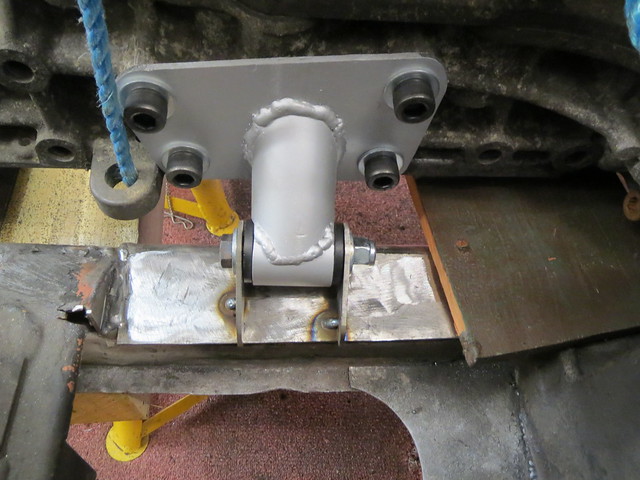
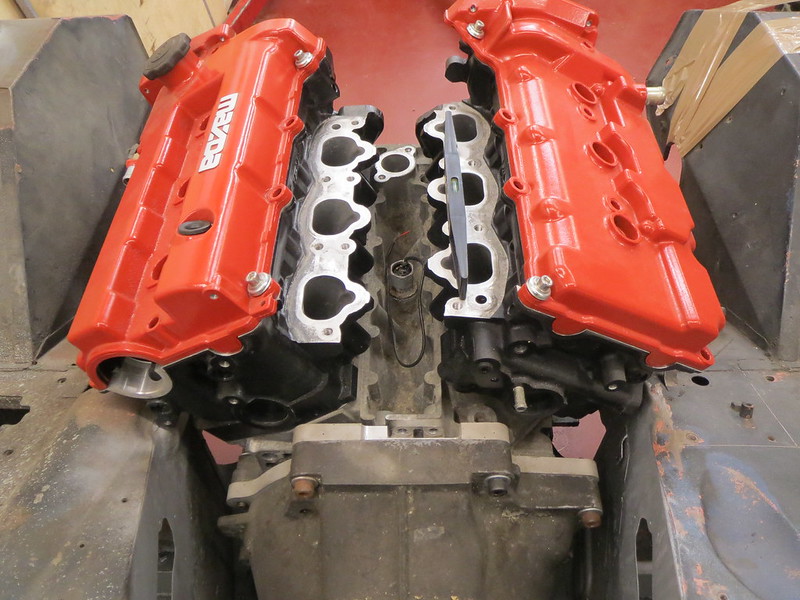
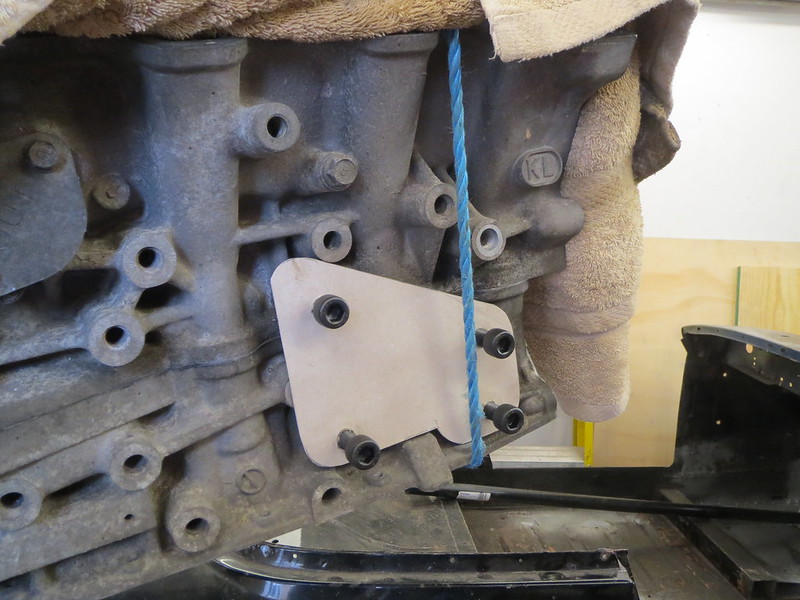
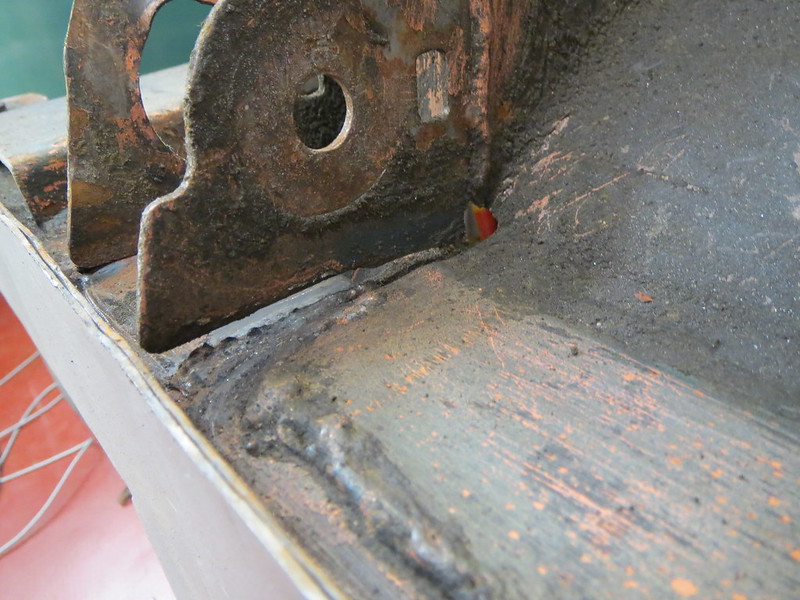
The engine mounting plates were cut out and the chassis tabs bolted to the bush tubes for trial fitting.


And then the joining tube, 38MM CDS was cut and shaped. Everything was lined up and then welded together.


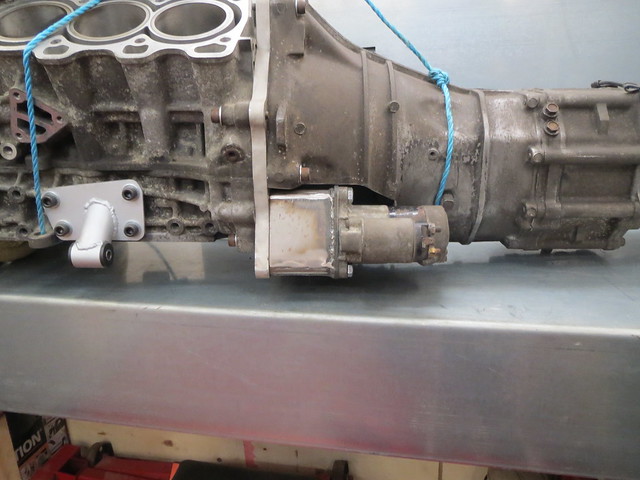
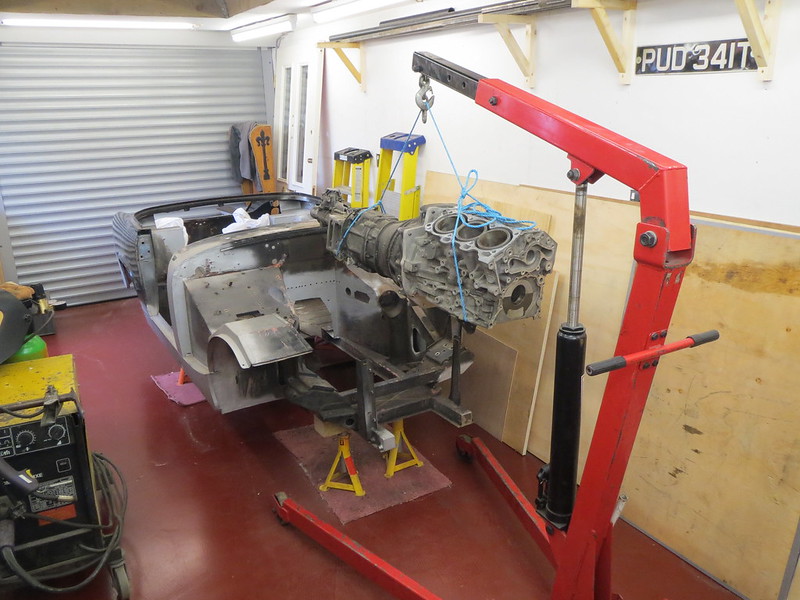
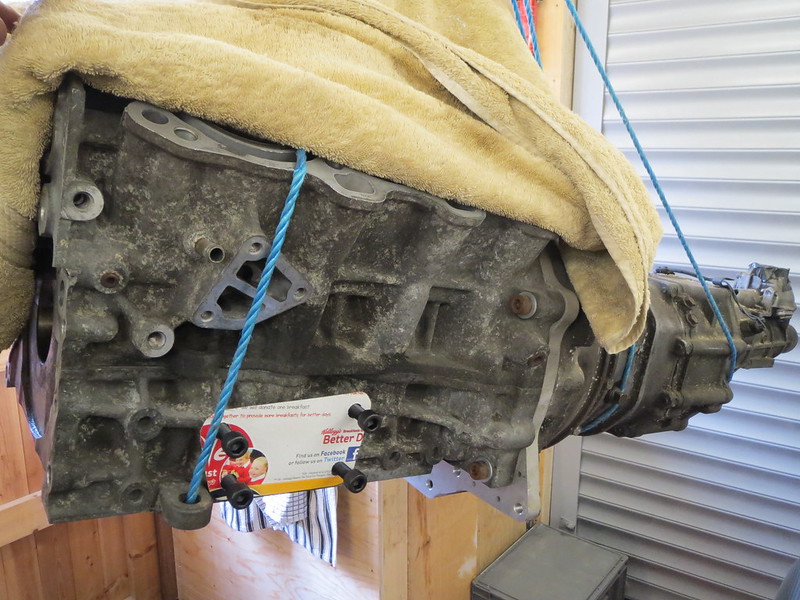
With the mounts done, and the engine sitting square in the shell, it was time to fit the starter motor to the gearbox. The MX-5 box I'm using doesn't have a space for a starter, so I've had to make one.


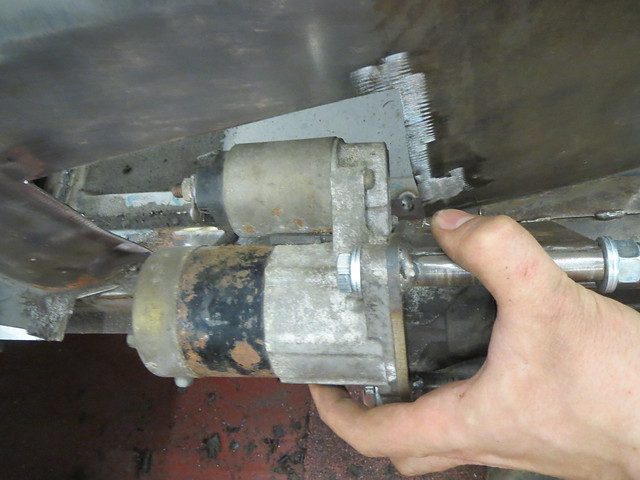
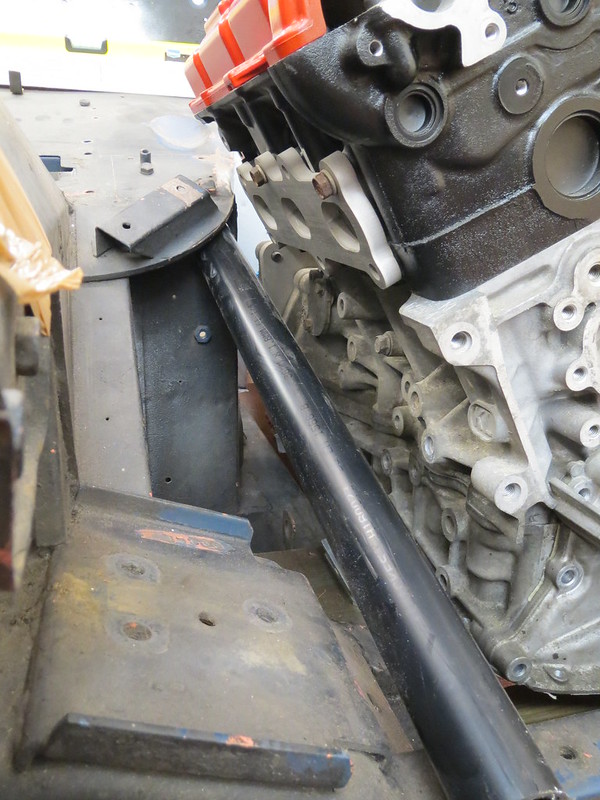
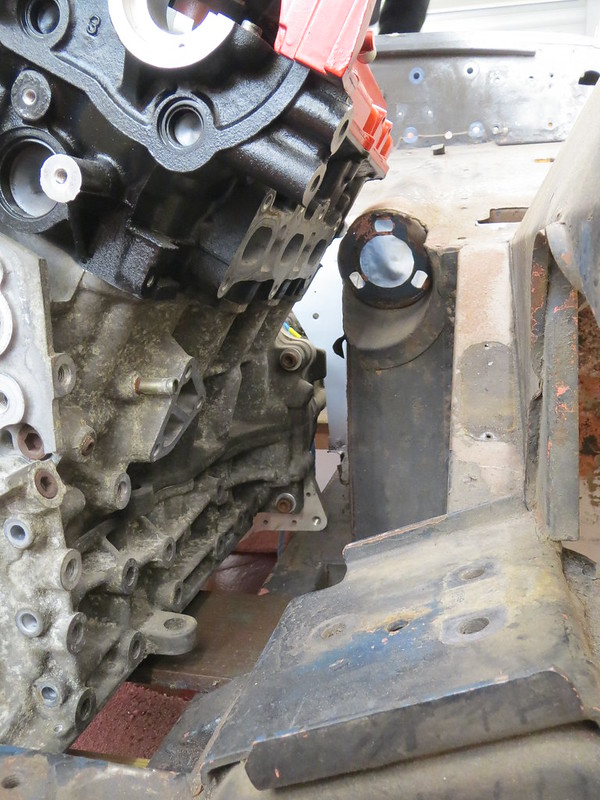
With the starter now bolted into place, I could get the engine back in the shell and start lining up for making enough clearance space for the cylinder heads and the starter.

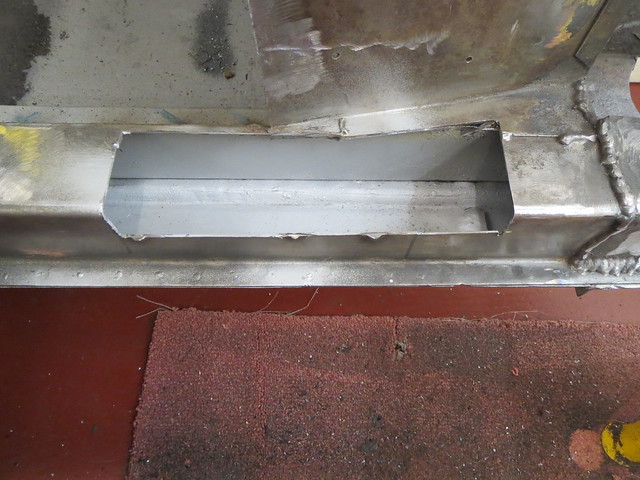
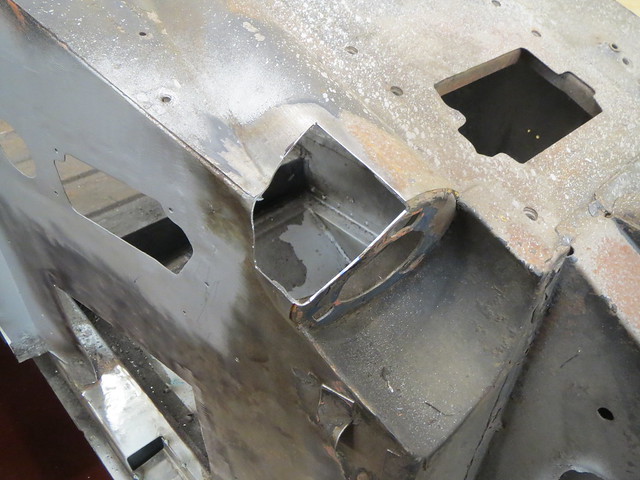
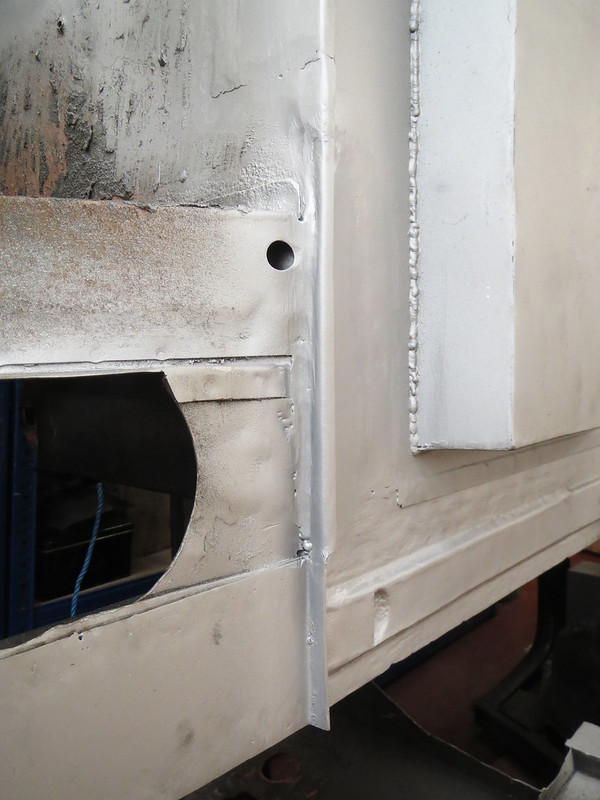
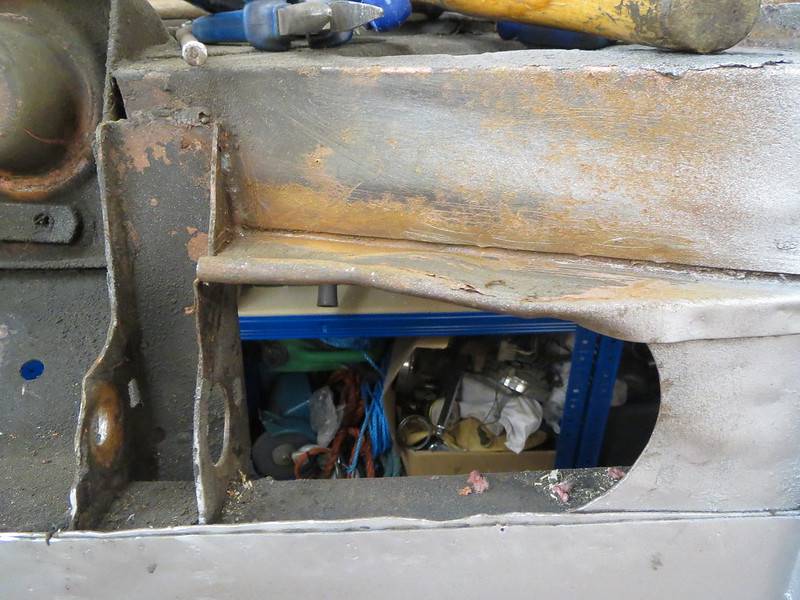
The starter needs a hole in the side panel, and a notch in the chassis rail.


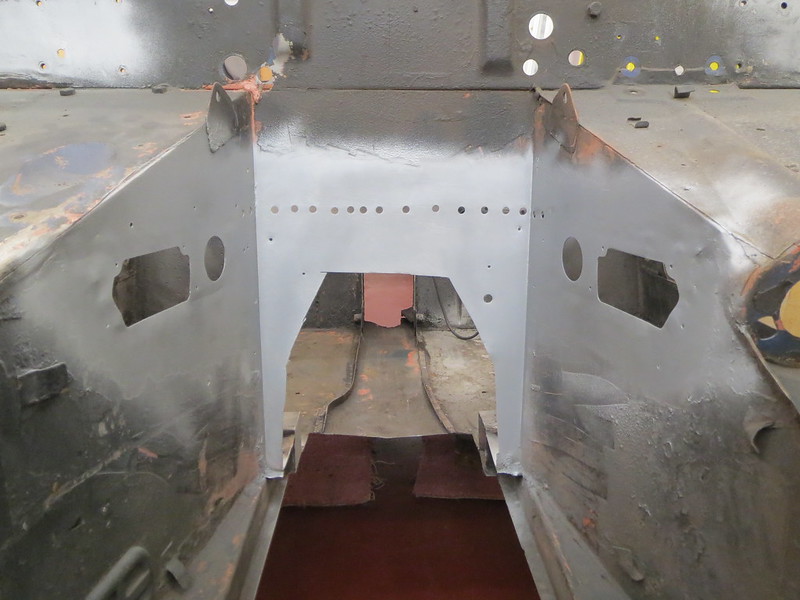
And then both footwell tops were alter to clear the back of each head.


None of these bits have been welded up yet, in case I change my mind at some point about the amount of space I want. I doubt I will, but you never know.

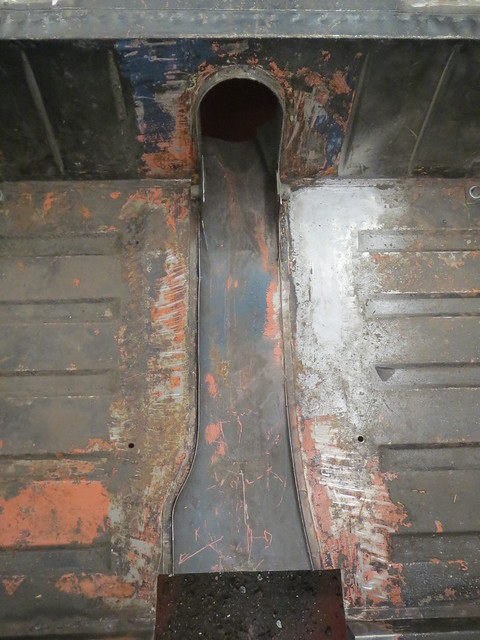
So that was the engine side of things sorted for now, and it was on with the next step: the new transmission tunnel. There were the remains of the old tunnel to remove first so that I could start measuring up for the new design.


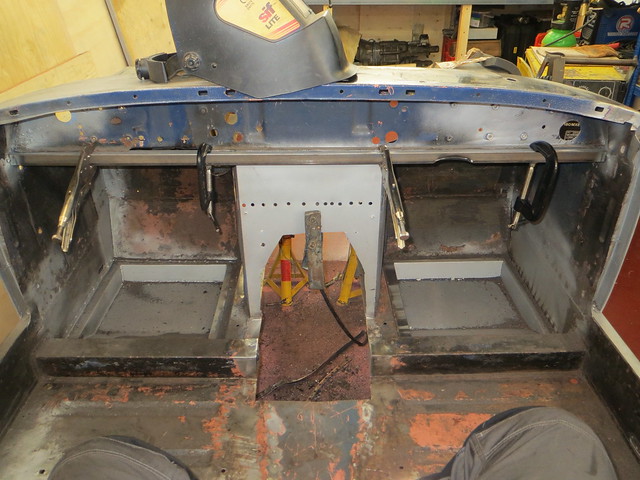
The first step was to fit a cross beam to the dash panel


And then I could get on with fitting the other tubes. I didn't get far before I ran out of time, but I now have a solid base from which to work.


Wednesday, 7 May 2014

Looks like a car again......

Rather than go through and explain what I've been up to, I'm just going to list everything I've done and all the photos I've taken in the last three weeks. Typing it all out would take ages!

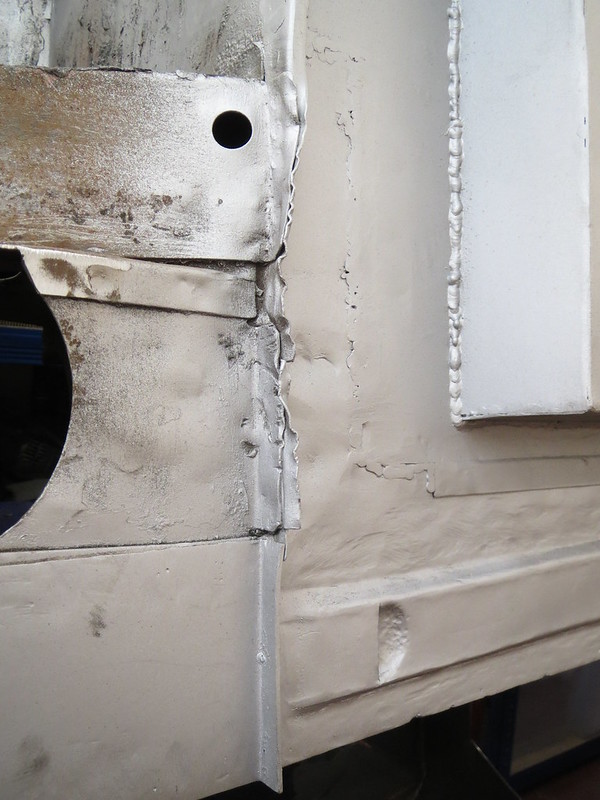
The splash panel has been cut back and hammered flat(er). Since it's not a structural panel, I'm not bothered about the loss of the folded section.


The front suspension mounts are cleaned back and ready for the next stage. The brackets are just sat in place so I could get a feel for what things will look like.


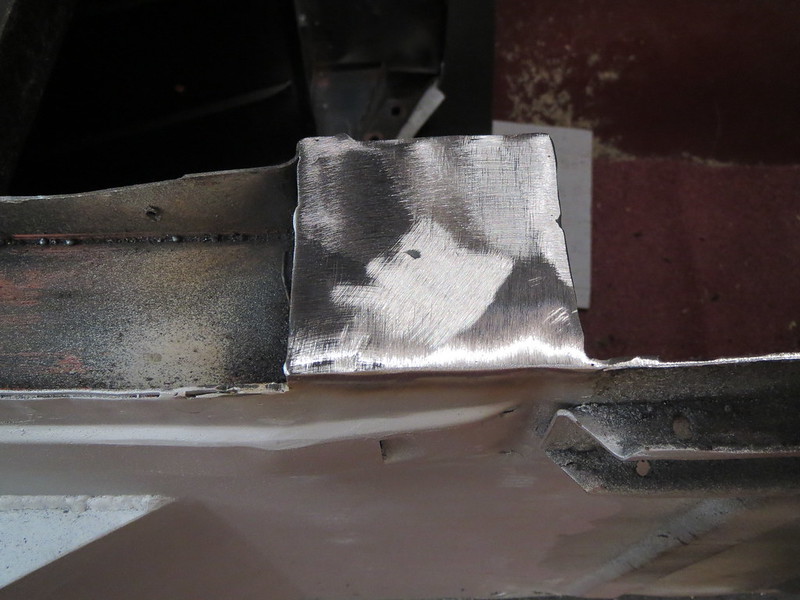
The end I can get to for the cross member has been capped off.


A wonky patch on the passenger footwell has been replaced. I've no idea why I left this in place previously!


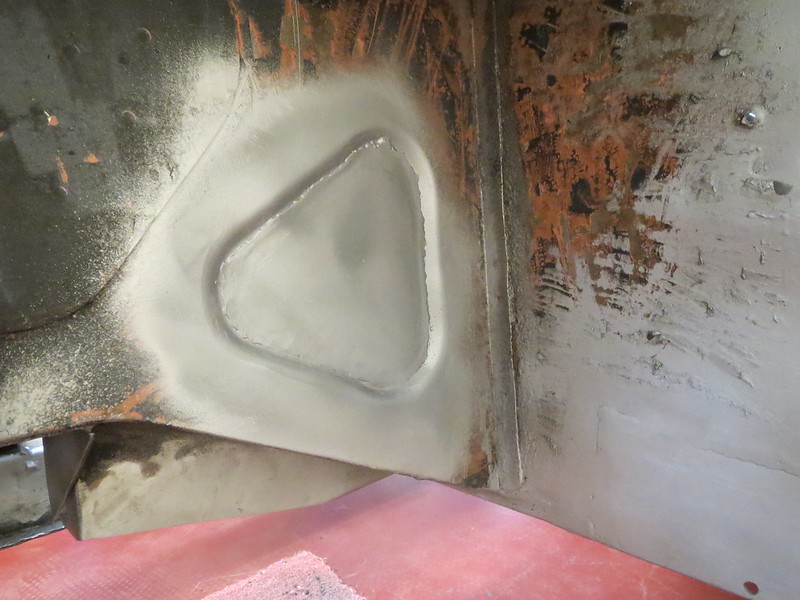
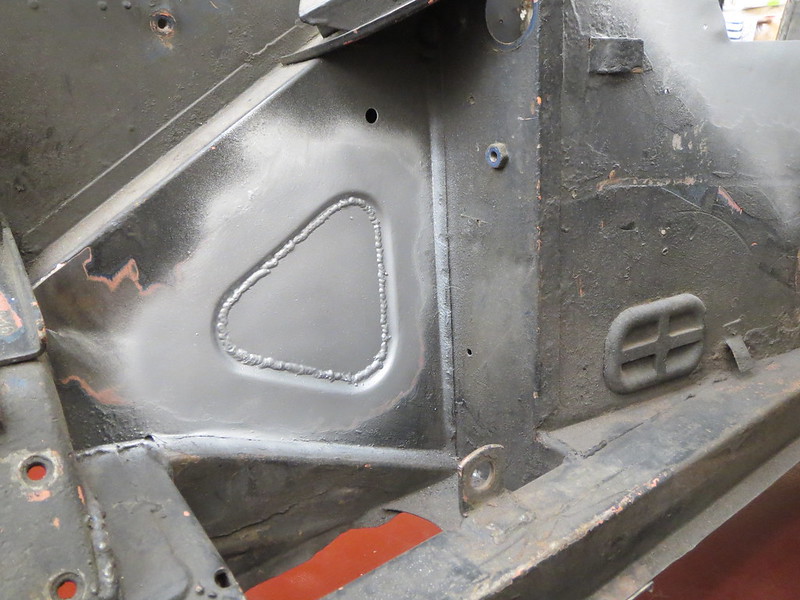
I've made a start on closing in the front panels to help stiffen the front end. The other two triangles will be done when the cars the right way up.


The remains of the heater tray have been cut out at last, and the area cleaned of paint and underseal. There will be a new tray going in once the engine's on it's mounts.


The shell was now the right way up again and looking something like a car too. So I've moved on with getting the engine mounted.


There's not a lot of room around the engine once I mocked up the steering column! Somehow I've got to fit 3-1 manifolds, the steering column and an alternator in there somewhere!!


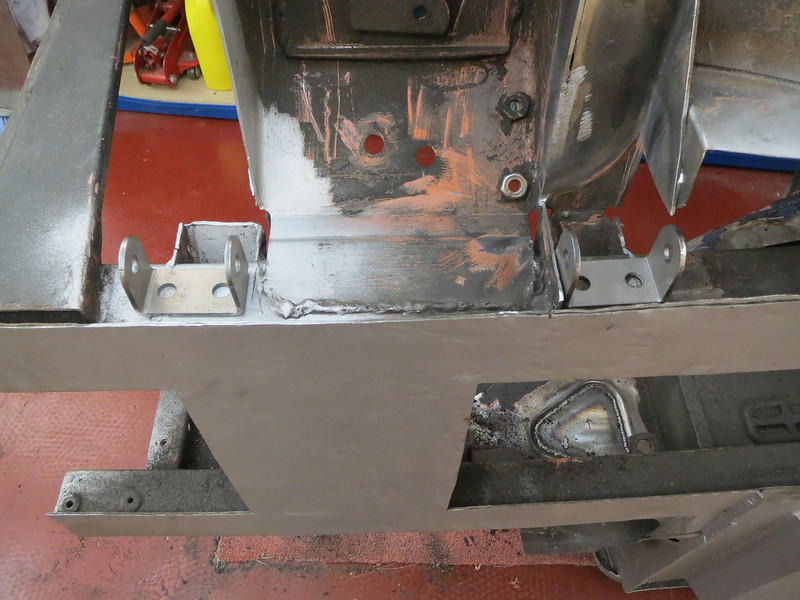
So the next thing to do was to start on the front engine mounts. The gearbox mount will be done next. The front rails were strengthened with 2mm thick plates to help take the weight and to add a little more to the general strength of the shell.


I only got as far as making card templates for the engine side of the mounts, so that's what I'll be starting with today. The chassis side of the mounts will be 3mm plates welded to the new rail plates. This way the mounts are kept small, and with a hard plastic bush in them. They're the same things as I intend to use on the suspension, so if I find the mounts too hard, or that they transfer too much vibration I can get softer ones without having to alter anything else.


Tuesday, 15 April 2014

Quick check over? Not likely......

So with the floor finished, I thought I'd better just cast my eye over the car before I capped the cross member and rolled it the right way up.

Turns out it was just as well I checked the front end, as I hadn't spotted how bad a splash panel and the wishbone mounts are.


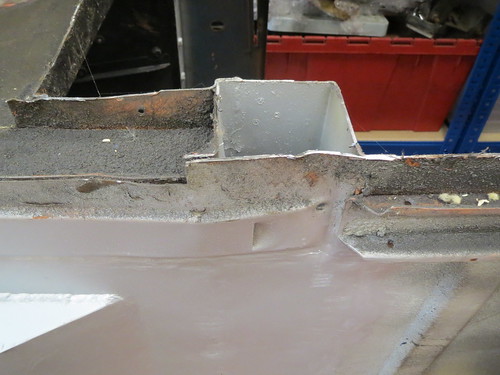
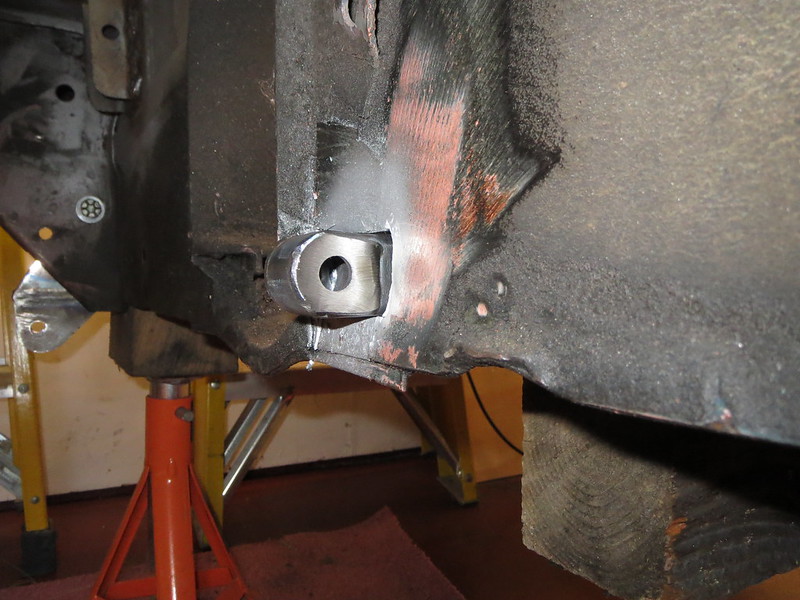
I knew the rear mount was bashed about, as I'd done that getting the old wishbone out. But I hadn't realised that the front mount was about to part company with the chassis rail. The splash panel is nothing to worry about, as it doesn't do much. So I cut the folded over bit off, and hammered the rest flat. I'll tidy the edge up a bit more another day.


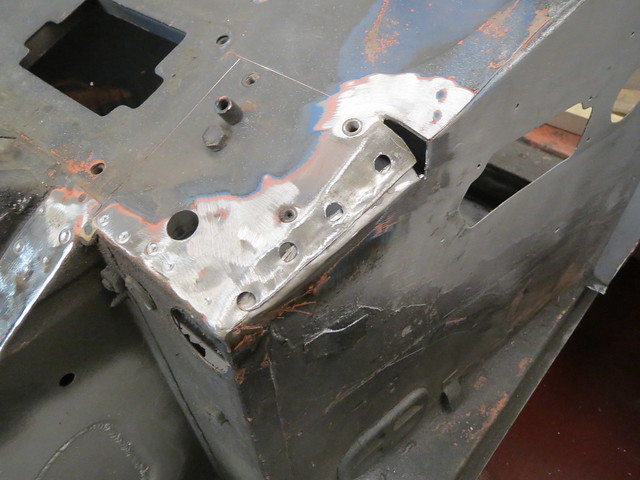
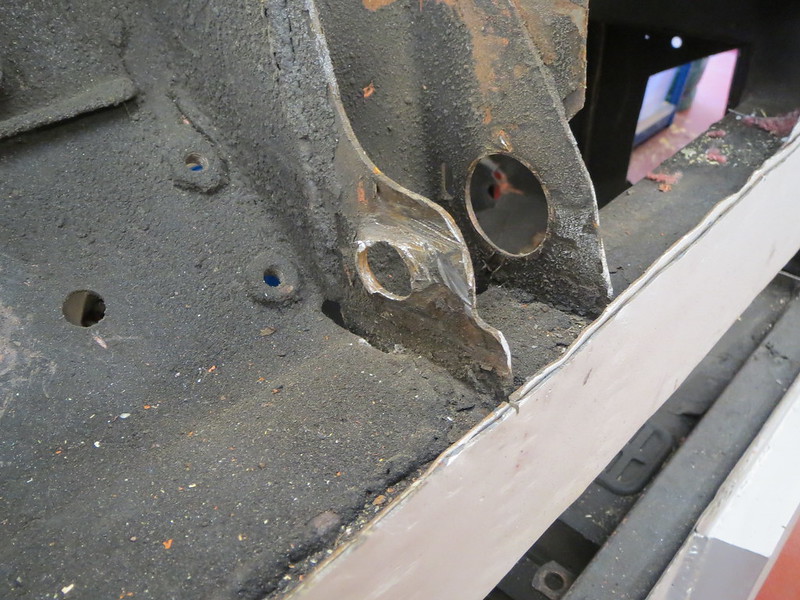
Since the front mount is so bad, I've started to cut the entire thing off outboard of the chassis rail. The inboard bit will stay and form the basis of a new mount. Both mounts were always destined to be cut about, but I hadn't intended doing anything more than making room for the new mounts. Whilst this is more work, it's probably going to give me stronger mounts at the end of it all.

Sunday, 13 April 2014

Floor finished


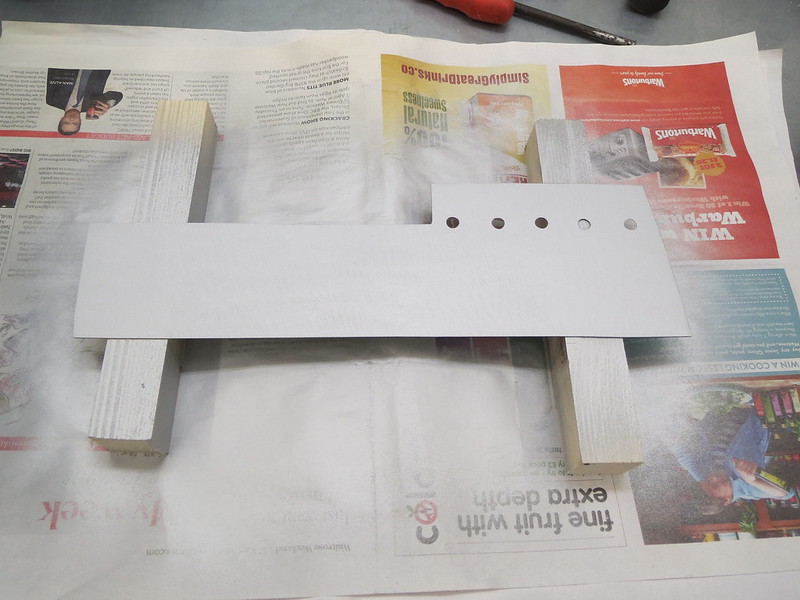
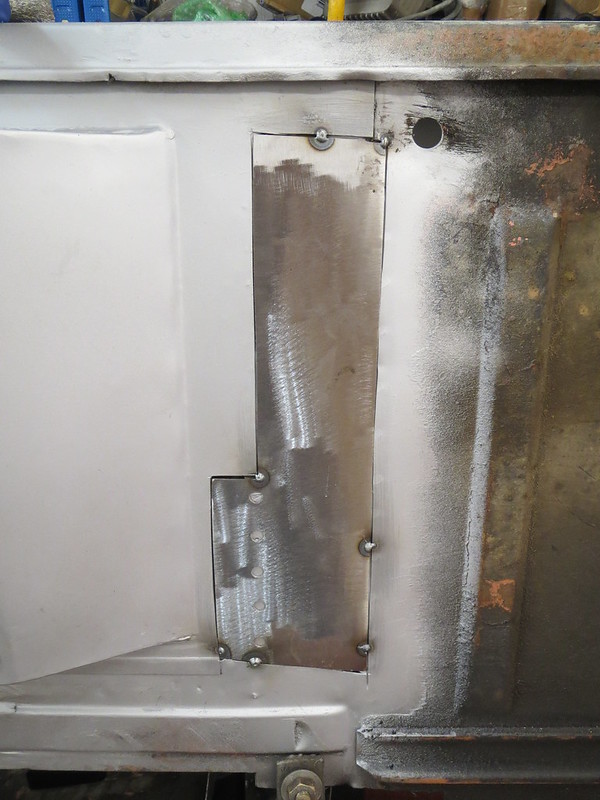
 For making the patch, I did my usual trick of using a cereal box to make a template, before transferring the shape to steel sheet. This is the result:


 Once the primer's dry, it gets tacked in place, ready for any final shaping and then welding:


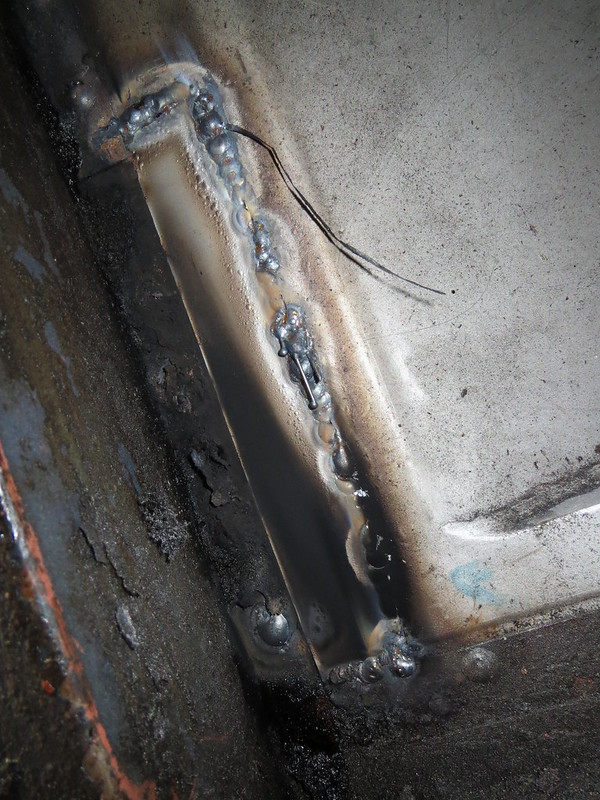
Then I set to with the welder and got it all stuck in. However, I got a bit carried away and forgot to take any photos of the front of the welding, so this one of the back is all I have. This shows what the back looks like when you manage to burn a hole or two in the steel and have to go back later on. That's why some bits look cleaner than others, and why there's bits of wire hanging off it. The black soot is where the car sets on fire.


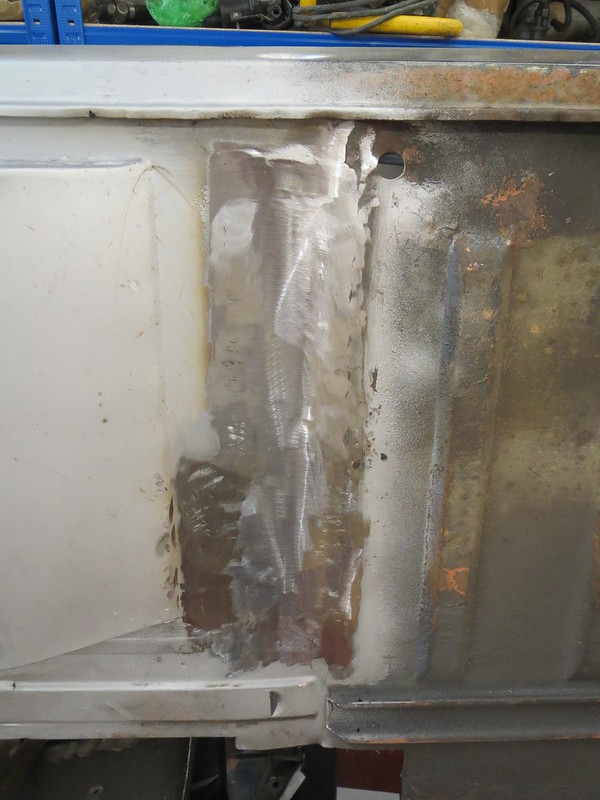
So once I'd cleaned the underside up with a grinder, it looked rather good considering it's been over 2 years since I picked a welder up!


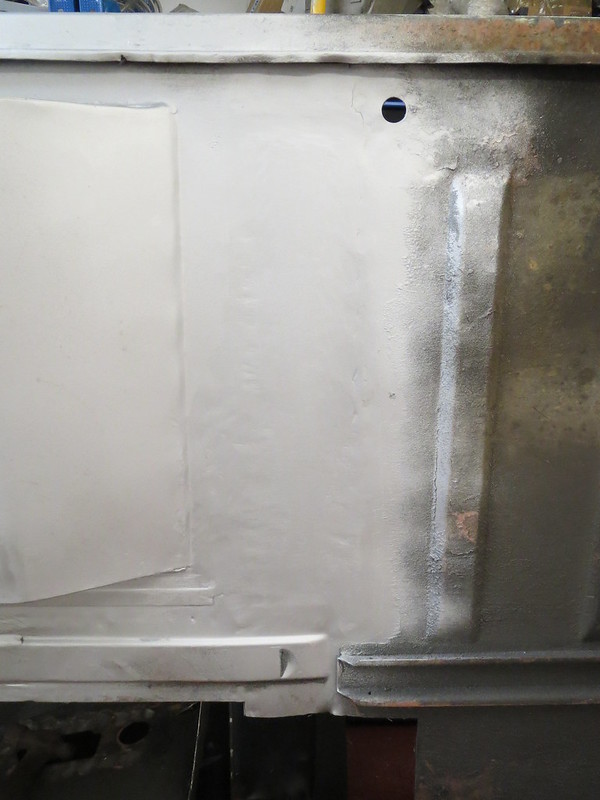
And once painted in more than a coat of primer, you'll not know it's there at all:


The plan now is to check the rest of the bottom of the car over for anything else I may have missed, then cap the exposed cross member that I can to get to before rolling the car back the right way up. Once that's done, I think I'll get on with fitting the engine and making the new transmission tunnel.

Tuesday, 8 April 2014

Wooo, working on the car at last!!

It's been a while since I've had anything worth updating, but I am now in a position to start working on the Sprite again.

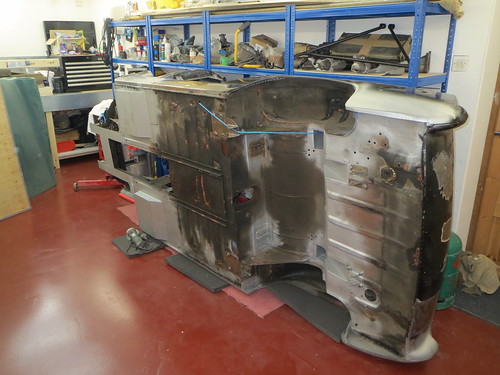
Now that my son has a new summer house to play in, and I've done all the other things The Boss expects doing at a moments notice, I've been able to tidy the garage up a bit and get the Sprite on it's side ready to finish off some welding.


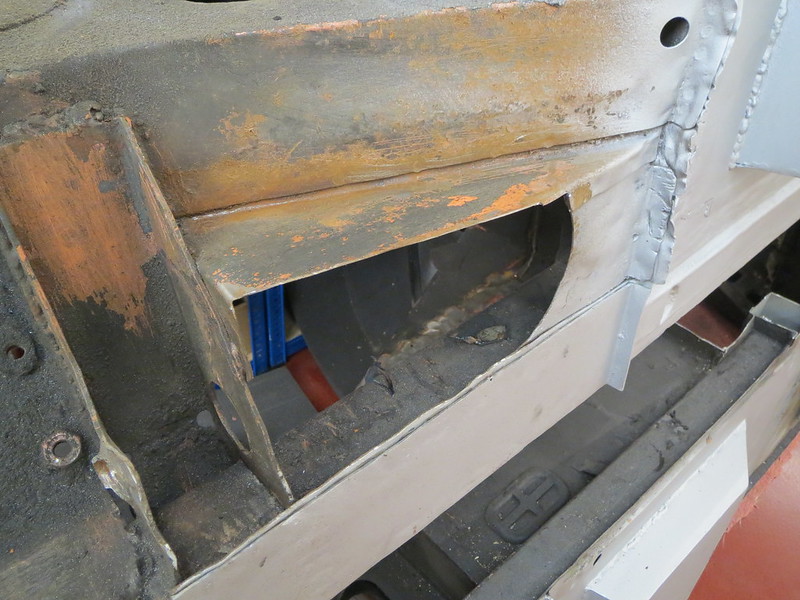
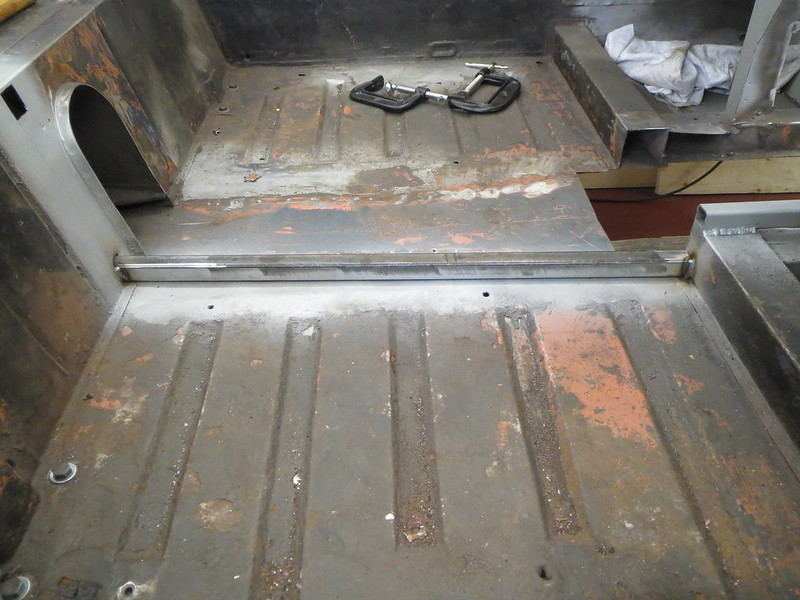
I thought I'd finished under the car and was going to get on with fitting the engine, but it turns out that I'd forgotten about finishing off the passenger's side footwell. I'd not done the welding under the cross member, and I where I had plug welded one edge of it in, I now know this will need seam welding. MOT rules mean that any patches that were not originally plug welded must be seam welded. And since the patch stops 2" short of the original plug welds, I have to seam weld it instead. If I'd known this at the time, I'd have just made the footwell a touch bigger and saved myself a fair bit of effort. But it's too late for that now!!


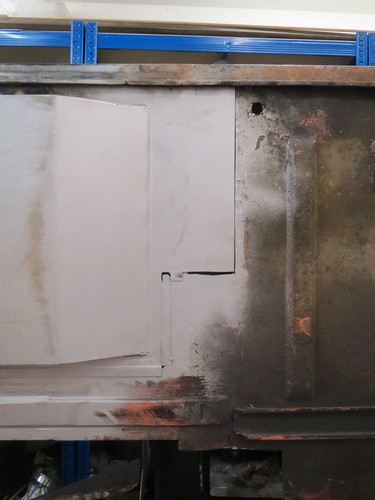
As you can see, there's a large section that's not welded in yet. Rather than try filling the gaps up, this bit was cut out to see what I had under there with the plan of putting a new patch in.


The plan was to cut back to the existing flanges on the cross member so that I can seam weld the patch in easily. This makes the welding much quicker, and will help make the cross member stronger too. Since I've had to cut the central section of it out, this can only be a good thing.

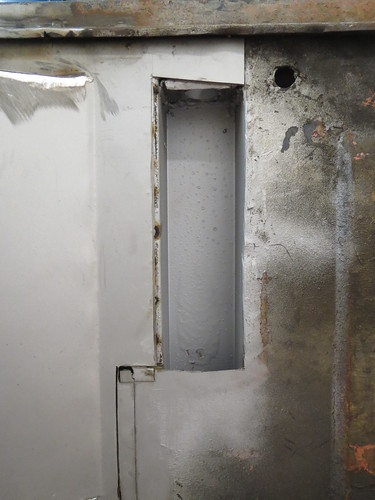
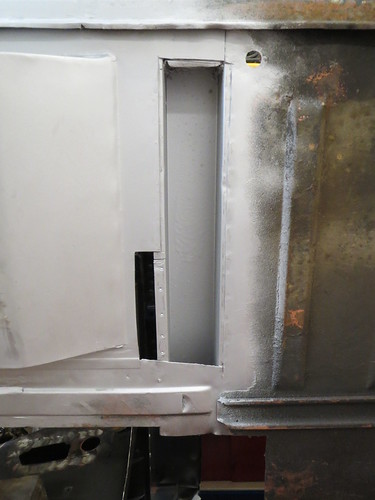
Once I'd had a closer look and a think about it, I ended up with a bigger hole to save having odd bits of welding and different bits of steel for the cross member. This is the hole in the usual zinc primer and ready for it's patch.


Another thing I've spotted is that I must've put the car down on a stand wrong at some point, as the open ends of both cross members are bent in! Whilst not the end of the world, it's something else to straighten before I can cap them off.


I'm hoping to be able to get the patch cut and at least tacked in this evening, so more to follow soon!
Sunday, 16 February 2014

Final touches and the BCO inspection

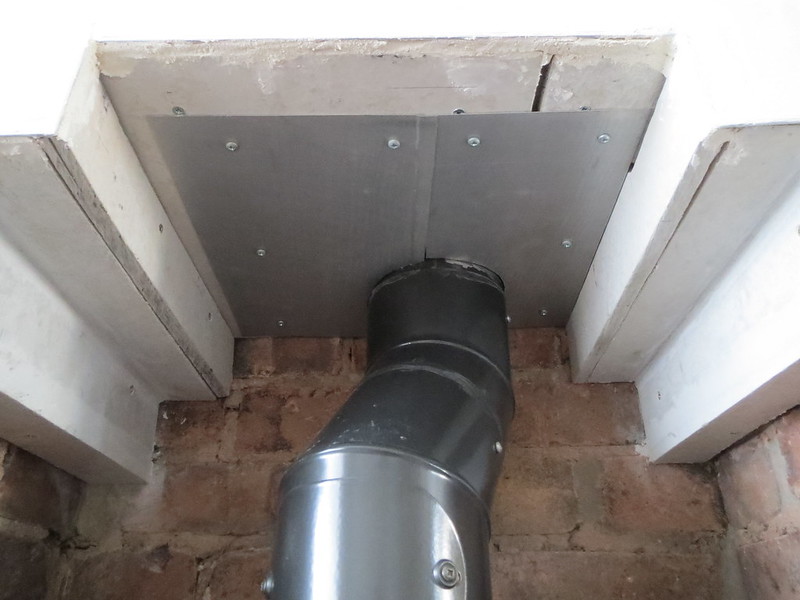
Now that I had done the plastering, well sort of done the plastering anyway, I could do the few final touches that were needed. There were nothing big, just fitting the CO detector at the right height, finding a pen to write on the information plate and then putting it up to the fuse board and making the two plates to close the chimney off.

The chimney plates were a little fiddly as I had decided to make them myself from stuff I had knocking about in the garage. The metal I used was going to be a pair of wheel arch guards for my old 7 style kit car, but I ended up using something else. It also means that they're titanium as that's what a mate had spare at work.


The plates were meant to overlap perfectly, but I must have made a slight error on marking out, and made the left hand plate with a wrong angle on it. Not that it matters as you can't see it and they're only there to ensure the hot air rises into the room and not straight up the chimney. Since I sealed the cowl to the chimney pot, there are even any noticeable draughts anyway. But it's something the BCO needs to see so now it's done. The gaps around the edges and between the sections of cement board were later caulked up. Now there's a skim of filler over the plaster, I just need to sand it all flat a final time, and it's ready for paint.

Oh, and the BCO has signed off on it all now too! Which is good, but for my £230 I've had the BCO here for maybe a total of 15 minutes across both visits! Hardly value for money, but it is still cheaper than paying a HETAS certified person to do it.
With the stove done, I've had a bit of time to faff about in the garage, and I've finally wired in the ring main. I've only been trying to get it done for the last 4-5 months! Not that it matters, as we've got the estate agents coming round on Wednesday to value the house. Looks like I'll be looking for a new place on my own soon. :(