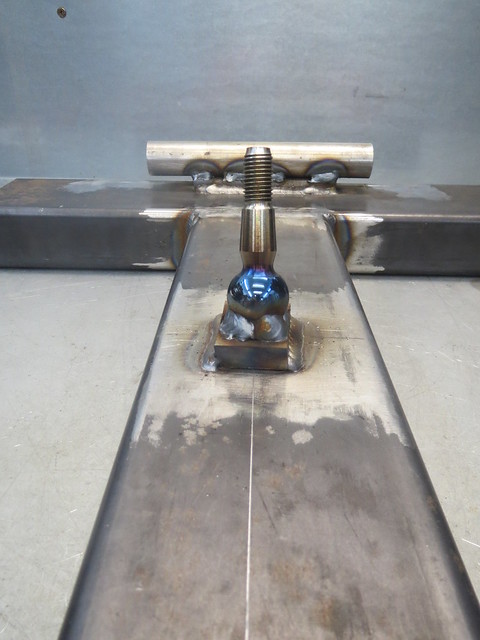
The next thing to do was to double check all the measurements I could and then to line up and weld in the ball joint pin. This too was raised off the frame to maintain the line between the centre of the pivot tubes and the centre of the ball joint ball. These are the points that matter as they're the ones that everything revolves around, regardless of the shape of the rest of the wishbone. The hub measures as having a 18.1 degree angle against the hub face, and I'm quite happy with the 0.1 degree difference! And whilst this might sound a bit geeky, I love the colours on the polished ball!!

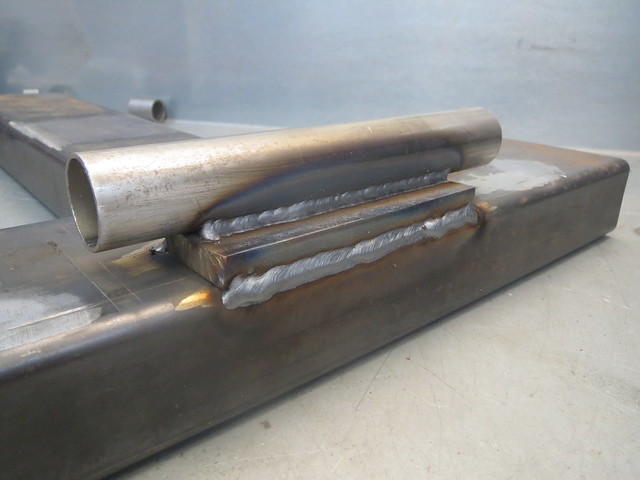
The idea is that the pivot tubes and the ball joint bush are then set in place so I have a template to cut the main tubes for. As the lower wishbone aren't handed, this jog will do for both sides.
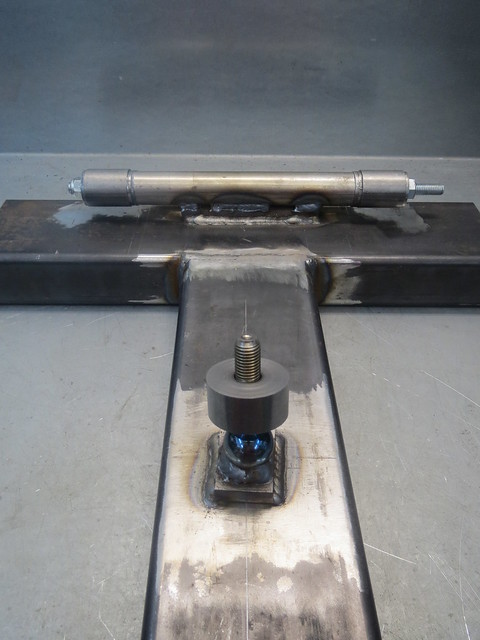
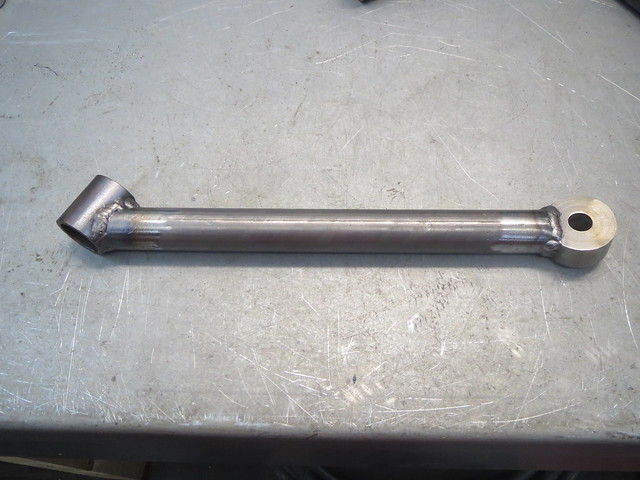
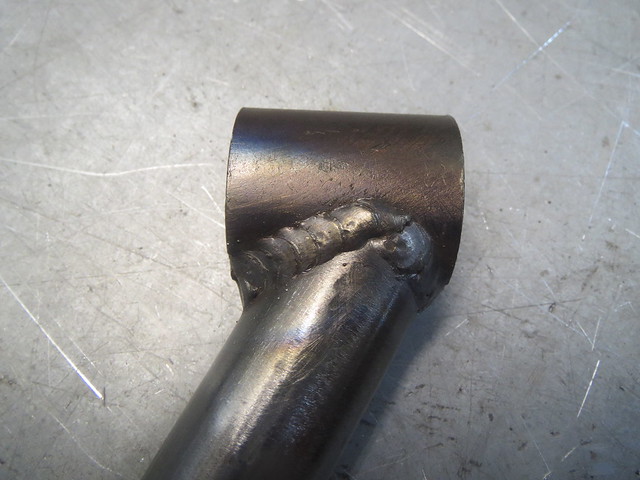
Cutting the tubes to match the pivots is the easy bit, but fitting the other end to the bush I found a bit harder, as the bush doesn't sit square to the wishbone, and needs it's lower edge to be level with the tube so it doesn't block the ball joint. It has to be offset to centre the joint and give the maximum movement without binding. Cutting this one tube took me about an hour! I do expect the second one to go quicker though. I also found that trying to set both pivot tubes and all 6 washers at once is impossible, so I left one side out.

With the tube tacked in place, I decided it was best to remove it from the jig so I could fully weld it. The bush end needs doing at this point anyway, as I can't get at it fully once the other main tube is in place.