Search This Blog

Wednesday, 4 June 2014

One side down, and work started on the second

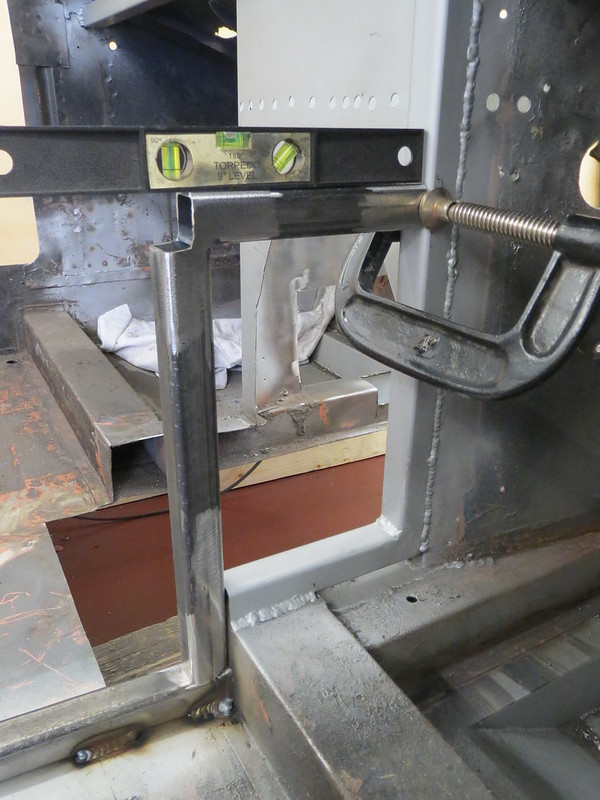
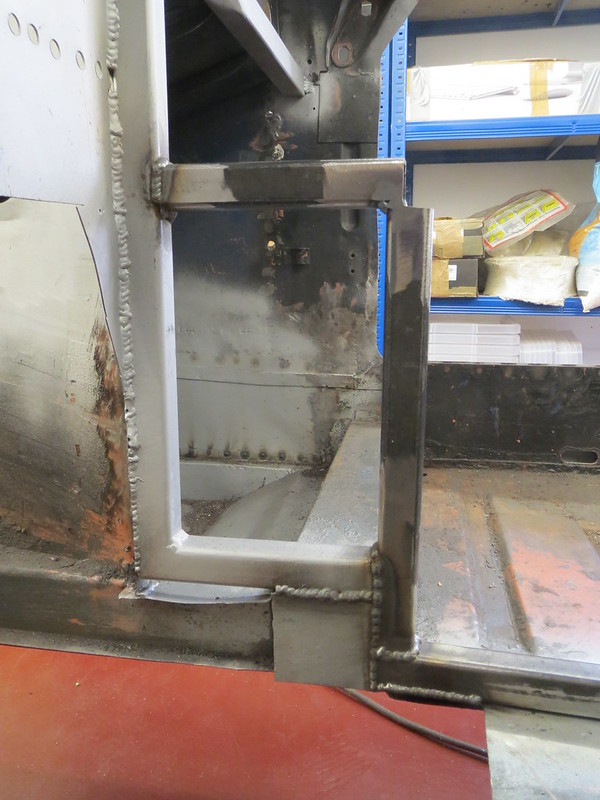
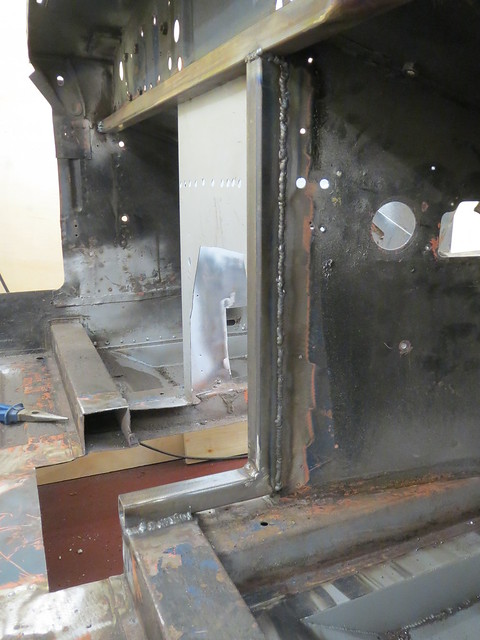
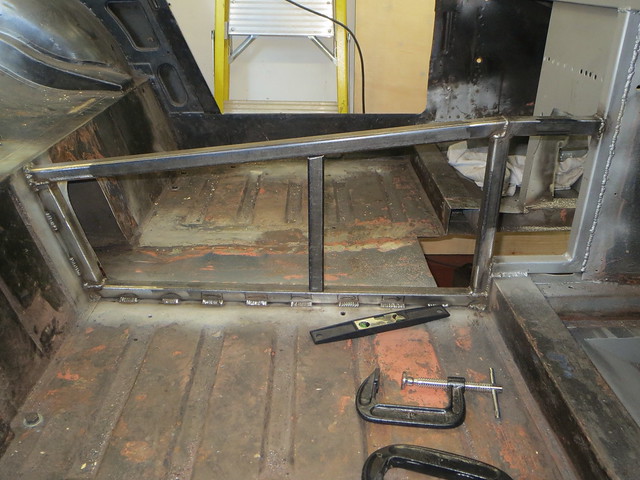
With the top rail in place, the two vertical(ish) tubes were cut and fitted. The rear tube was straight forward to do as it just sits against the bulkhead face. The central tube is harder, as it will hold the gearbox mount.

Firstly the tube was fitted to the rest of the frame.

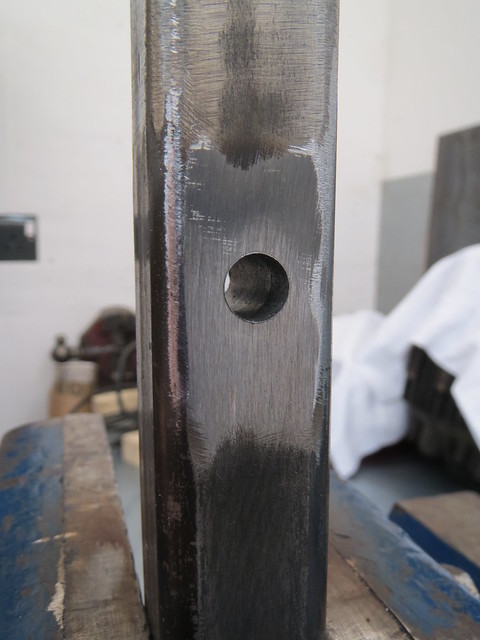
The tube was then drilled to accept a short bit of 12mm bar that would form the crush tube. Once this was welded in, an 8mm hole was drilled through it. The completed tube was then welded into the frame.

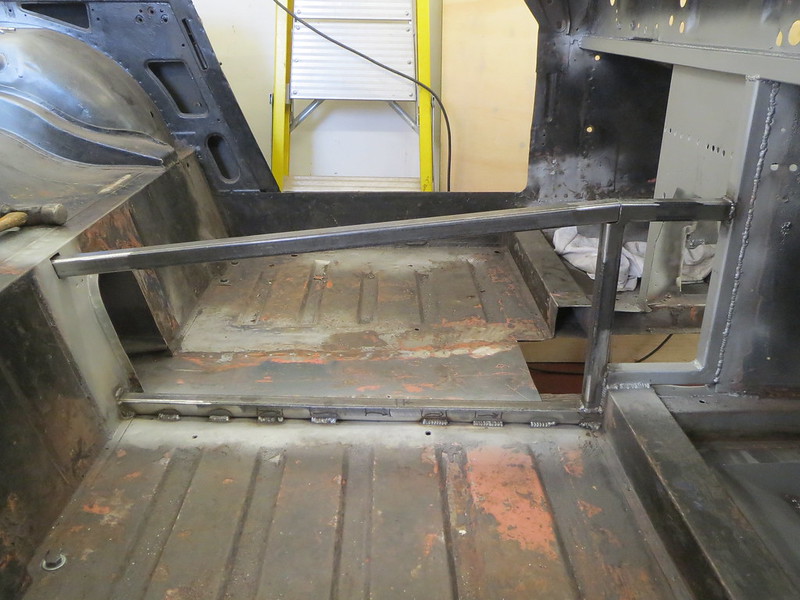
So now the main frame was complete, it was on with the diagonal brace bars. These are simple enough to do once the frame is solid, as you can just hold the new tube against the frame and mark off where the cuts need to be. The frame has three diagonals in it.
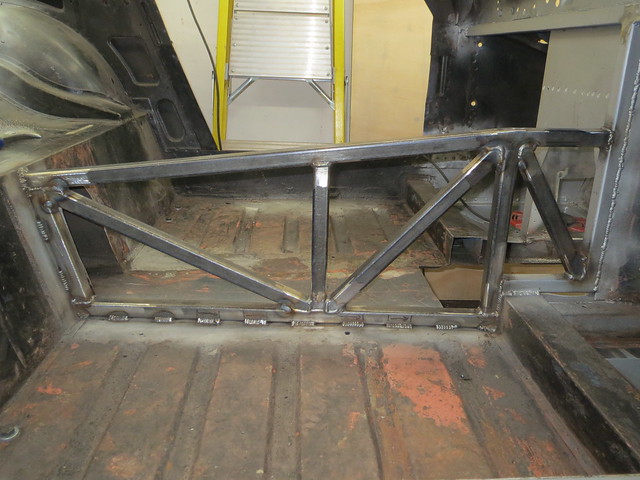

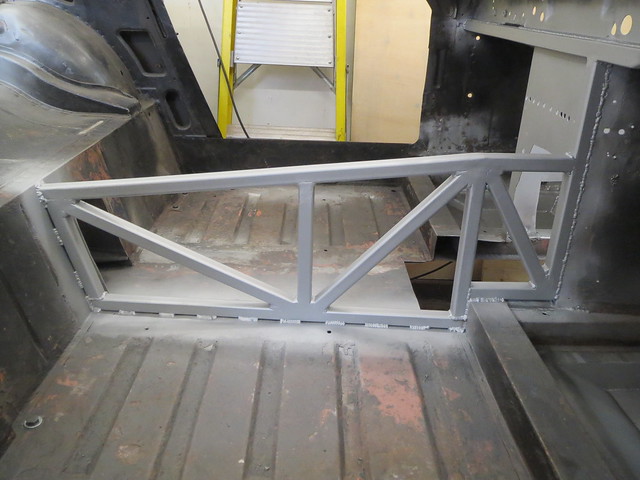
Fitting these proved to be harder than I had thought, as getting good access to some of the welds was difficult. There was one or two where I could only just see what I was doing. Because of this, I will try to make the other side of the frame off the car so I can turn it round and see what I'm up to next time. But once I'd ground the facing welds flat, that was this side of the frame done! I'm really pleased with how it looks, and I at some point I will need to decide which seats I'll be fitting. Not that I have much choice, as the space is now even more limited than usual!

The other side was the next step, and lots of measuring was needed first. Since I had cut the cross member and floor to be roughly right, I needed to cut it back to be exactly right so it didn't underhang the frame. Thankfully, I was only 5mm out with my original cuts. The rear bulkhead was also marked out.
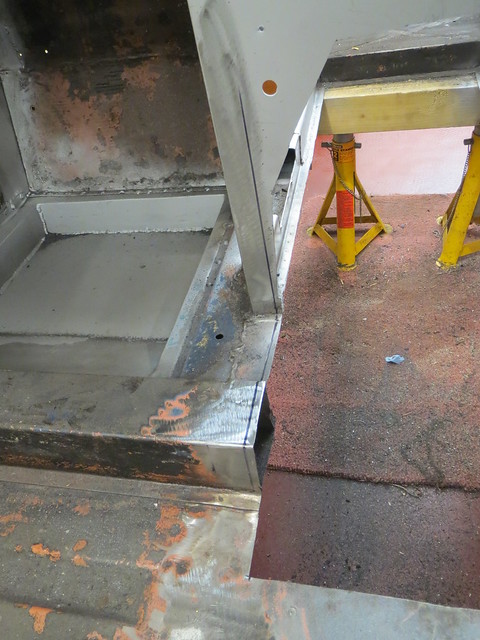
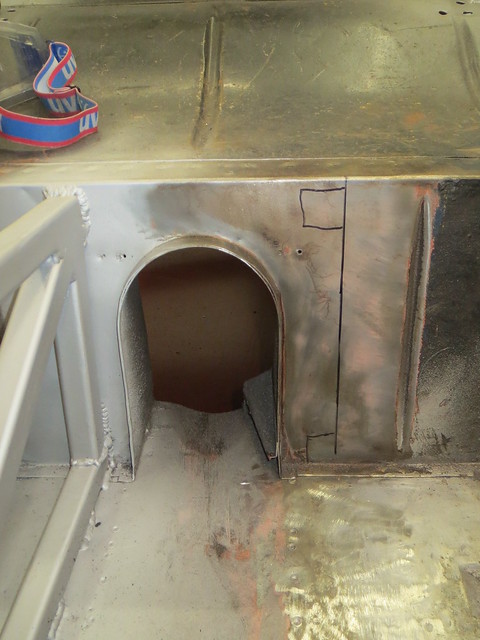

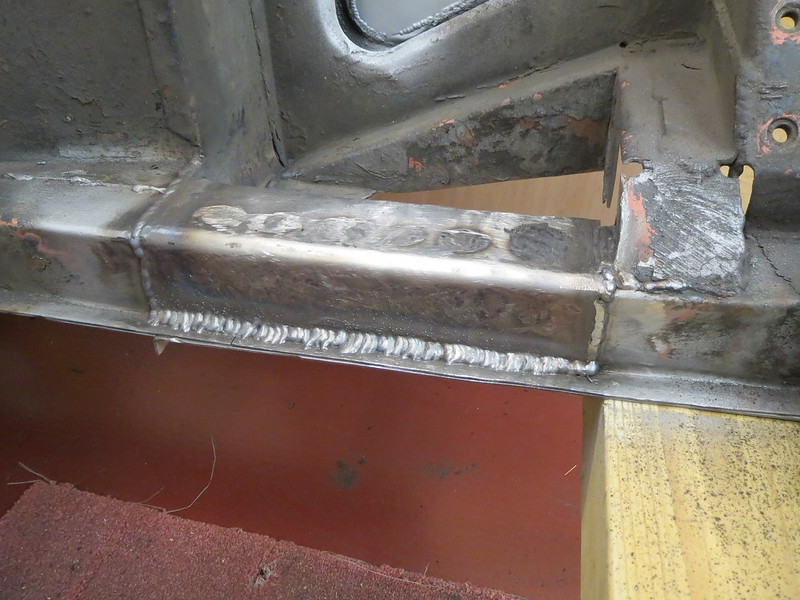
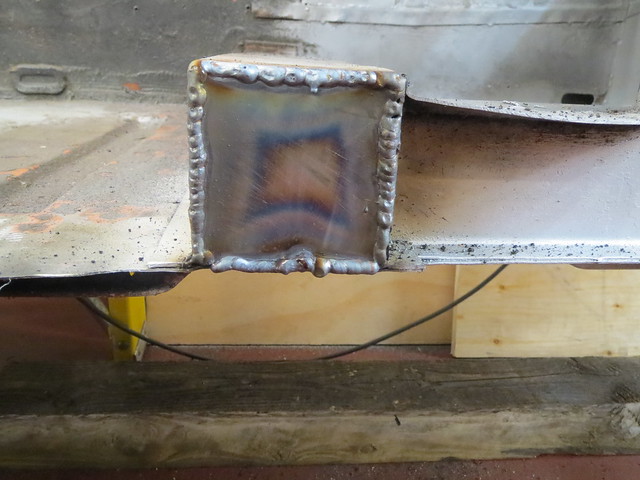
Once cut back and cleaned up, I could then cap the cross member before making a start on the frame. Once the welds were cleaned back, I had to re-do a tiny bit as I'd missed the edge of the panel slightly.

As with the first side, I started with the front section of the frame to give me something square to go from. I also hammered the floor section under the rail closed and welded that up whilst I was there.
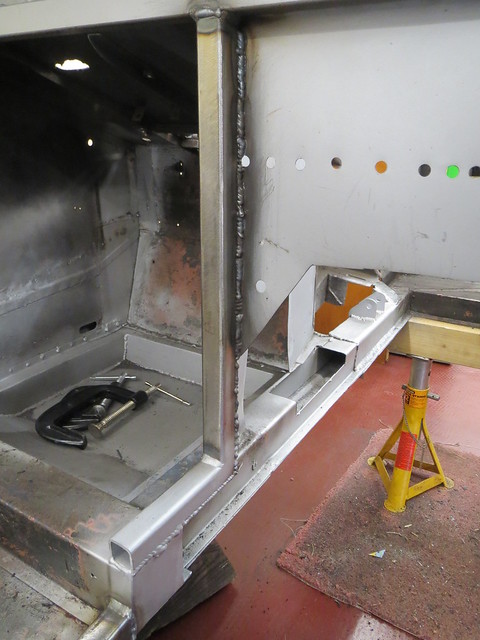

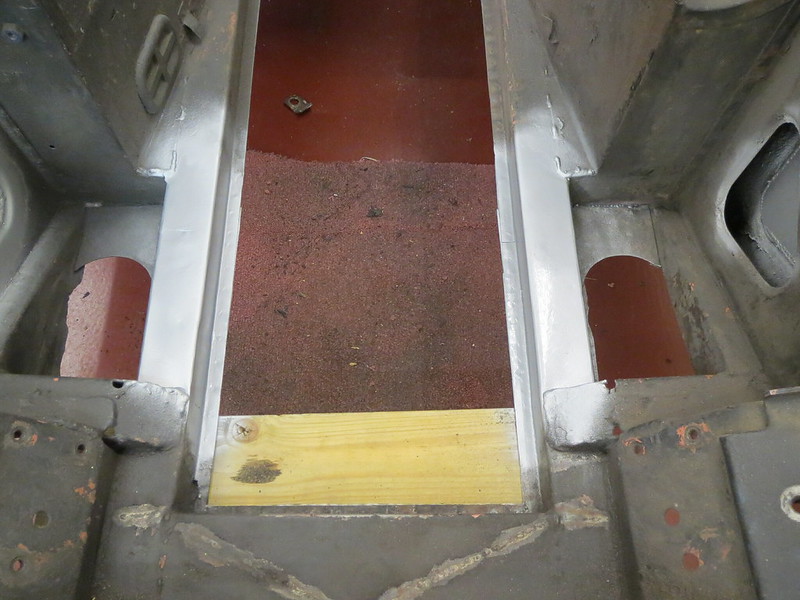
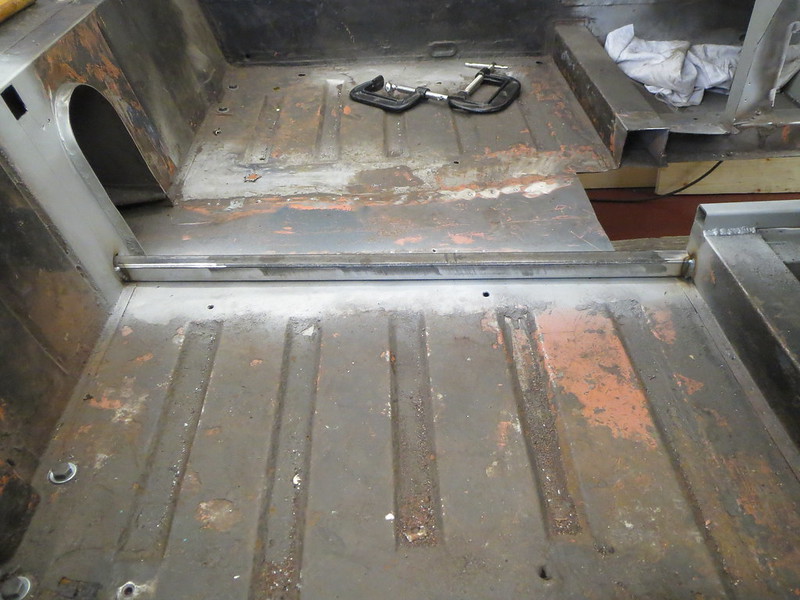
The next tube was the lower rail, but it seems I had twisted the floor slightly when welding the first side of the frame in. I know it wasn't flat to start with, but I think I've made it worse. So I had to stand on the tube when putting the first welds in to keep it square. Since I've been thinking about fitting a floor under the engine bay, I may cut the centre of the floor out yet and replace it with ally sheet.
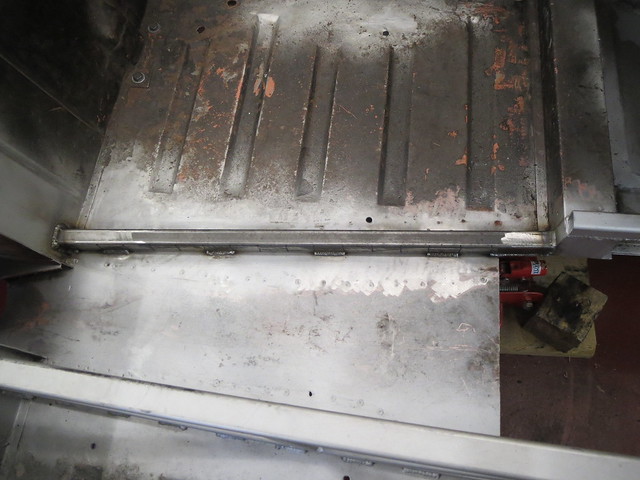


The only other thing to report is that I am now minus my favourite kneeling pad. It turns out that I really should have looked under the car before responding to my neighbour's call over the fence, as I had managed to set the pad, and then a bit of carpet on fire!
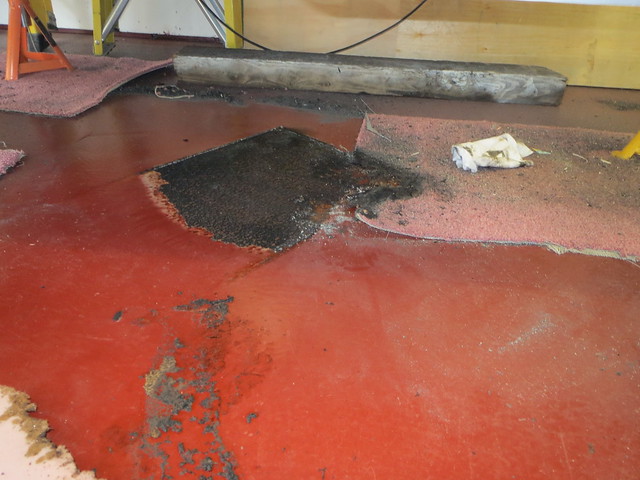


The best bit is that it wasn't even me that spotted it, but my 21 month old son Noah who was busy pointing and shouting at me! If he hadn't seen it, I'm not sure what would have happened. So a lesson learnt there!!

Monday, 19 May 2014

More tunnel work

I'm not doing a brilliant job of keeping this blog up to date, but I am making progress.

Now I had a base for the tunnel frame, I could make a start on the rest of the rails for this side. The bottom rail was trial fitted before having it's closing piece fitted to the rear end. This will close the tube off and also give any diff cradle something to bolt to.


With that in place, the next section along could be made up and welded in place.


The top rail was next. I was in two minds over if I should make this rail from round or square tube. Round would give a nicer edge/curve to the top panel, but square is easier. I also have square tube, and the only round I have is expensive CDS, which I will be using for the wishbones. So square won out in the end.


That's it for now, as that took a while to get right although the top rail is fully welded in the cabin. I can't rush this bit, as once the rails are in, cutting them out will be quite a task. The next steps are the two remaining vertical tubes, and then the cross braces.

Saturday, 10 May 2014

Busy, busy, busy.

I've been rather busy over the past three days!

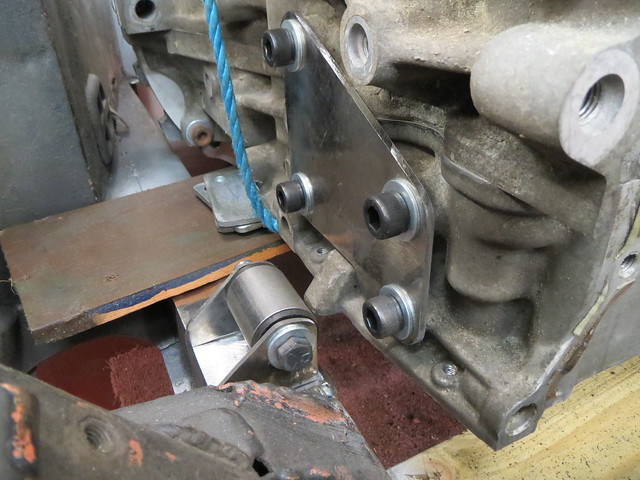
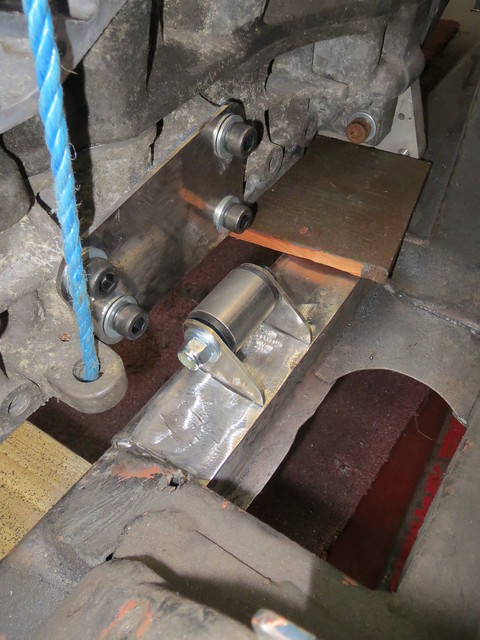
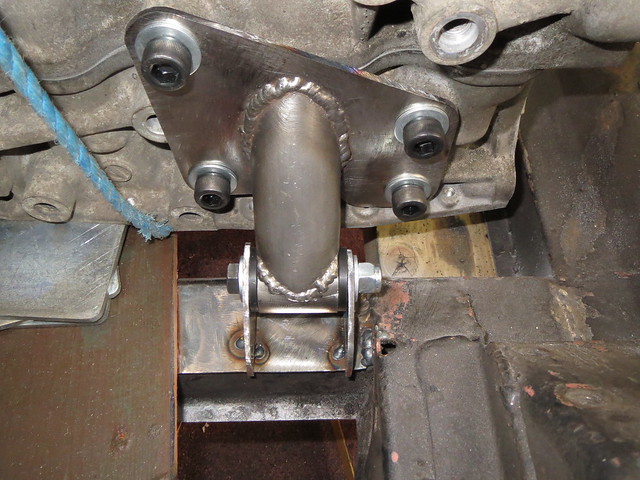
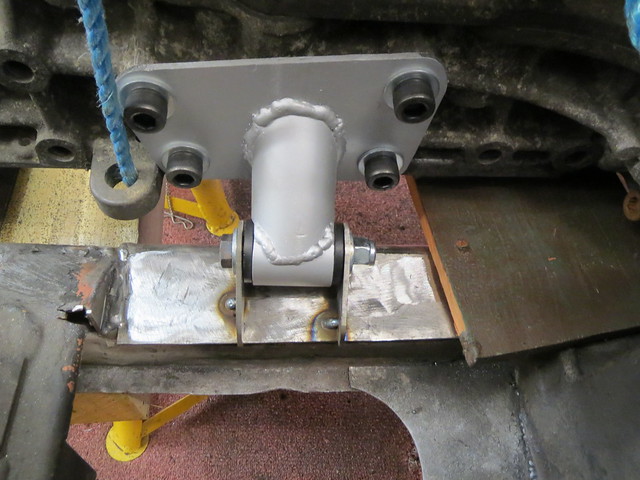
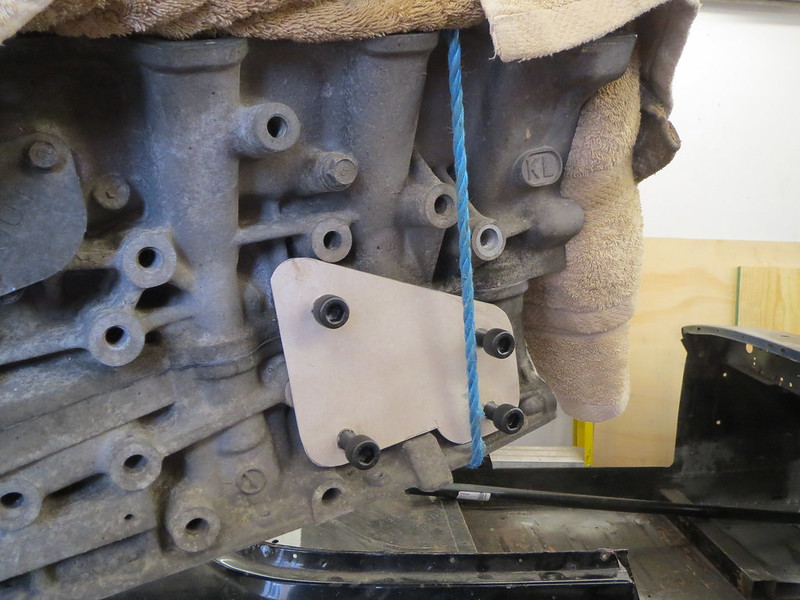
The engine mounting plates were cut out and the chassis tabs bolted to the bush tubes for trial fitting.


And then the joining tube, 38MM CDS was cut and shaped. Everything was lined up and then welded together.


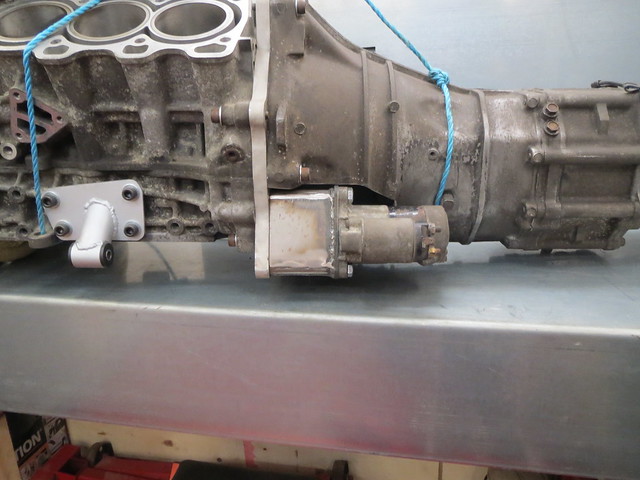
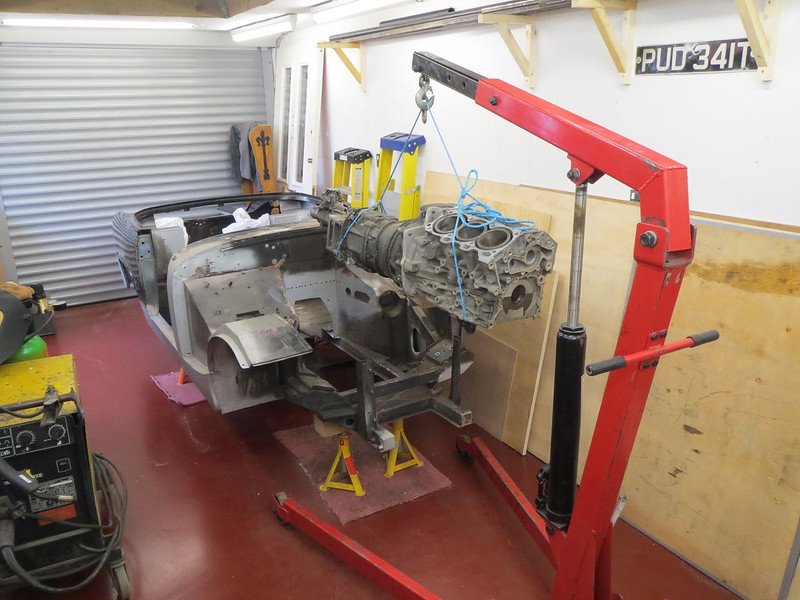
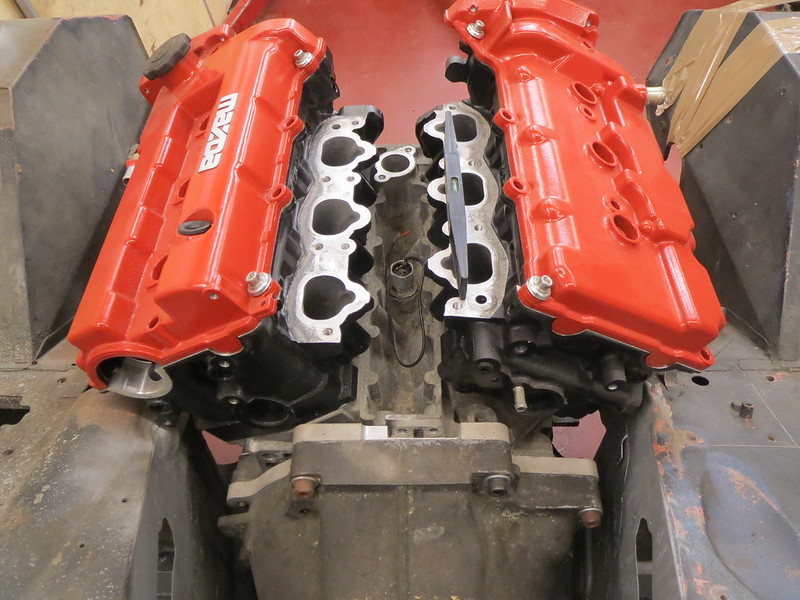
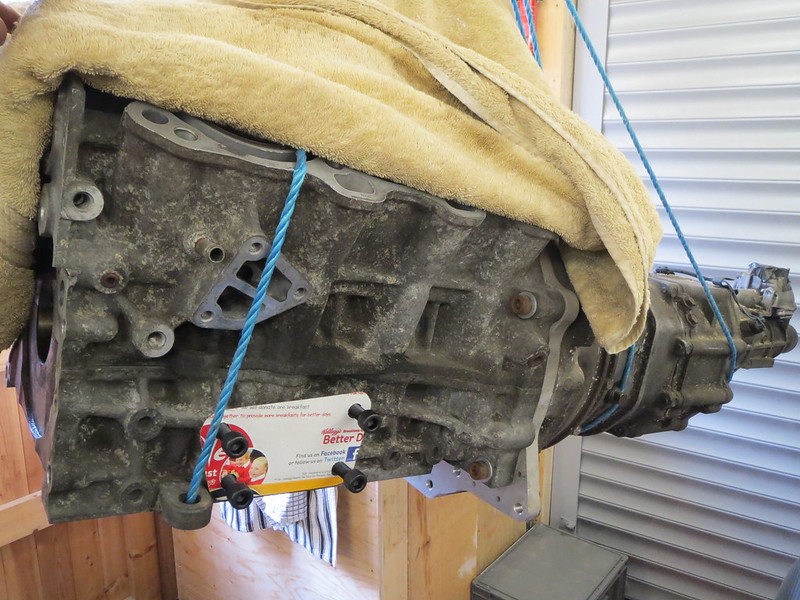
With the mounts done, and the engine sitting square in the shell, it was time to fit the starter motor to the gearbox. The MX-5 box I'm using doesn't have a space for a starter, so I've had to make one.


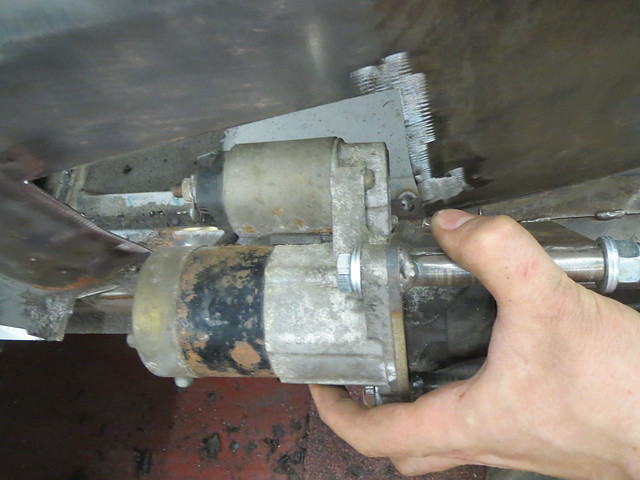
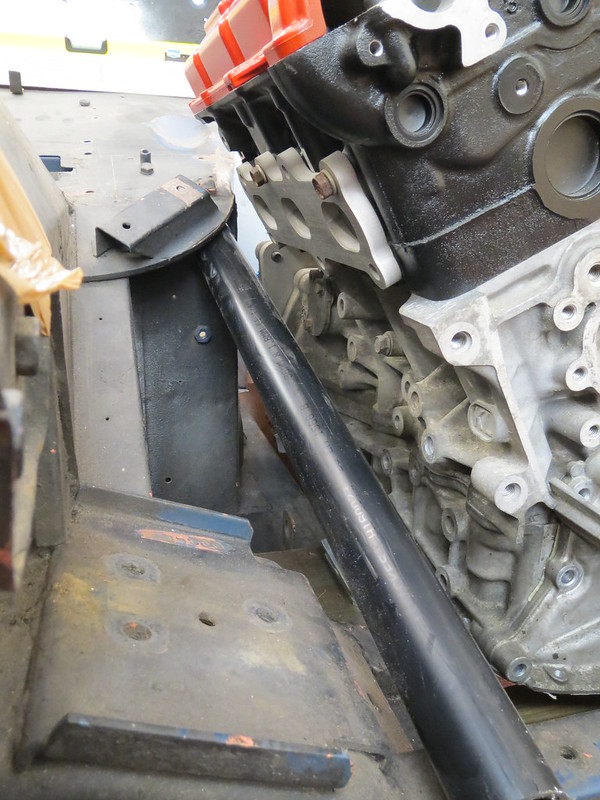
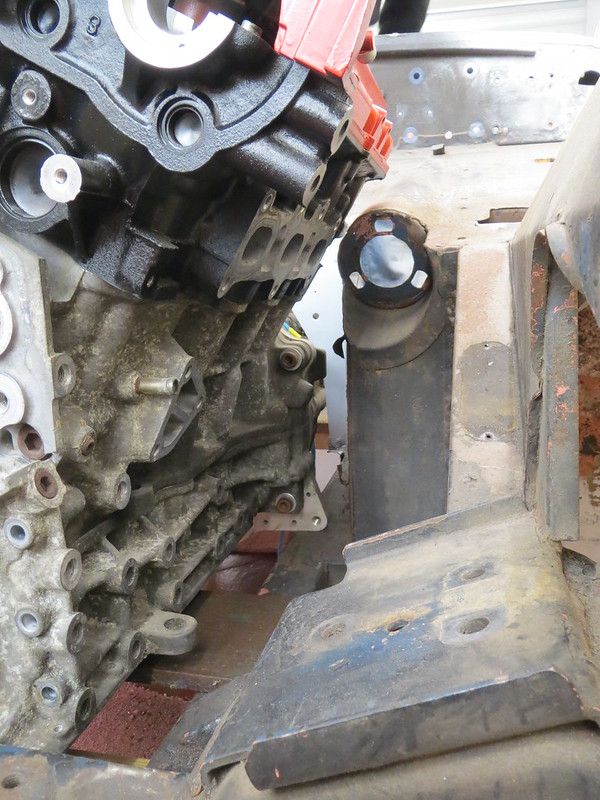
With the starter now bolted into place, I could get the engine back in the shell and start lining up for making enough clearance space for the cylinder heads and the starter.

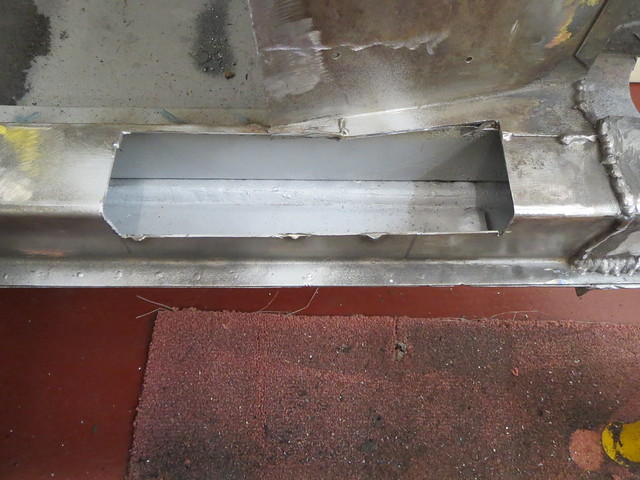
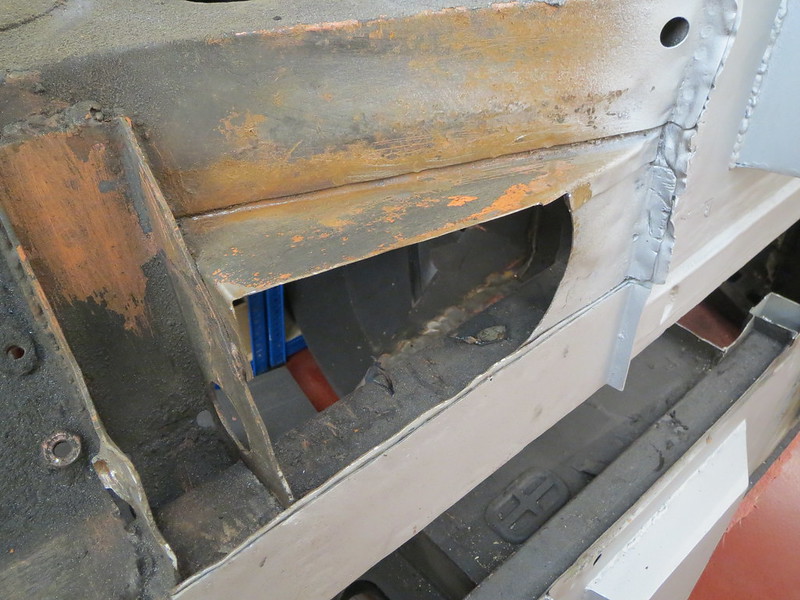
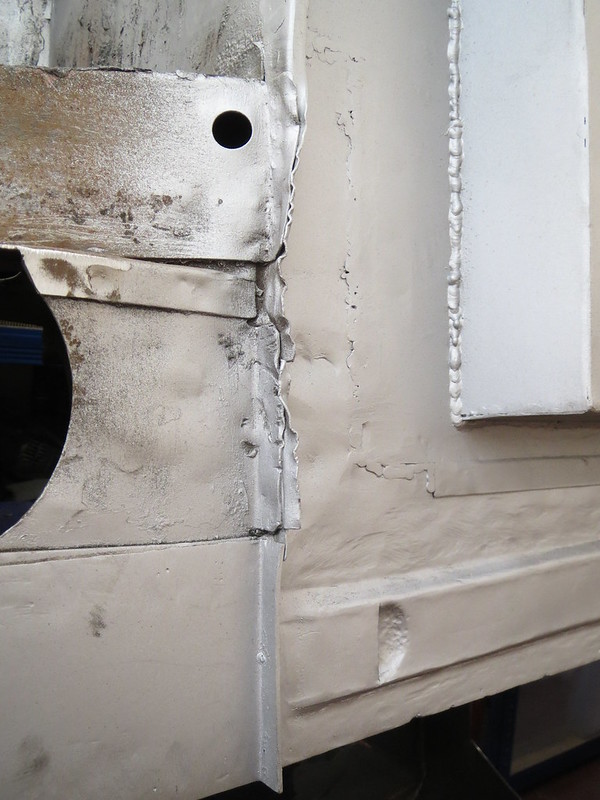
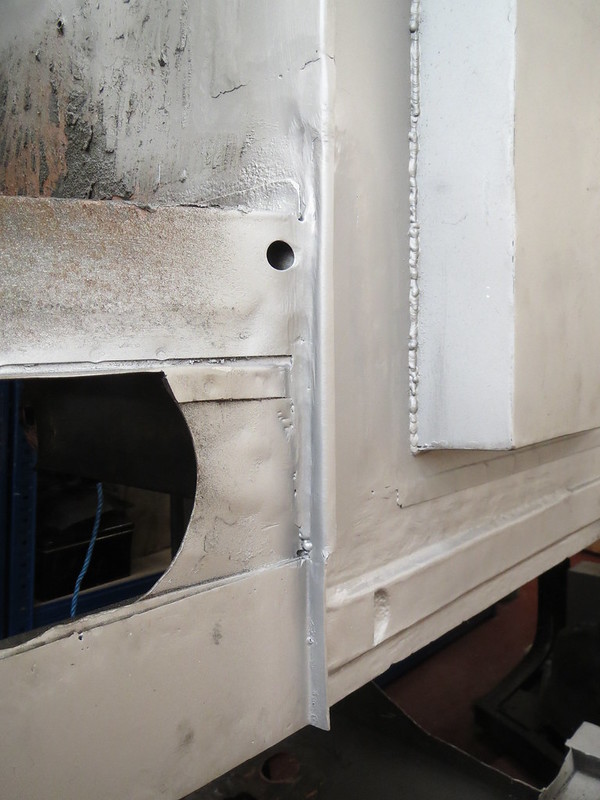
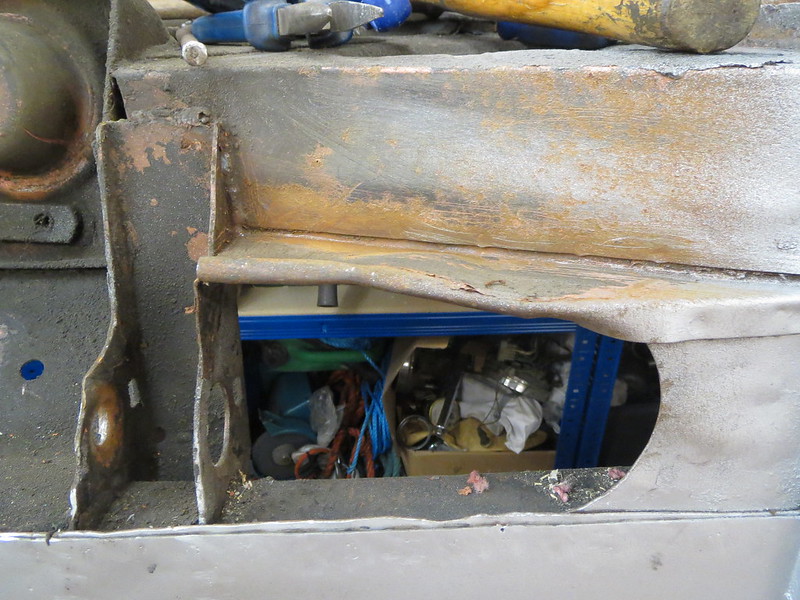
The starter needs a hole in the side panel, and a notch in the chassis rail.


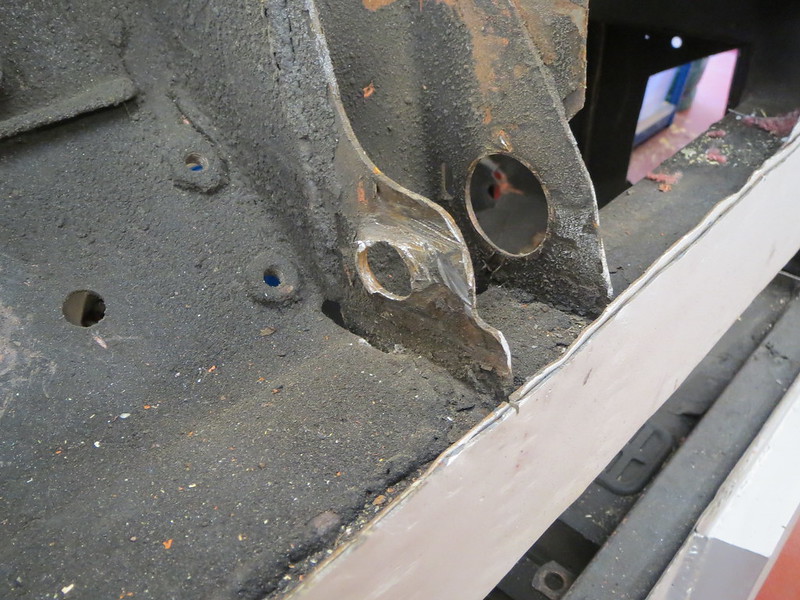
And then both footwell tops were alter to clear the back of each head.


None of these bits have been welded up yet, in case I change my mind at some point about the amount of space I want. I doubt I will, but you never know.

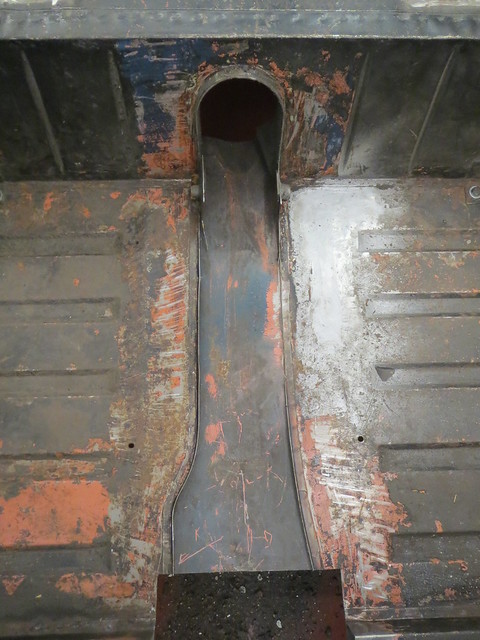
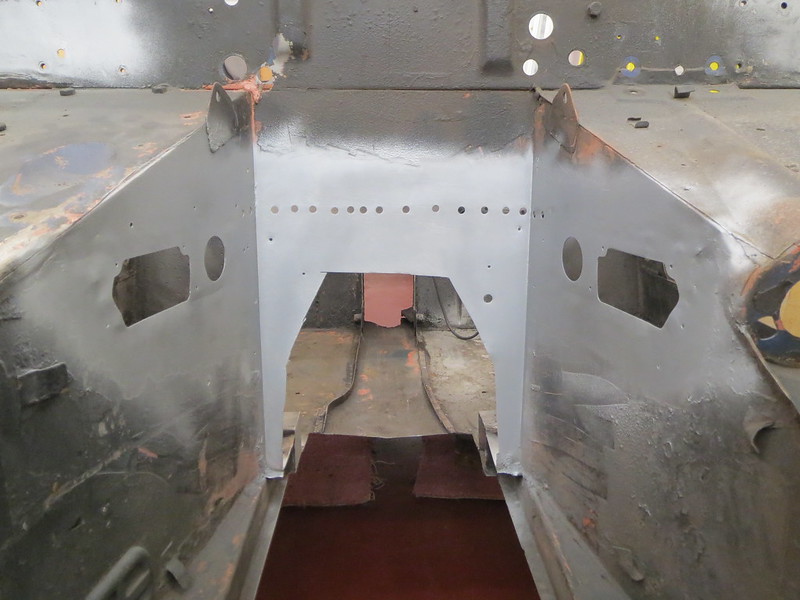
So that was the engine side of things sorted for now, and it was on with the next step: the new transmission tunnel. There were the remains of the old tunnel to remove first so that I could start measuring up for the new design.


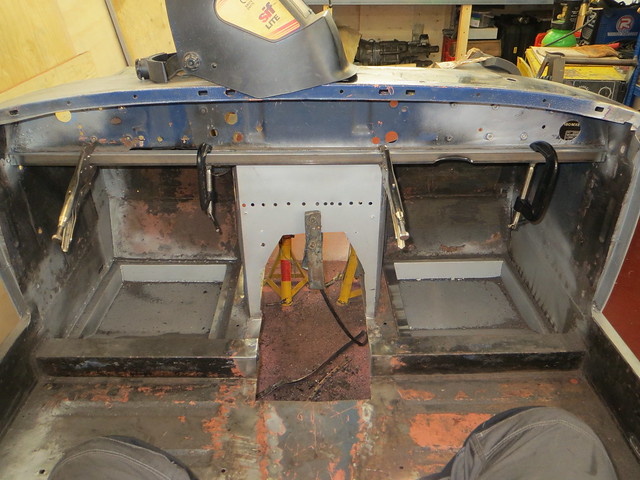
The first step was to fit a cross beam to the dash panel


And then I could get on with fitting the other tubes. I didn't get far before I ran out of time, but I now have a solid base from which to work.


Wednesday, 7 May 2014

Looks like a car again......

Rather than go through and explain what I've been up to, I'm just going to list everything I've done and all the photos I've taken in the last three weeks. Typing it all out would take ages!

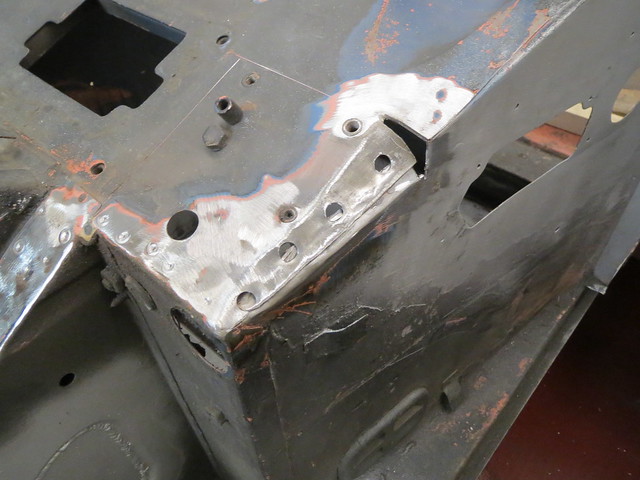
The splash panel has been cut back and hammered flat(er). Since it's not a structural panel, I'm not bothered about the loss of the folded section.


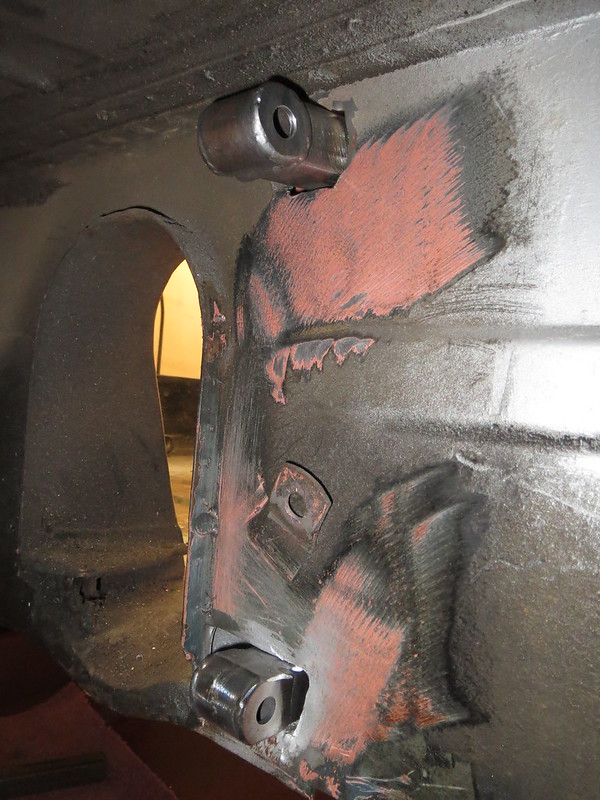
The front suspension mounts are cleaned back and ready for the next stage. The brackets are just sat in place so I could get a feel for what things will look like.


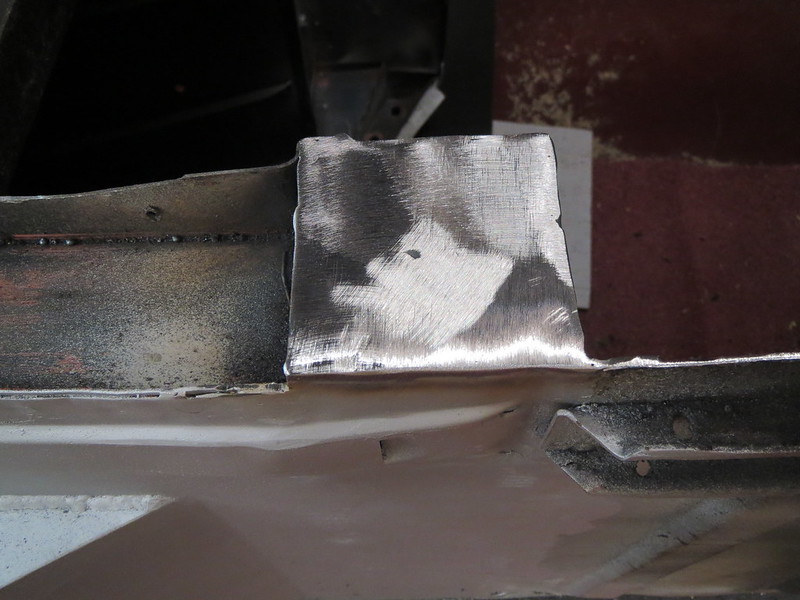
The end I can get to for the cross member has been capped off.


A wonky patch on the passenger footwell has been replaced. I've no idea why I left this in place previously!


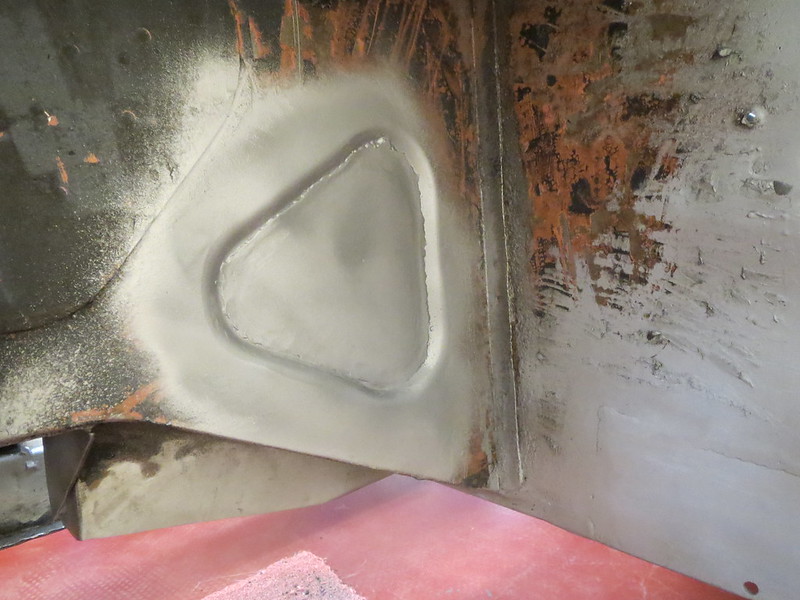
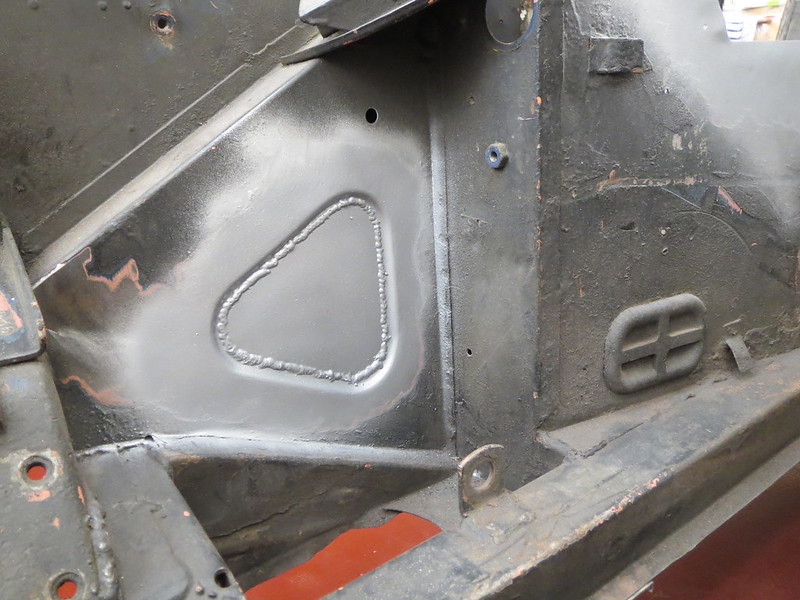
I've made a start on closing in the front panels to help stiffen the front end. The other two triangles will be done when the cars the right way up.


The remains of the heater tray have been cut out at last, and the area cleaned of paint and underseal. There will be a new tray going in once the engine's on it's mounts.


The shell was now the right way up again and looking something like a car too. So I've moved on with getting the engine mounted.


There's not a lot of room around the engine once I mocked up the steering column! Somehow I've got to fit 3-1 manifolds, the steering column and an alternator in there somewhere!!
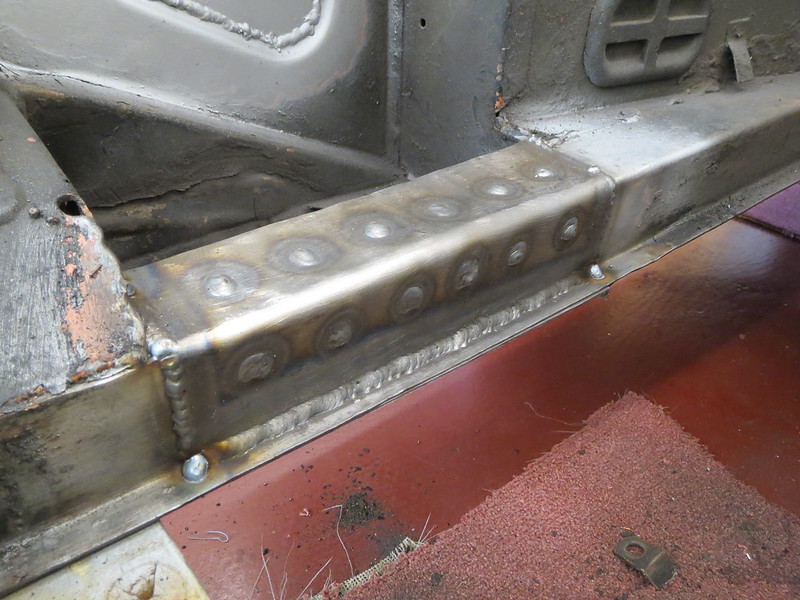


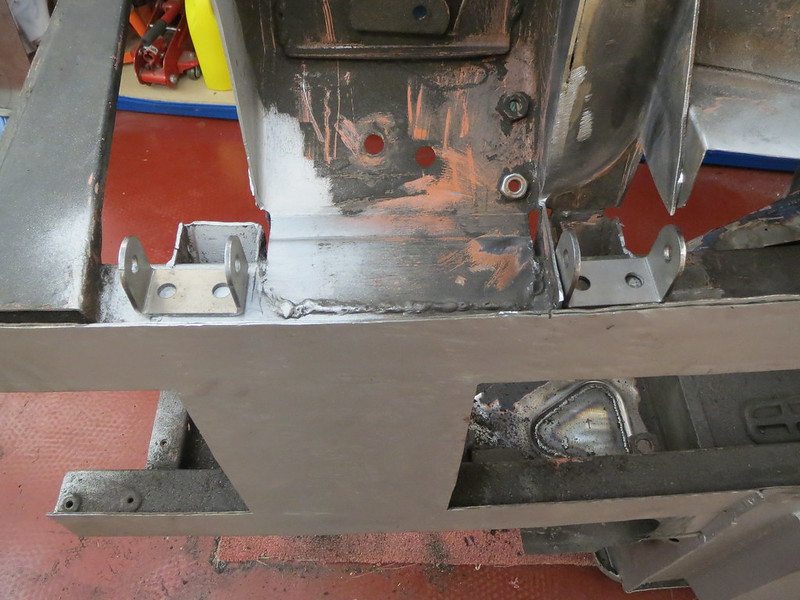
So the next thing to do was to start on the front engine mounts. The gearbox mount will be done next. The front rails were strengthened with 2mm thick plates to help take the weight and to add a little more to the general strength of the shell.


I only got as far as making card templates for the engine side of the mounts, so that's what I'll be starting with today. The chassis side of the mounts will be 3mm plates welded to the new rail plates. This way the mounts are kept small, and with a hard plastic bush in them. They're the same things as I intend to use on the suspension, so if I find the mounts too hard, or that they transfer too much vibration I can get softer ones without having to alter anything else.


Tuesday, 15 April 2014

Quick check over? Not likely......

So with the floor finished, I thought I'd better just cast my eye over the car before I capped the cross member and rolled it the right way up.

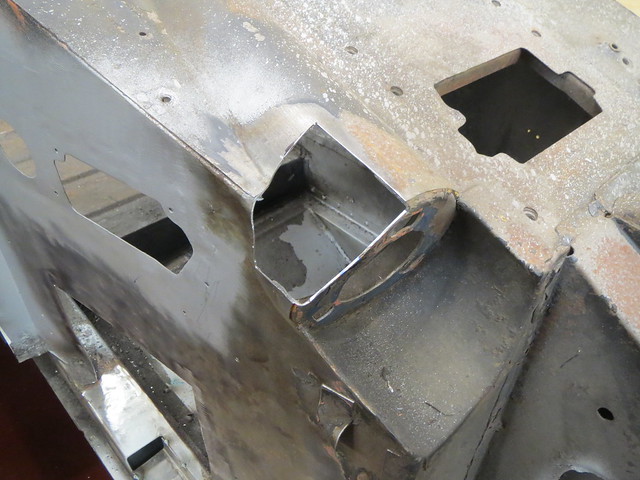
Turns out it was just as well I checked the front end, as I hadn't spotted how bad a splash panel and the wishbone mounts are.


I knew the rear mount was bashed about, as I'd done that getting the old wishbone out. But I hadn't realised that the front mount was about to part company with the chassis rail. The splash panel is nothing to worry about, as it doesn't do much. So I cut the folded over bit off, and hammered the rest flat. I'll tidy the edge up a bit more another day.


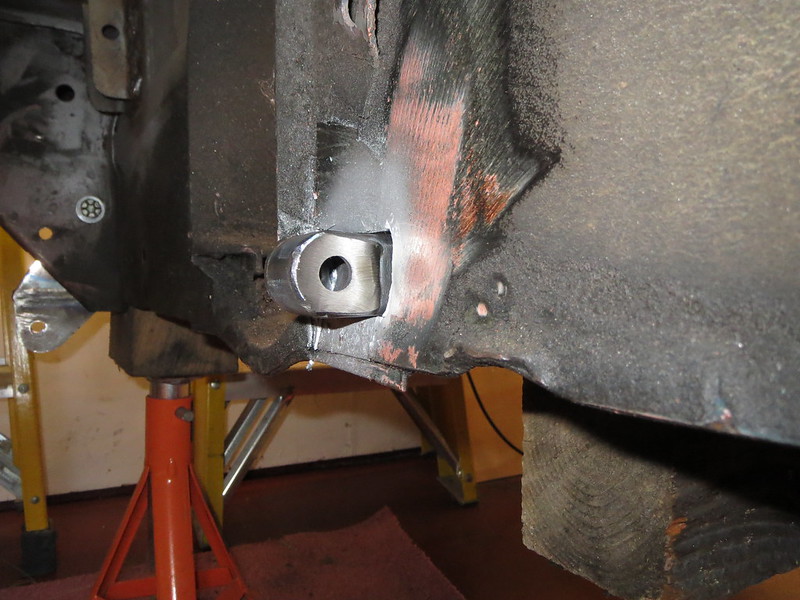
Since the front mount is so bad, I've started to cut the entire thing off outboard of the chassis rail. The inboard bit will stay and form the basis of a new mount. Both mounts were always destined to be cut about, but I hadn't intended doing anything more than making room for the new mounts. Whilst this is more work, it's probably going to give me stronger mounts at the end of it all.

Sunday, 13 April 2014

Floor finished


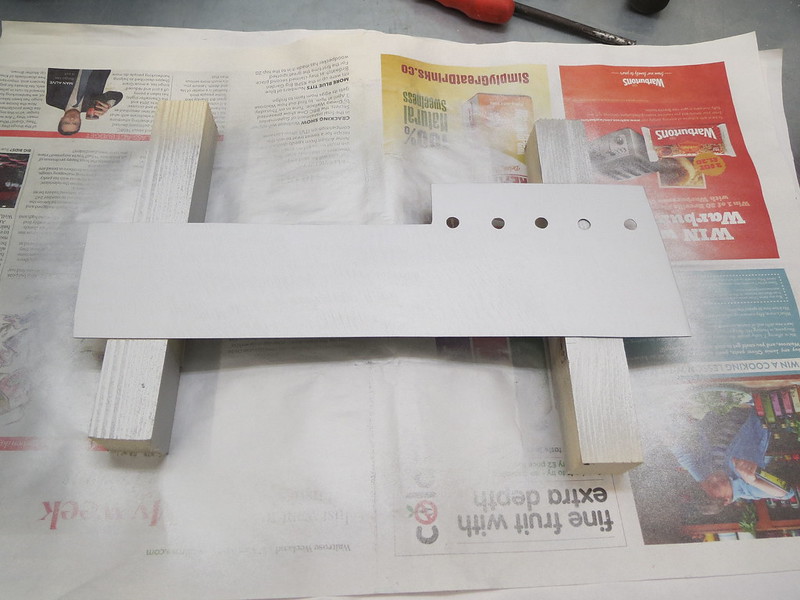
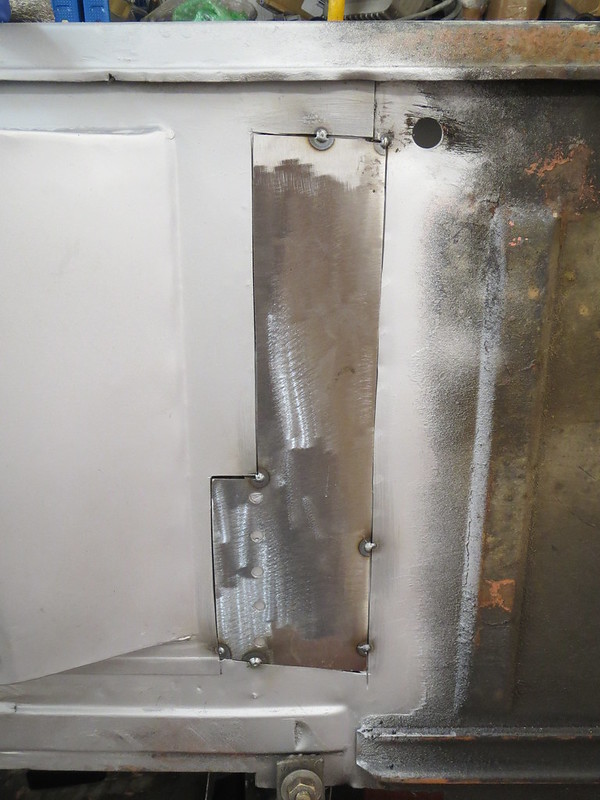
 For making the patch, I did my usual trick of using a cereal box to make a template, before transferring the shape to steel sheet. This is the result:


 Once the primer's dry, it gets tacked in place, ready for any final shaping and then welding:


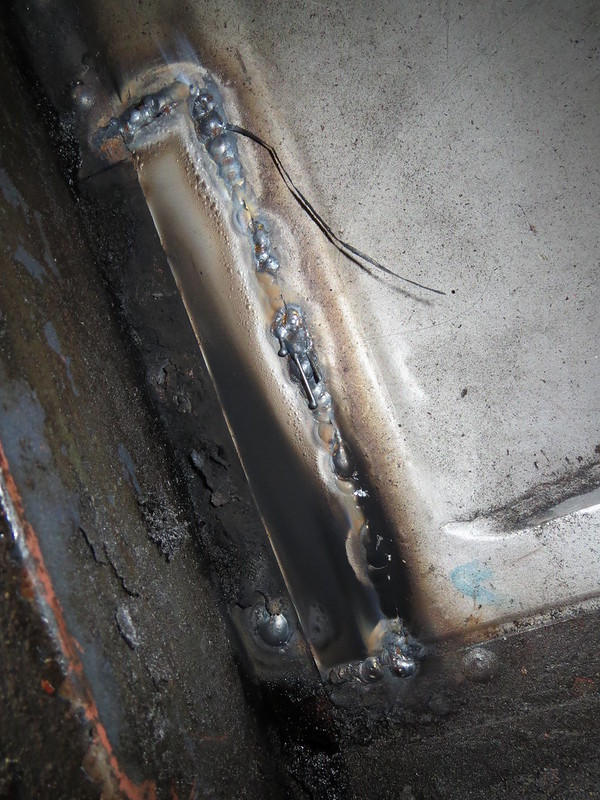
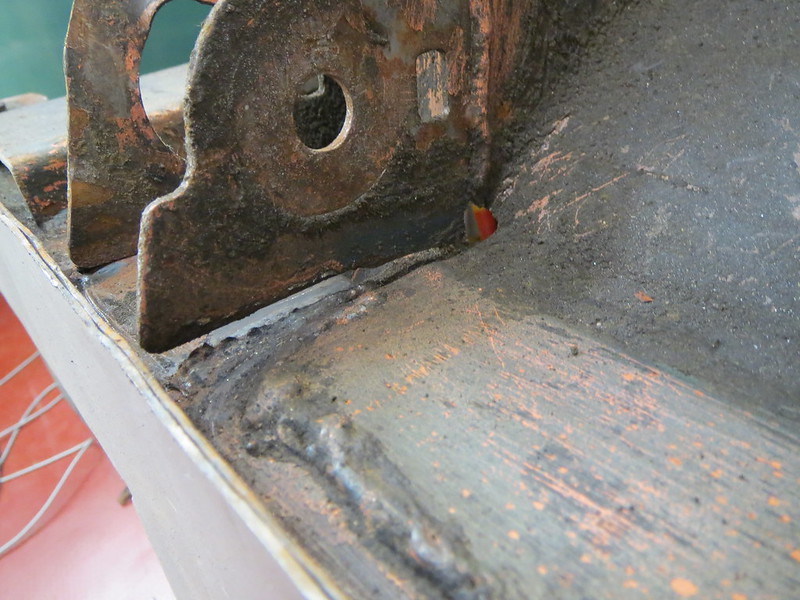
Then I set to with the welder and got it all stuck in. However, I got a bit carried away and forgot to take any photos of the front of the welding, so this one of the back is all I have. This shows what the back looks like when you manage to burn a hole or two in the steel and have to go back later on. That's why some bits look cleaner than others, and why there's bits of wire hanging off it. The black soot is where the car sets on fire.


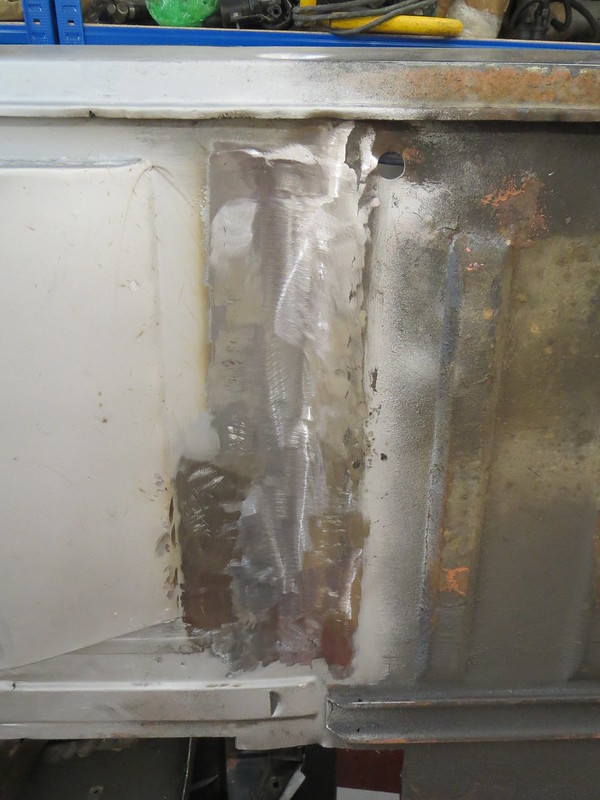
So once I'd cleaned the underside up with a grinder, it looked rather good considering it's been over 2 years since I picked a welder up!


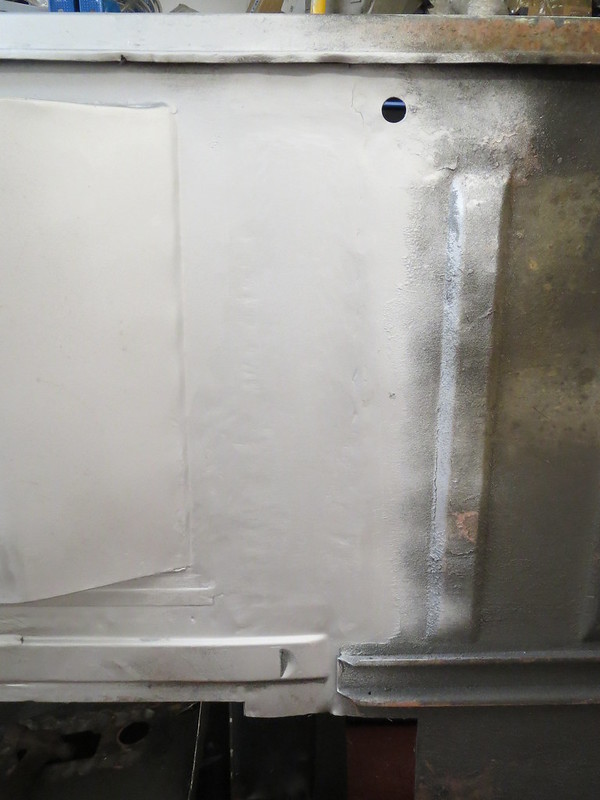
And once painted in more than a coat of primer, you'll not know it's there at all:


The plan now is to check the rest of the bottom of the car over for anything else I may have missed, then cap the exposed cross member that I can to get to before rolling the car back the right way up. Once that's done, I think I'll get on with fitting the engine and making the new transmission tunnel.