Search This Blog

Thursday, 2 January 2014

Boxing in or puzzle building as I shall now call it

There are time I wish I had a nice regular recess into which I could fit a stove. I did have slightly romantic images in my head of finding a nice brick arch or evenly staggered bricks that I could leave exposed to add a nice solid touch to the stove fit.

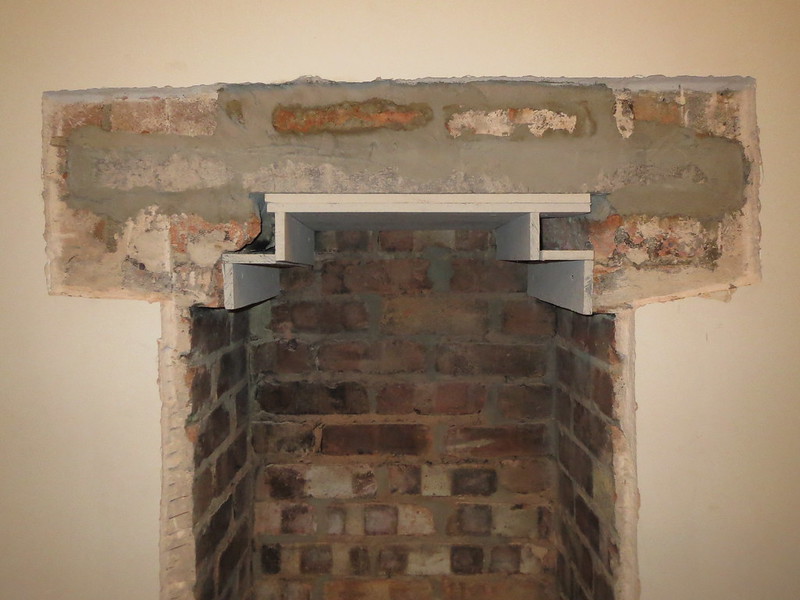
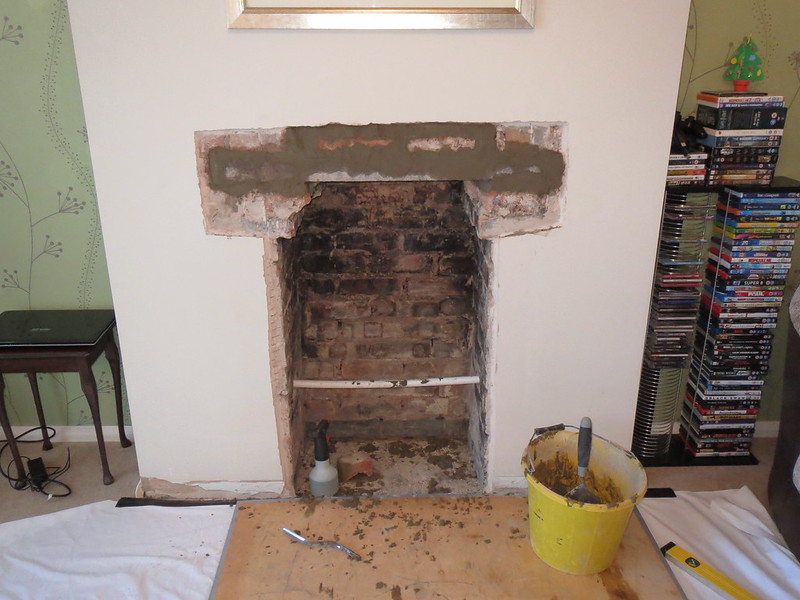
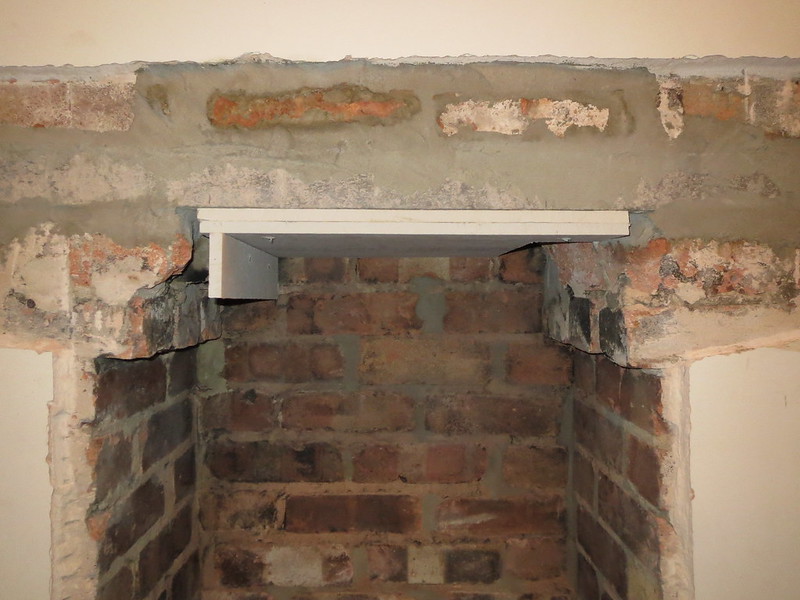
Instead I find bashed about old bricks that need boxing in somehow. I knew this was always going to be a bit of a pain, but not quite as much as it's turned out to be. Since the bricks aren't flat or square, I have to cut and size each section as I go. I started at the top, with the closure plate, and then moved down the sides. This is the plate and first bit:


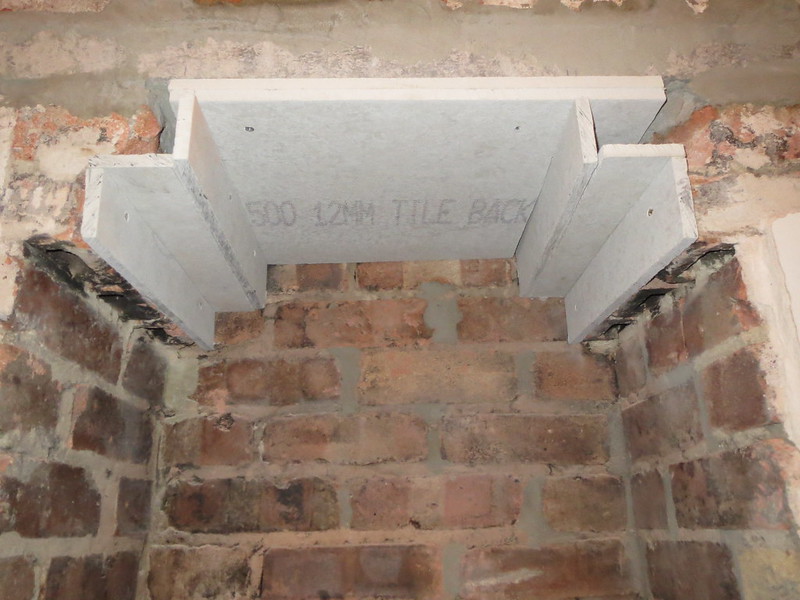
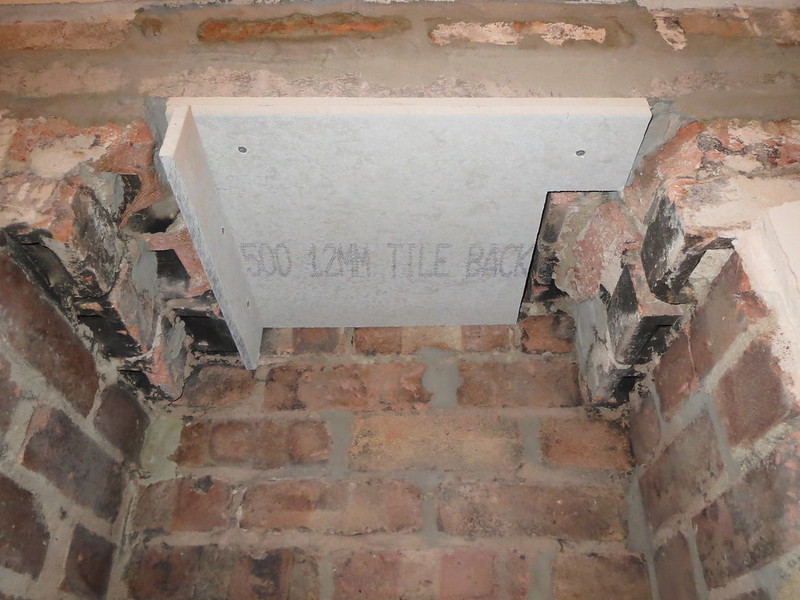
And from there I carried on down either side until I had this:


The idea is to make each side match fairly closely and to be even at the bottom. Since the chimney was built on a Friday, or looks as if it was, the lower edges are 1/2" off level. This means I will have to re-cut the left hand board to allow a bigger dollop of adhesive behind the last board. At the moment it's all just hanging in place as the vertical bits are screwed to the wall, and they then hold the horizontal bits up whilst the adhesive goes off.

Until the stove arrives, and it's now been ordered, I'm not going to risk cutting the closure plate. If I get it wrong it's not the end of the world as I'll just make another, but it's best left until I have everything in place.

Tuesday, 31 December 2013

Laying the hearth

As hoped, I did win the auction on Ebay for a rather large black slate hearth. It's 1200mm long, almost 850mm deep and 45mm thick so quite a big lump of slate. Whilst not the cheapest option, at £112 it's also a fair deal. I was looking at using 25mm thick slate slabs, but I'm glad I managed to get the thicker slab now it's in.

There's thankfully nothing wrong with it, the lady just ordered the wrong size. Just as thankfully, it's just about perfect for my recess. I say just about, as I did have to take 10mm off the rear section to get it to fit. But it turns out that cutting slate is actually quite easy with a 9" saw. Very dusty as slate is a mud stone, but easy.

The first thing to do was to lay the slab on the floor and use it as a template for cutting the carpet. Ideally, you'd just roll the carpet out the way all together, but that meant emptying half the lounge and since it was 6pm, I didn't much fancy that. So I just worked round it.


With the floor clear I could lay the hearth in place and make sure it fitted just as I wanted. Which is just as well, as I had forgotten to include the grout lines when measuring up. So the slab was a perfect fit if there were no gaps. However, by the time there was a 10mm gap between the two sections, and a 10mm gap to the chimney breast, the front slab was too far out. Which wasn't a major issue, it just meant lugging it back outside and cutting it down a touch. And I do mean lugging it. I could just about lift the slab on my own, but not in a controlled way, that's what mates are for.

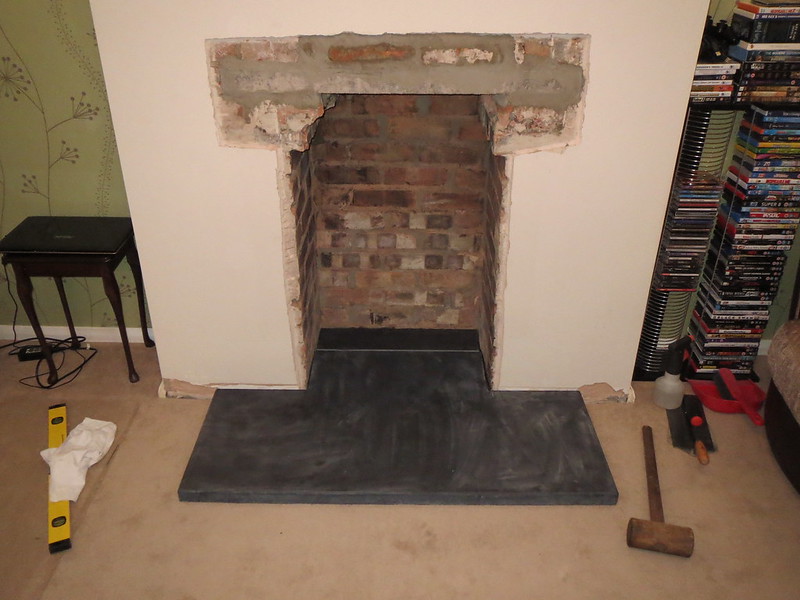
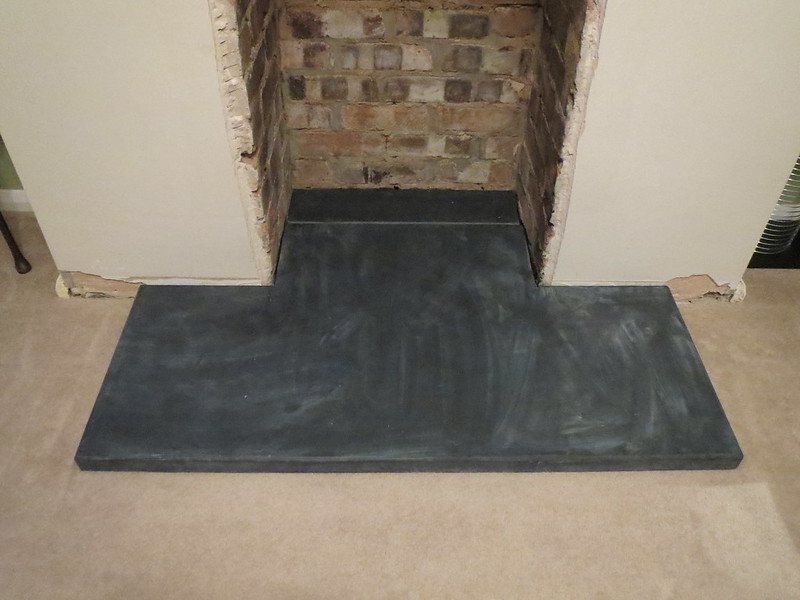
So once it was cut down, the two sections were laid in place to ensure a good fit. As always, measure twice, cut once. I think it looks rather good!


Now the hearth is a good fit, with the right size gaps for grouting, the new carpet gripper rails were cut and nailed into place. The hearth will sit 10mm or so up from the floor so any carpet can be slid under it to keep the edge neat and tidy.

With the mortar mixed (in the dark), it was time to be brave and lay the hearth. The rear section was laid and levelled first, with the front done second. However, I just couldn't get the front to drop enough to match the height of the rear section, despite standing my 15St 7Lb on it. Rather than lift and redo the mortar for the front, the rear piece was lifted out and raised up by a couple of mm. Thankfully, the bed under the front was stiff enough to take my weight to do this quickly.

So this was the hearth as of this morning. It sounds dry, as there's a good solid knock to it but I'll be leaving it at least another day to be sure before I sort the edges out.


And that's the main bits of the recess done. There's the boxing in at the top to do and the plastering to do or get done but those are cosmetic things rather than anything structural. The only issue this gives me is with the grouting along the chimney breast. I have a choice of either grouting it now, and then plastering down to it later, or the other way round and leave the grouting for later. I'm currently thinking about doing the grouting first as that will then give the plaster a good clean edge to run to. It also gives me something I can do now, rather than waiting which I'm not very good at.

Saturday, 28 December 2013

Just about done building!

Since Christmas Eve I have managed to get most of the "building work" side of the fireplace recess done. The lintel was levelled and mortared in, and then the gap above it bricked back in too. Turns out it's fairly messy fitting lintels as you end up trying to push mortar into small holes or slots only to miss with a reasonable amount of it. Or at least, that's how I ended up doing. But it's in and was then left overnight to go off.


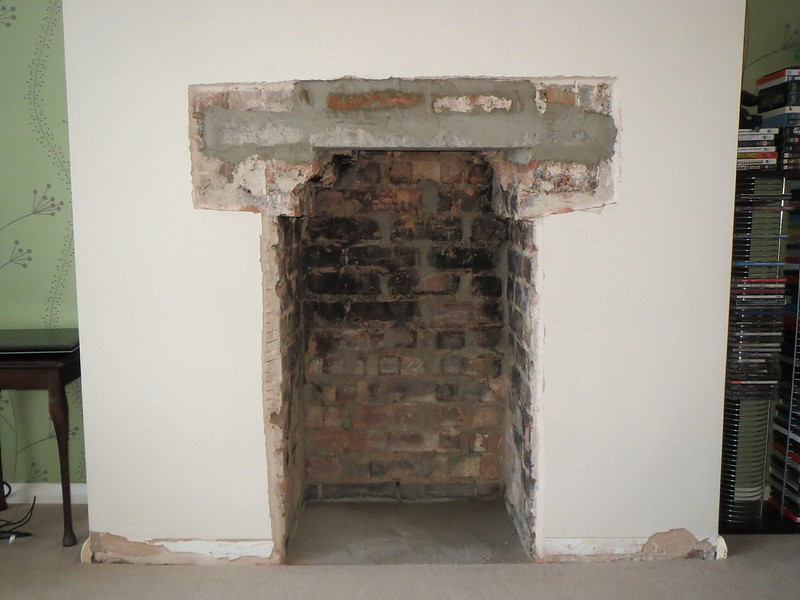
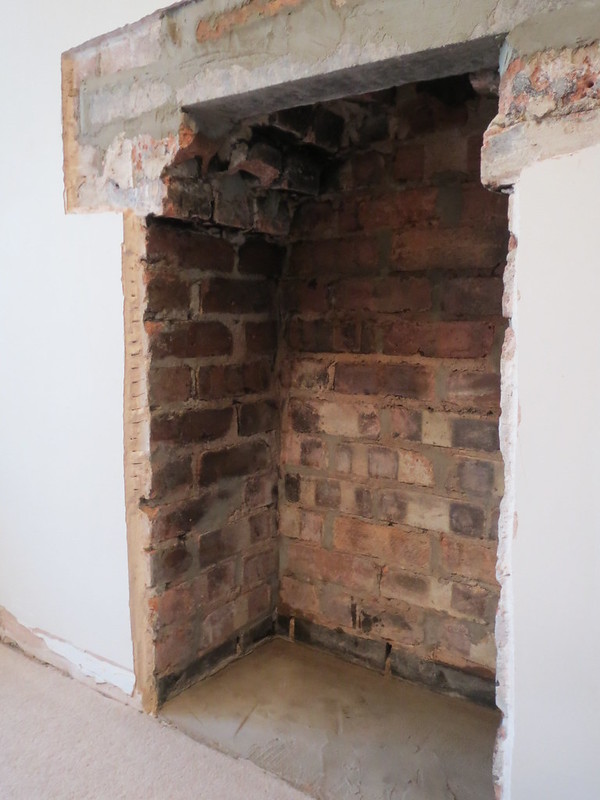
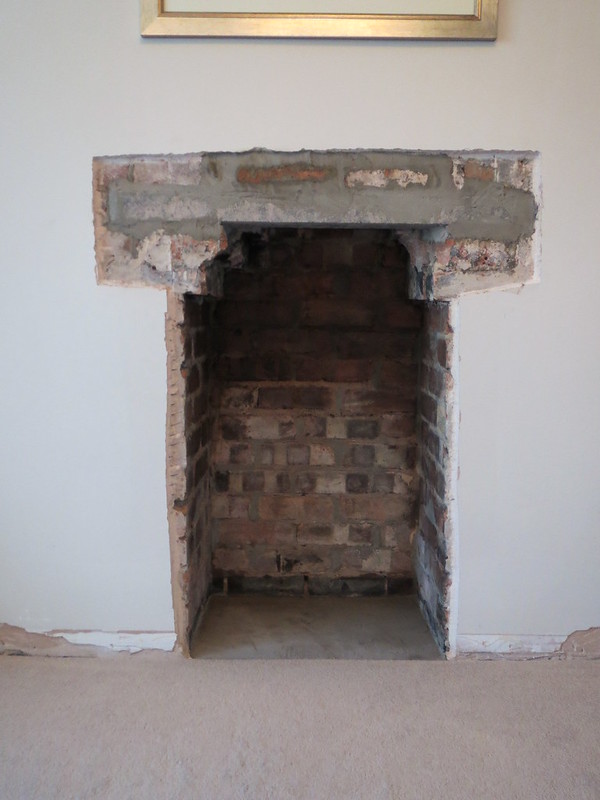
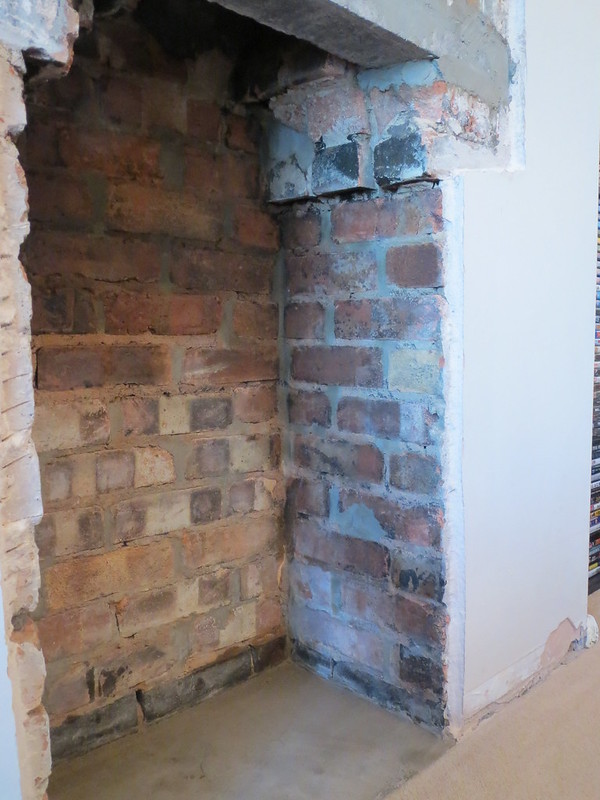
With the lintel dry, I could now make a start on raking out any loose mortar and re-pointing what I felt needed doing in the recess. My aim wasn't to make it look brand new. The house is too old for that, but not old enough to go for a full rustic or aged effect either. So if the mortar was sound but lumpy it stayed. If it was loose or so dry it crumbled it was raked out and replaced. Once the pointing was done I had a good chunk of mortar left over, so I added some ballast I had left over and laid it into the bottom of the fireplace to bring the level up. It's not totally level, but it doesn't need to be, as the hearth will sit on a 5-10mm bed of mortar which will take up any unevenness.


And then I had to wait overnight again for the mortar to go off before I could make a start on cleaning the bricks and remaining mortar. Thankfully, most of it could be done with just a wire brush. I had heard horror stories about trying to clean soot from bricks, but apparently foaming bathroom cleaner is the way to go. So with Mr Muscle in hand, I set too. Turns out that a rag and a small garden spray bottle of water is just as effective, and much cheaper! The below photos show the finished article not long after I had done the cleaning, so the upper sections are still damp and appear darker than the rest. I'm hoping they'll even out once dry.


And that is about it for now. I'm currently looking about for a hearth, and I may have found one that someone has had cut to size, but then realised they'd ordered it wrong. Thankfully, it's just about perfect for what I need. The only other thing I need to do is to cut and fit the concrete boards to cover over the bricks that step in from the vertical line under the lintel. For now I'm planning on leaving this until I get the flue liner, but The Boss may decide before then that she wants it all to look a bit tidier. Fitting the boards will close off the chimney temporarily, so should also stop any draughts.

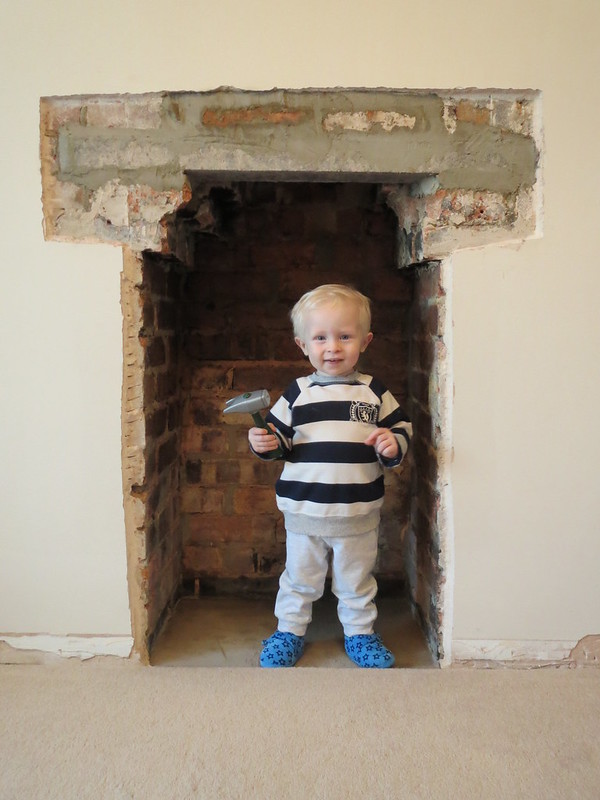
One final thing, a quick photo of Daddy's little helper, as he has been supervising throughout.


All being well, the next update should involve the fitting of the hearth.

Thursday, 26 December 2013

Fireplace opened up at last!

Since I've got some time off over Christmas, I've been getting on a bit more with opening up the fireplace.

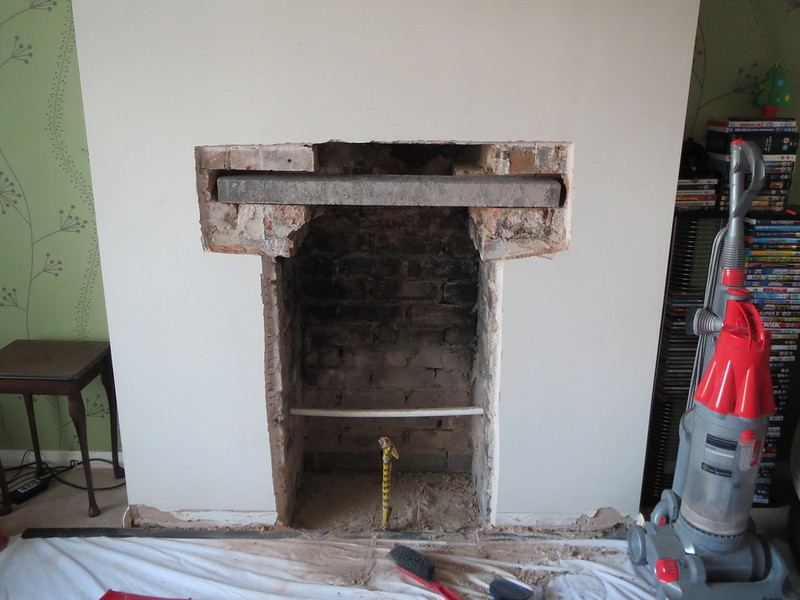
The firs thing to do was to remove the plaster up to roughly the height I need to fit a lintel at. This is easy work, but dusty.


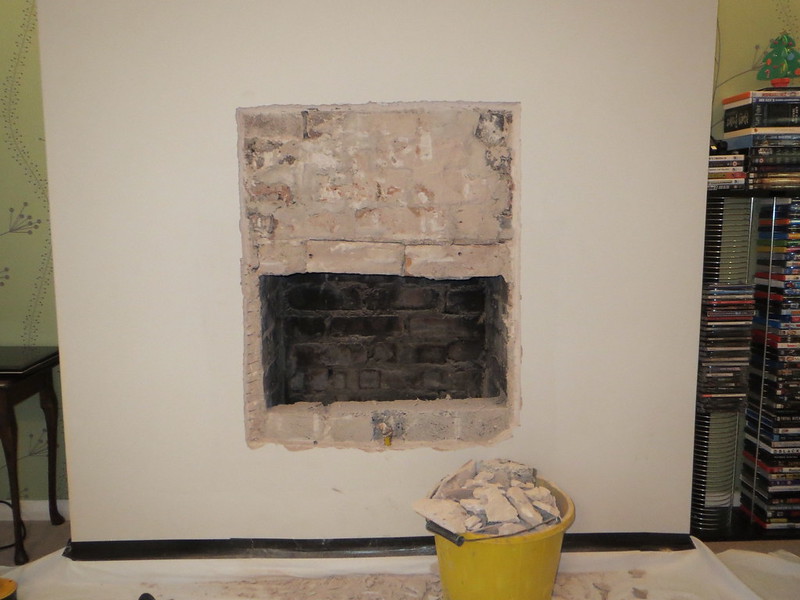
With the top opened up I could then remove the bricks that don't form part of the gather for the chimney up the point I need. With the top done, I could then knock the bottom of the opening out and see what I'm left with. The sooty marks show where the lintel will be, giving me a height of about 950mm within the opening, which should be big enough to give plenty of space round the stove for one of the stove fans I like. OK, they're not cheap and maybe a bit of a placebo when it comes to actually doing much, but I like them.


So at this point I've got the builder's opening to the height I need and as wide as it goes. The height is not such as issue as there's more than enough to clear any stove I would be likely to fit. The possible issue is the width. Building Control don't state any minimum distance, but some stoves require a minimum of 6" or 150mm clearance to each side. With a 2'/600mm wide opening that only leaves 1'/300mm for the stove. Which is not enough. So that means I need to do one of two things.

Option one is to open the recess up by at least a brick's width to each side. Whilst not the hardest job in the world, it would mean corbelling bricks back in or fitting lintels front to back to keep the chimney supported. Not really what I want to be doing if I can avoid it. The other option is to find a stove that I can fit in the existing hole.Guess which way I'll be going.

I feel I should point out at this stage for anyone that ever follows this that the distances I am talking about are those to non-combustible surfaces only. Bricks, plaster and the concrete Hardiebacker board I'll be using are all such materials. IF you intend to use plasterboard, wooden (oak usually) mantel pieces etc, then those distances are different as they are classed as combustible. Please read Approved Document J for more information on what's required if you live in England or Wales. I believe the regs are different in Scotland.

Thankfully, some stove manufacturers don't state any distances, so it's up to my common sense and the 2-3"/50-75mm side clearance that my local BCO wants to see. Hell, any less and I doubt I'd be any to shift the 65-70kgs of stove into place anyway! So I'm looking for anything up to 50omm or so wide. There are a few good looking stoves out there that can be fitted with no minimum suggested distances and fit the width I'm looking at. The problem I'm facing is that the ones I like vary in price from £220 to about £1200!! And since I'm paying for it, my tight side is coming into effect, but it's being balanced by my desire to have a good looking stove too. And the more expensive ones do tend to look a little more "professional" perhaps. The main contender so far is the Newton 5kW, which I've found for £700. This seems like a good, midrange stove and is I suspect what I'll end up getting. It's also DEFRA approved and will accpet a 5" flue, so fitting it should be dead simple as it's also only 400mm wide.

But before I can go ahead and fit anything, I need to fit a lintel above the recess. I was hoping to come across one in the wall, and they may well be higher up, but that's not good enough so I need to fit one. And the below photo shows where it will sit. Thankfully, for a 600mm opening, a 900mm lintel is perfect as a lintel should have 150mm seating on either end. That can be cut down to 100mm in some circumstances, but I don't want to risk anything. It would also mean cutting a lintel down so it's just more hassle all round really to do so.


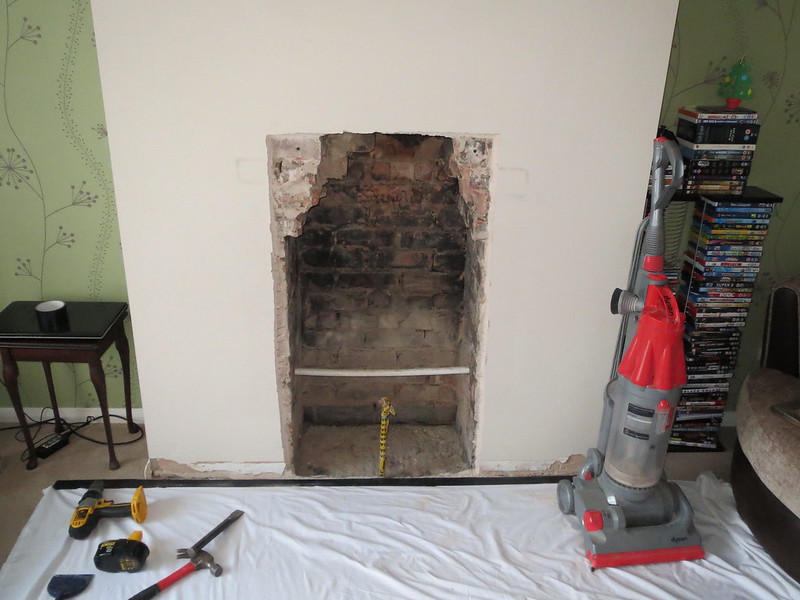
The only other thing I've done so far is to cut off and close up the old gas pipe. Since the existing fireplace sits below floor level I will be filling it in with concrete to both raise it up and seal off the gas pipe permanently. The white plastic pipe is still in place, but only because by the time I got round to it on Christmas Eve it was time to tidy up.

For those wondering, this has appeared to take so long to do as I can only work for a few hours at a time before the Boss gets annoyed at the noise and dust and I have to stop. All the work that has been done so far could have probably been done in a day if I were in a position to just bash away at it and not have to stop and tidy up. The next tasks are to actually fit the lintel and then close up above it. Once that's done I can make a start on cleaning up the brickwork and then begin raking out the old mortar in the recess so I can set to with the pointing. That's not something I looking forward to doing, but it needs sorting as the existing brickwork is too manky to leave as is.
Thursday, 19 December 2013

Further fire place bashing

Apologies for there being such large gaps between my postings, but it's silly season at work and I've not had time.

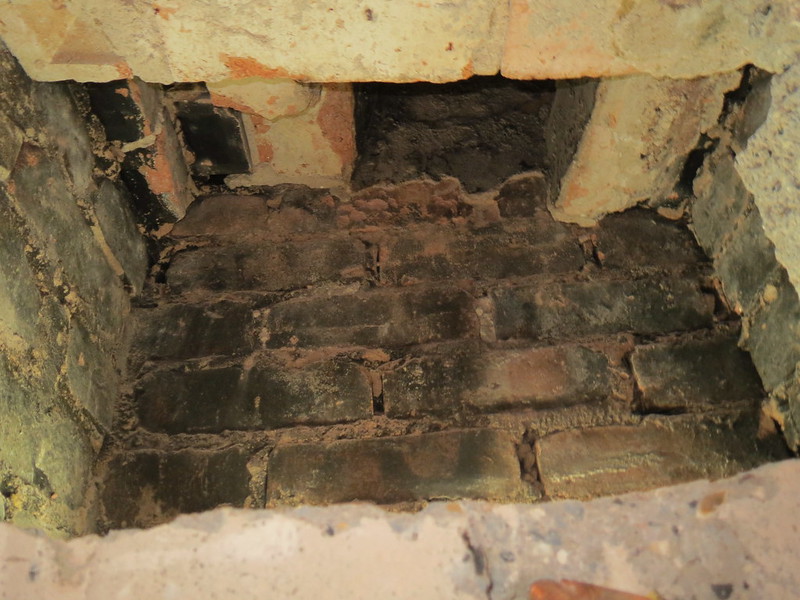
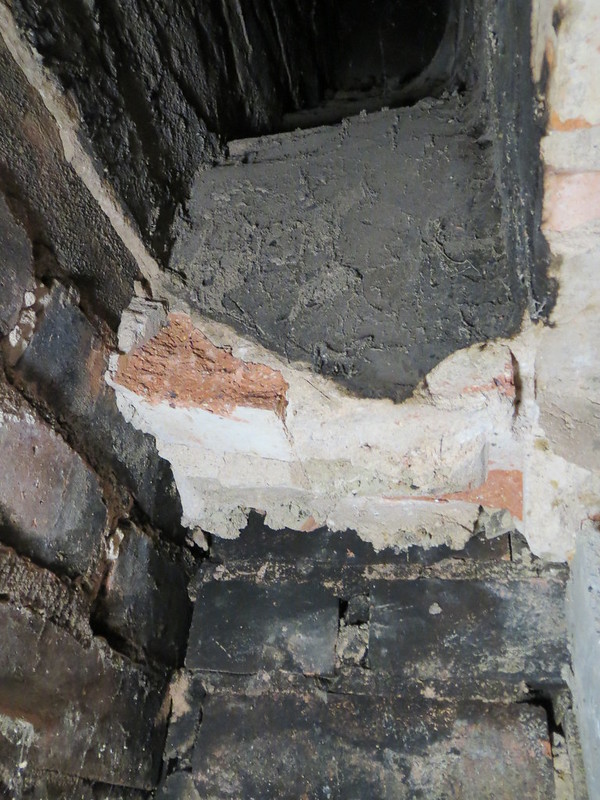
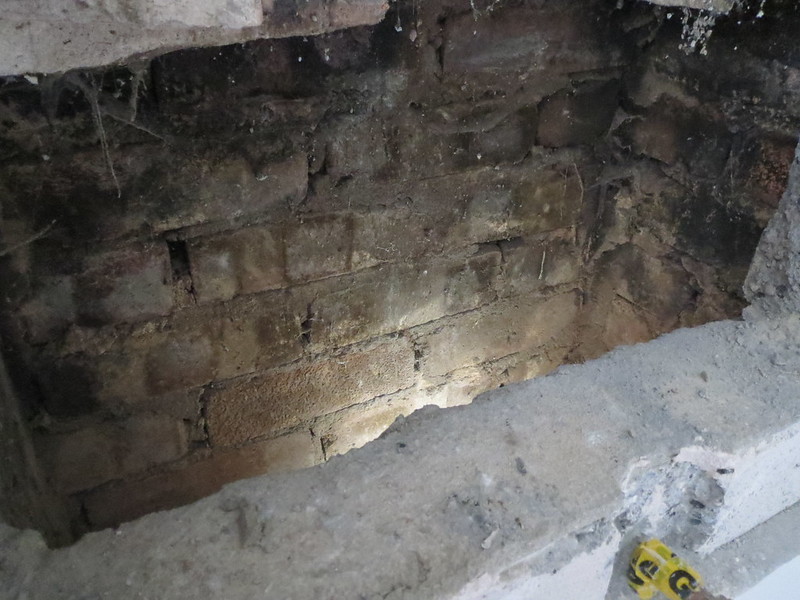
Whilst I've not gotten much done, I have made a slight start on opening up the inside of the builders opening. It's turns out that the brick built gather isn't the original one as the bricks behind it are soot blackened. Thankfully for me this mainly means that they fall out easier! This photo shows the current view up the chimney where I've removed the bricks so far.


The other thing the photo shows is what may be the bottom of the structural gather on the left hand side where there are soot stained bricks. Until my partner's finished child minding for Christmas, I'm unable to pull the face of the chimney apart, so I don't know for sure what I'm finding as yet. But I do know the right hand side is straight forward, and half way down at this point too. Once I can open up the bottom of the opening I expect work to progress much faster. Working through a hole the size of a single block restricts things somewhat!


Oh, on an unrelated note, I've managed to find another complete Record 74 vice, so once I get back out into the garage I can start making plans for my build bench at last!

Wednesday, 27 November 2013

Finding the fireplace, and thoughts on stove fitting

Whilst not really Workshop related, it's fairly manly/man-cave related so I'm putting this entry in anyway. And it's my blog, so if you don't like it, then that's too bad.

A while back I removed a decorative flame effect gas fire from the lounge with the help of a gas fitter from work (thanks Darren). As nice as it was, it didn't give out much heat but the casing and glass still got hot so it was no use during the day with little ones about as my partner is a child minder and burning other people kids is somewhat frowned upon. Burning your own is also frowned upon, but that's unlikely to directly lead to a lose of business. Anyway, I digress. The fire was pulled out and Ebay'd and it was left at that for the time being as there was no point making loads of mess to hide the end of the gas pipe if something else was going to happen shortly.

And we've now decided on seeing about fitting, or getting fitted, a multi-fuel stove. So it was time to begin looking into these things. And it appears not all that hard to do if you're a bit handy with the DIY. OK, Building Control have to sign off on the work, but the work itself isn't hard as long as you buy the right quality parts. And I figure if I can build The Workshop and do everything in it, then this has got to be within reach.

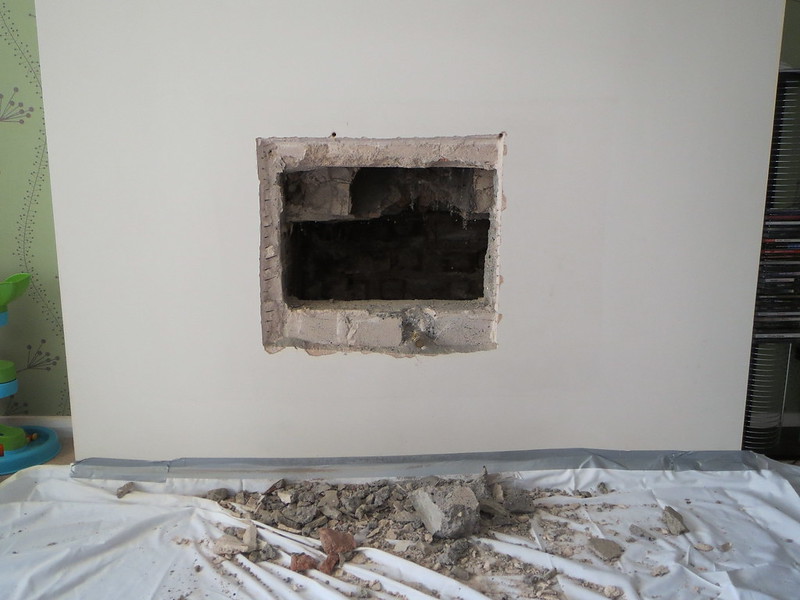
But first things first. I have a flat chimney breast to break into and have a nose about at. And whilst I was quite surprised to find at least 1.5" thick plaster on the wall, I was happy enough to only have a few large concrete blocks filling the builders opening. I've only taken one out as I need to ensure I can cover the hole up in a vaguely neat way for now.


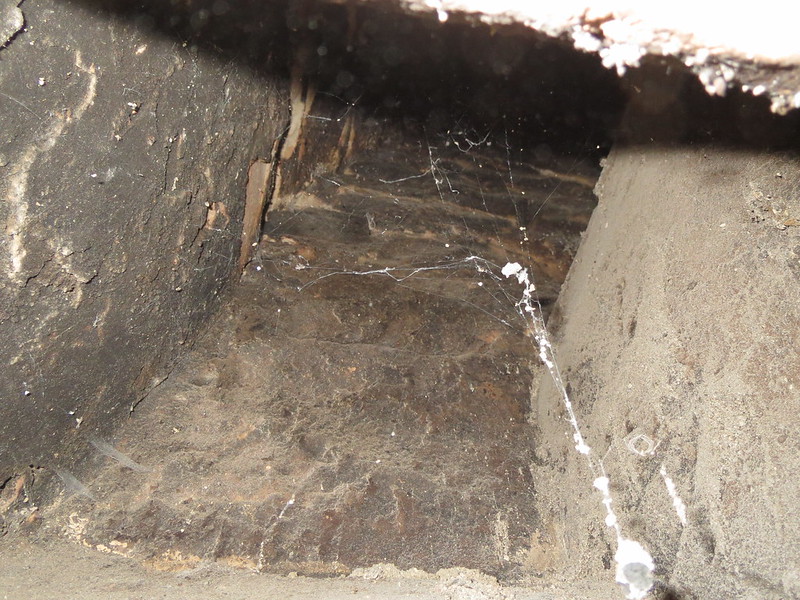
So with a hole big enough to get my head in I did just that and had a nose up the chimney. A neighbour had said it would be pot lined, which would make fitting a liner a bit of a pain in the arse. Thankfully, it appears he was wrong, or may have been talking about the other chimney these houses have. They used to have a solid fuel boiler in the kitchen with a smaller chimney. This is what this one looks like at the back:


A little way up the chimney:


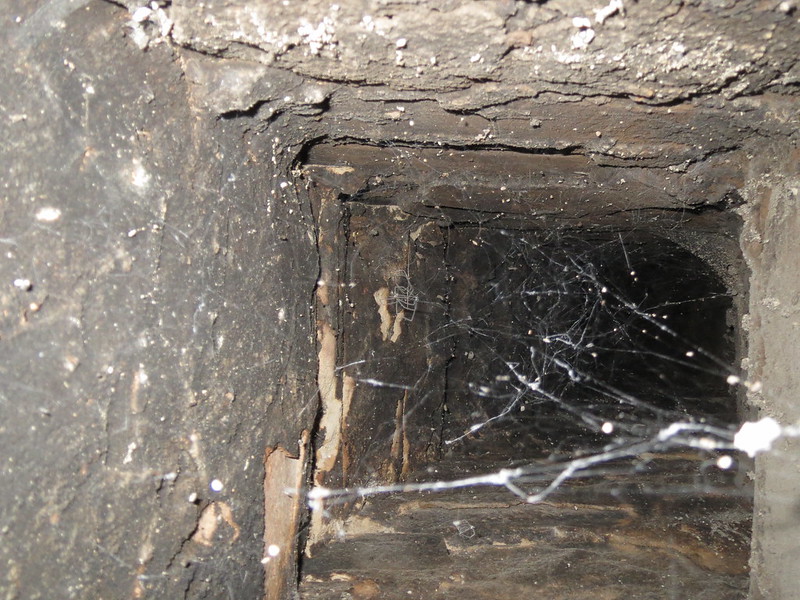
And then as straight up the chimney as I could aim the camera:


And this seems to be your run of the mill brick built chimney. I'll need to see about removing the bricks that form the infill shaping needed for the open fire that was originally in here as it's not needed and could fall in if left. Which is good as it means a 5" liner should drop down it a treat once done.

The next thing is to open the rest of the wall up so I can see if the stove we'd like, a Charnwood C4, will fit in the existing recess or if I'll need to get a bit more structural with it and open it up.

I really hope it fits.

Racking up, tidying up under way

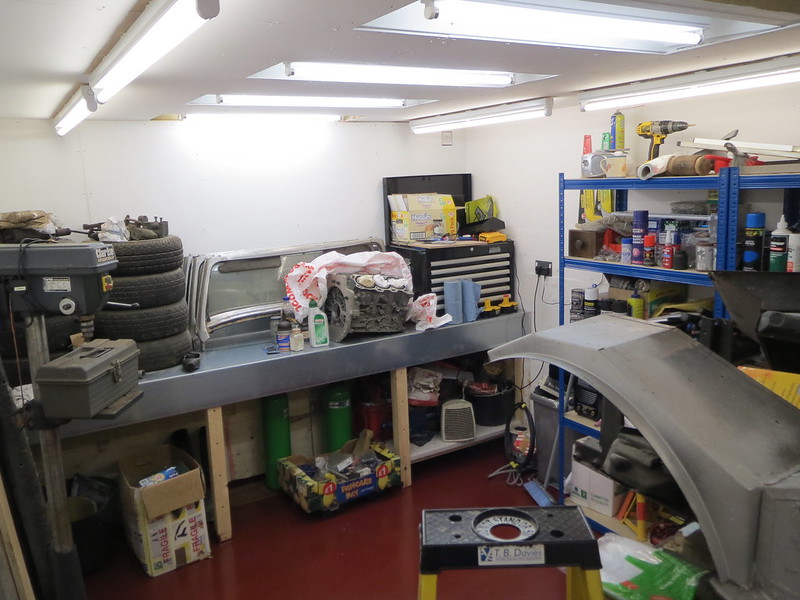
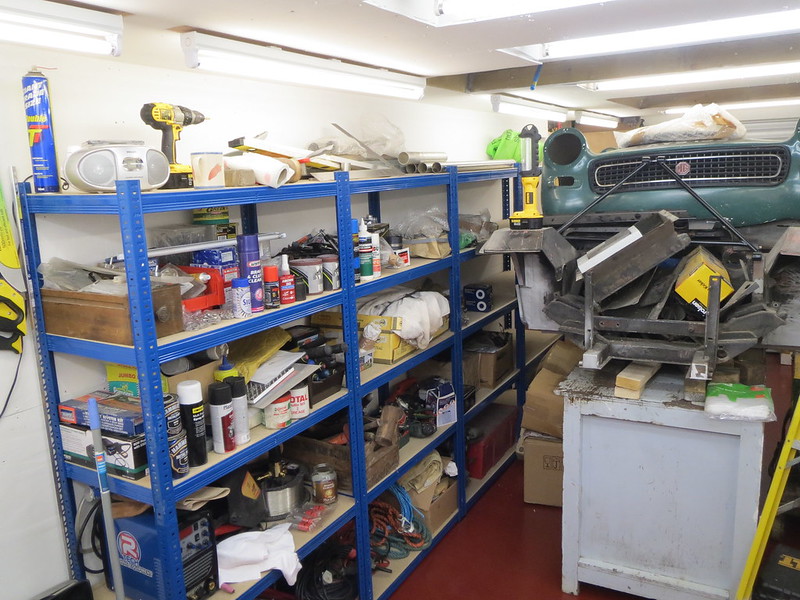
Although this happened a few days ago, I've been too busy on a training course at work to get online. Not that anything of much excitement has happened mind you. I've got the racking up and spaced so that I can still get to the light switch and made a fair start on clearing the main rear section of the loft. The garage now looks like this:


So all my hard work is starting to pay off and the place is getting more organised. I just need to get through all the boxes of parts I've got and Ebay what I no longer need. Oh, and sell my lovely big blue bench as it's the wrong size and won't fit anywhere once I'm ready to re-start work on the Sprite. This is a bit of a shame as I've had the bench for nearly 10 years now, but I don't see the point of cutting it up to make it shorter if someone else can make better use of it as is.